Showing posts with label sewn. Show all posts

Tuesday, 5 August 2014

Made: Kimono Cardigan


Whoa! Two posts in the same week?  This is a record for me.  Yay me!

ANYWAYS, I finally fell in love with this "kimono" cardigan trend.  (I do hate that its called a "Kimono" cardigan, seems a little appropriative to me, but I digress...)  I like the flowy, comfortable feeling of them.  But by the time I wanted to buy one, they were no where to be found!  This made me really sad.  But then I remembered that I was sort of crafty, so I thought I would make one myself!


It was pretty easy to make this jacket.  And the fabric I bought was only 3 bucks a metre!  So this cost me a total of 7 dollars to make.  And since these babies sell for almost 40 dollars, I got to make something and have a deal!  Which is awesome!  If you can sew a straight line, you can make on too.  For the easiest way to make one, choose a fabric that wont fray when you cut it for the easiest construction, then you won't have to hem any of the ends!  My fabric needed to be hemmed which was what took most of the time in making it.  Of course, I forgot to take pictures, so here is the basic run down of how I made this with my basic tutorial made in Skitch:


Not bad for 2 hours work.  It is a little warm though, so I will probably wear this more in the fall.  I'm thinking of making another one in silk/ cotton to wear now... But I'm not sure how much use I will get out of it.  Summer is almost over :-(


::Top to Bottom::
Kimono Cardigan- Made by me!
Necklace: Pyrrha from Pure Home Couture
T-shirt- Old Navy
Jeans- Torrid
Sandals- Birkenstocks

If you make one, I would like to see it!  Link it in the comments! 

Friday, 11 October 2013

Cross-stitch Sentiment Art- Sentitmenart? Sartiments? Help me think of something here...


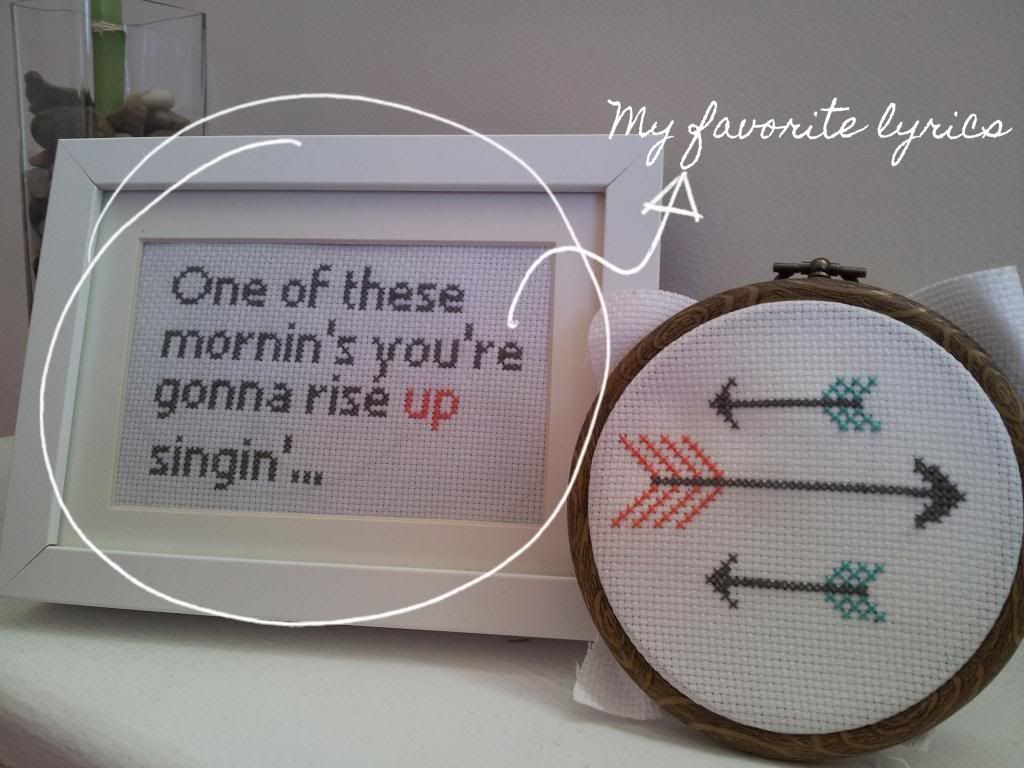
One this I've been doing a lot of lately is cross stitching.  I really like it.  Its relaxing; and its really versatile.  One thing I really love stitching is quotations.  I made these little things while watching TV.  It was really to put one of these together.  Pretty inexpensive too!  If you want to try and make your own, but have no idea how to cross stitch, I would have a look at this site. It even has pictures! 

To make my quotations, I used 16 count fabric (makes the letters a little bigger), a size 5 sharp needle, and 2 of the 6 strands in a length of embroidery floss.

The other super helpful site was this one, the Cross Stitch Writing Tool.  All you have to do is type in your words, and it will chart out the letters for you!  You can save the file as a PDF or print it out!  I typed in my words, and chose a font, and I was ready to start stitching!

The arrows I just made up.  But there are thousands of free cross stitch patterns of arrows out there.  Just use a little imagination, and sew it up!

But seriously.  I'm really into the trend of running two words together that have no business jammed up against each other.  Frenemy?  Love it.  So, in that tradition, what should this be called?  Sentitment-artity?  Cross- stitchitments?


Monday, 9 September 2013

Made: Runched Pillow


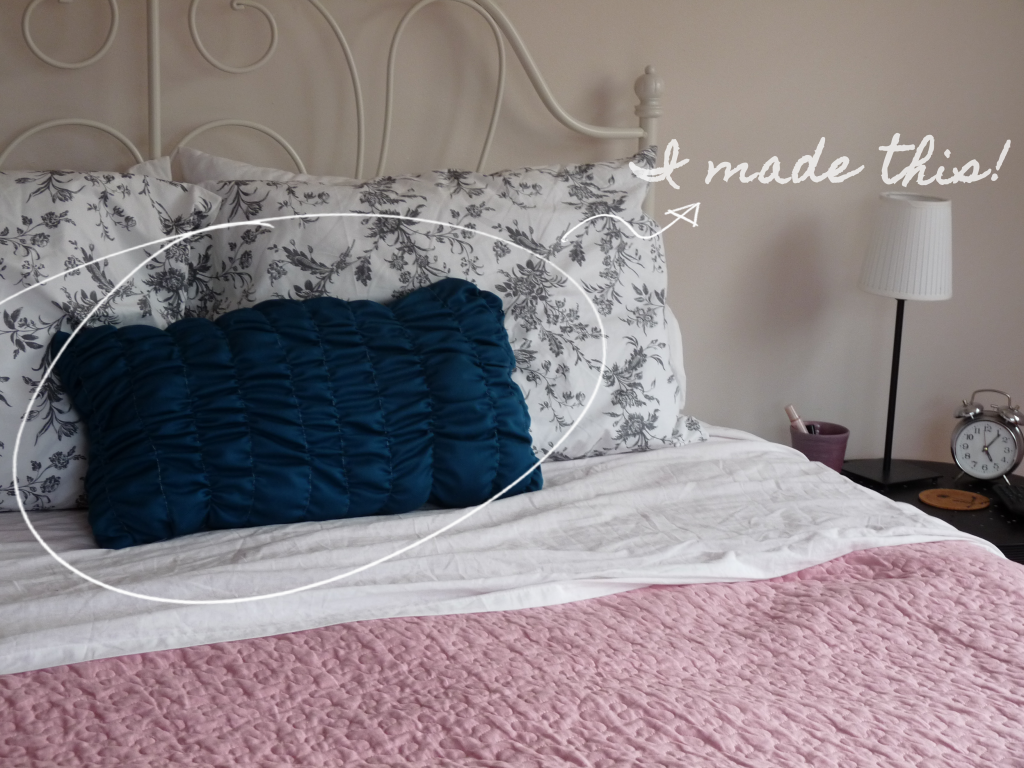
Are you sick of my new apartment posts yet?  This might be the last one for a while, I'm hoping to post some thoughtful pose up here soon.  I made some throw pillows for the living and bedroom lately.  I was having a really hard time finding pillows in the colors I wanted.  So, in true DIY fashion, I went to the fabric store, and found some great fabrics (on sale!) and set out to make them with my new sewing machine.  I thought I would show you a "Pinterest-almost-success-project" pillow.

I don't usually try the things that I see on Pinterest.  I usually look for my projects through books or other blogs-- there are some talented bloggers out there to learn from!  But I really liked the look of a runched pillow.  And I thought one would look so nice on my bed.  I saw a great tutorial (on Pinterest) and thought I would try it.  I'm not going to go through the steps; if you want to make one use the tutorial.  It is super-detailed.  I will however give you some tips based on making this pillow:
  • You need almost 2 times the width of fabric for your pillow.  If you want a 24" wide pillow,   your fabric needs to be at least 40".  The runching shrinks the size significantly.
  • Draw your lines on your pillow.  Otherwise you will have crooked seams like me.
  • Measure the distances between runchings.  Again, or it will look weird.  Like mine.
  • Even though the tutorial says to fold over your edge, I didn't.  It made the pillow hard to sew into, well a pillow.  Just gather the material 1/2" from the edge, and make your seam close to the first gathered seam.  
  • Use the same color fabric and thread.  You can really see the thread in this project, so its better if it blends.
  • Don't cut the backing piece of the pillow until you finished the front part.  Then measure for the back piece.  That way it will match perfectly.
  • Go slow when gathering, or you will break the thread.  Ask me how I know.
  • I found it easier to do 3 seams for each line.  I gather the top, the middle then the bottom.  This way I didn't break the thread.  

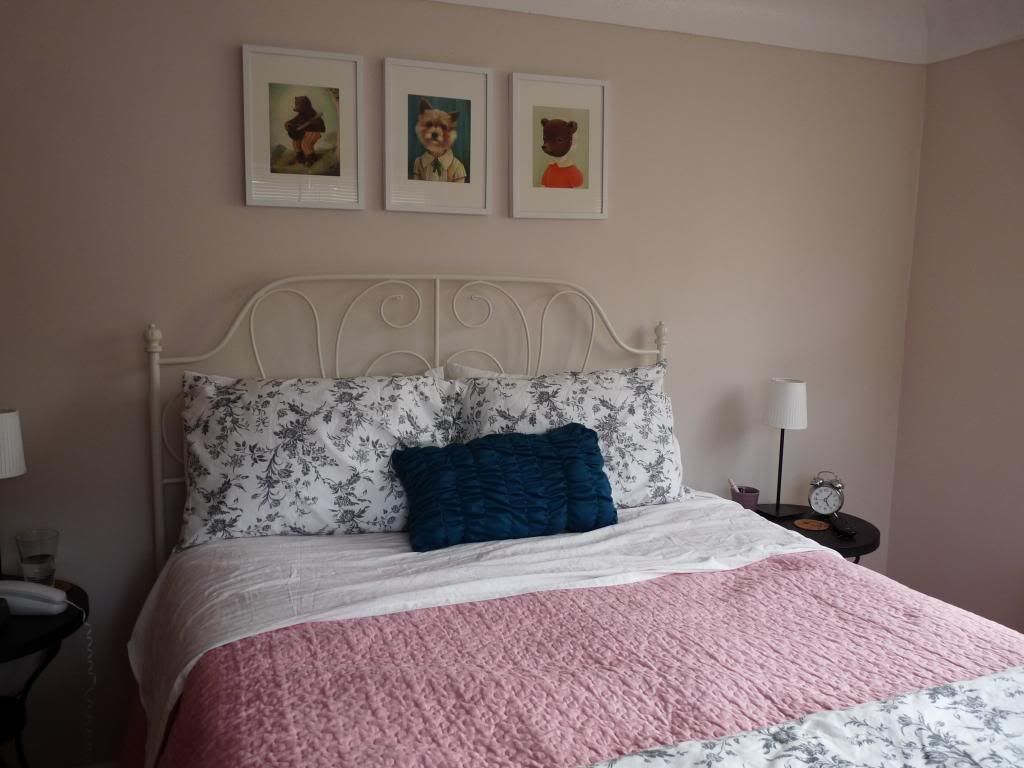
This is what the pillow looks like in my new bedroom:
 

I wanted the pillow to match the paintings hanging above our bed.  I think it does!  Our bedroom is calming, and bright-- pretty much my favorite room in the house!

Friday, 2 August 2013

Made: Bow Clutch (that I will probably use as a make-up case)


I used to be way into quilting.  But then I got the new career, and starting spending all my time on that.  I did use my sewing machine, but mostly for alterations for our clothing.  Not so much for fun.  When my old sewing machine broke, I didn't rush to replace it.  I missed sewing, but it was something I didn't have the time for.  Since I do all my sewing on our dining room table, it wasn't something I could start and leave for an undetermined amount of time.  I guess what I'm saying is I got lazy.  So once I finished my last quilt (for my gramma,) I didn't really do it so much.

For Christmas, D bought me a new sewing machine.  

And this summer, I finally found the time to learn how to use it.  There are a few differences with my machine.  I have come to know my old machine as a training machine.  Thats why it was so easy to use.  This new machine has a bobbin case and stuff, which I have to tread and such.  Its a little harder than the old one.  But, this one has great tension, and metal parts!  Like a grown-up machine should!

So to learn how to use my machine, I made a little pouch for my small knitting projects.  It turned out cute.  I was quite proud of it.  But it was not impressive.

So I tried something a little harder.

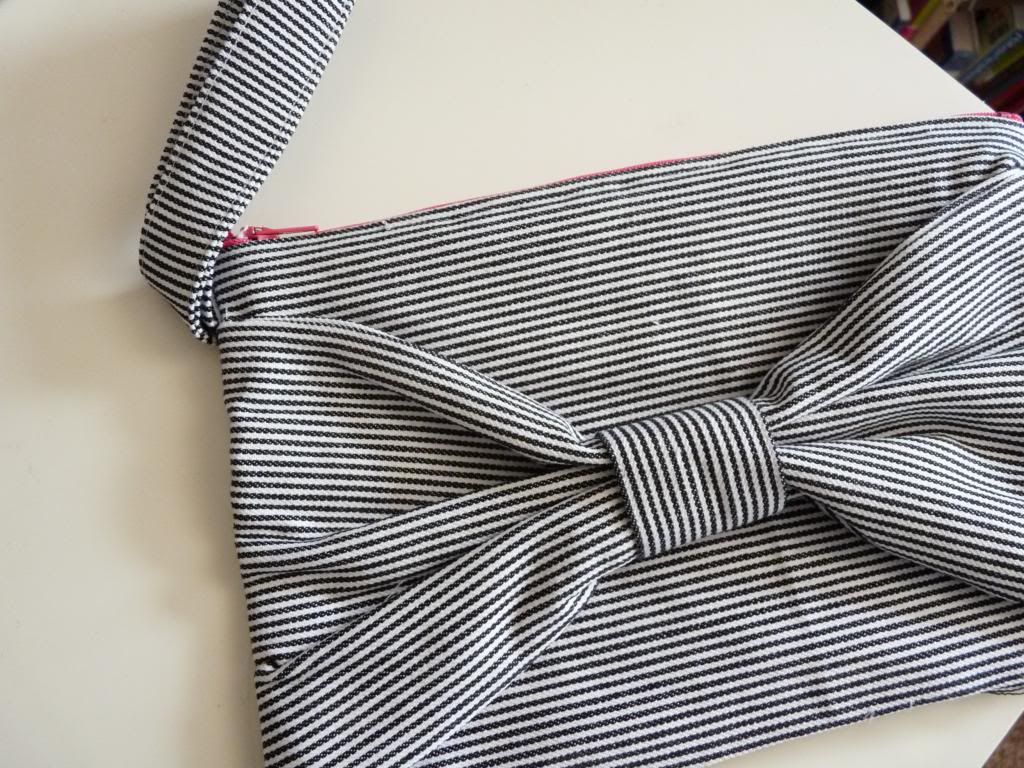
And I made this bow clutch:


I love how it turned out.  I just used some fabric that I had laying around from the last time I was really into sewing.  I think it turned out really cute!  

But, I am not a clutch kind of girl.  I need to have my wallet and stuff strapped to my body, or else I will probably lose it.  At the very least, misplace it for a while.  So this clutch will probably turn into some sort of make-up case.  One that I carry around everyday, but in a bigger purse that I can strap to my body.  You know how it is.


If you happen to be a crafty-type and want to make one for yourself,  I used this tutorial from Elm Street Life's blog.  It was so clear, and very helpful.  She outlines every step of making the clutch, with pictures!  Having written my own sewing tutorial, I know how time consuming it is to write one that is helpful.  So if you use it, make sure you tell her how awesome her tutorial is.  

Have you tried sewing anything lately?  Do you sew?  
 

Thursday, 26 July 2012

POMS Link Up Week 8: Polka Dot Dress


Wow, is it already week 8 of the Proud of My Size Link-Up?  It is a great project, I say that every week, I know.  But really, it has changed how I see my body. 

I never really hated my body; and I think that has a lot to do with how I see society.  I've always been a feminist, my parents didn't understand me and tried to shrug it off as me being "different" or "artsy" or "argumentative," saying I would "grow out of it," and "get tired of fighting everyone."  I know they only wanted me to have an easier time with the world; but I never did.  Because I often thought society was wrong, I never hated my body, but I didn't like that it made things difficult for me either.

I was angry all. the. time.  and every time some one made fun of my weight, it just served as an example of why the world was f-ed up.  But.  The POMS link-up helps me to celebrate my body!  I never hated what I looked like, but now I actually like what I look like.  And let me tell you, that is a better way to walk through the world.  Sure, I'm still an angry activist and feminist.  But that's to be expected in this world.  Now I don't just focus on that anger, I can celebrate differences while fighting for their equality.  Its good to have balance.


I am actually wearing a dress.  The problem with me and dresses, is that they don't usually fit right.  They are either too long (I'm pretty short); or they don't have a long enough torso (I have a long torso) or they are too tight around my hips or whatever.  But this one was made for me.  I should know, because I made it.  And it was really simple.  Step one: Get some of this fabric.  Step two: Sew it into a tube.  Step three: Take some of the extra fabric and make some straps.  Step 4: Add the straps to the dress.  Step five: Style that thing around town. 

Seriously, this dress took me 15 minutes to make.  So I made two. I'm lucky because I have a serger so the seam is nice and reinforced.  I did hem the bottom a bit so it was a little shorter, but other than that, it was good to go.    


::Head to Toe::
Sunglasses: Can't remember; but I remember I only paid $3 for them
Cropped Cardigan: Old Navy
Dress: Made by me!
Birenstocks: Winners (yep, I have 4 pairs of birks.)
Purse: Steve Madden at Square One

This dress is super comfortable, and I think it looks dynamite.  I wore it to dinner at Mex-I-Can that night.  If you live near Hamilton, and haven't been; you are missing out.  It was so good. 

You should try this link up; it will change your life.


Thursday, 5 July 2012

Made: Quilted coasters


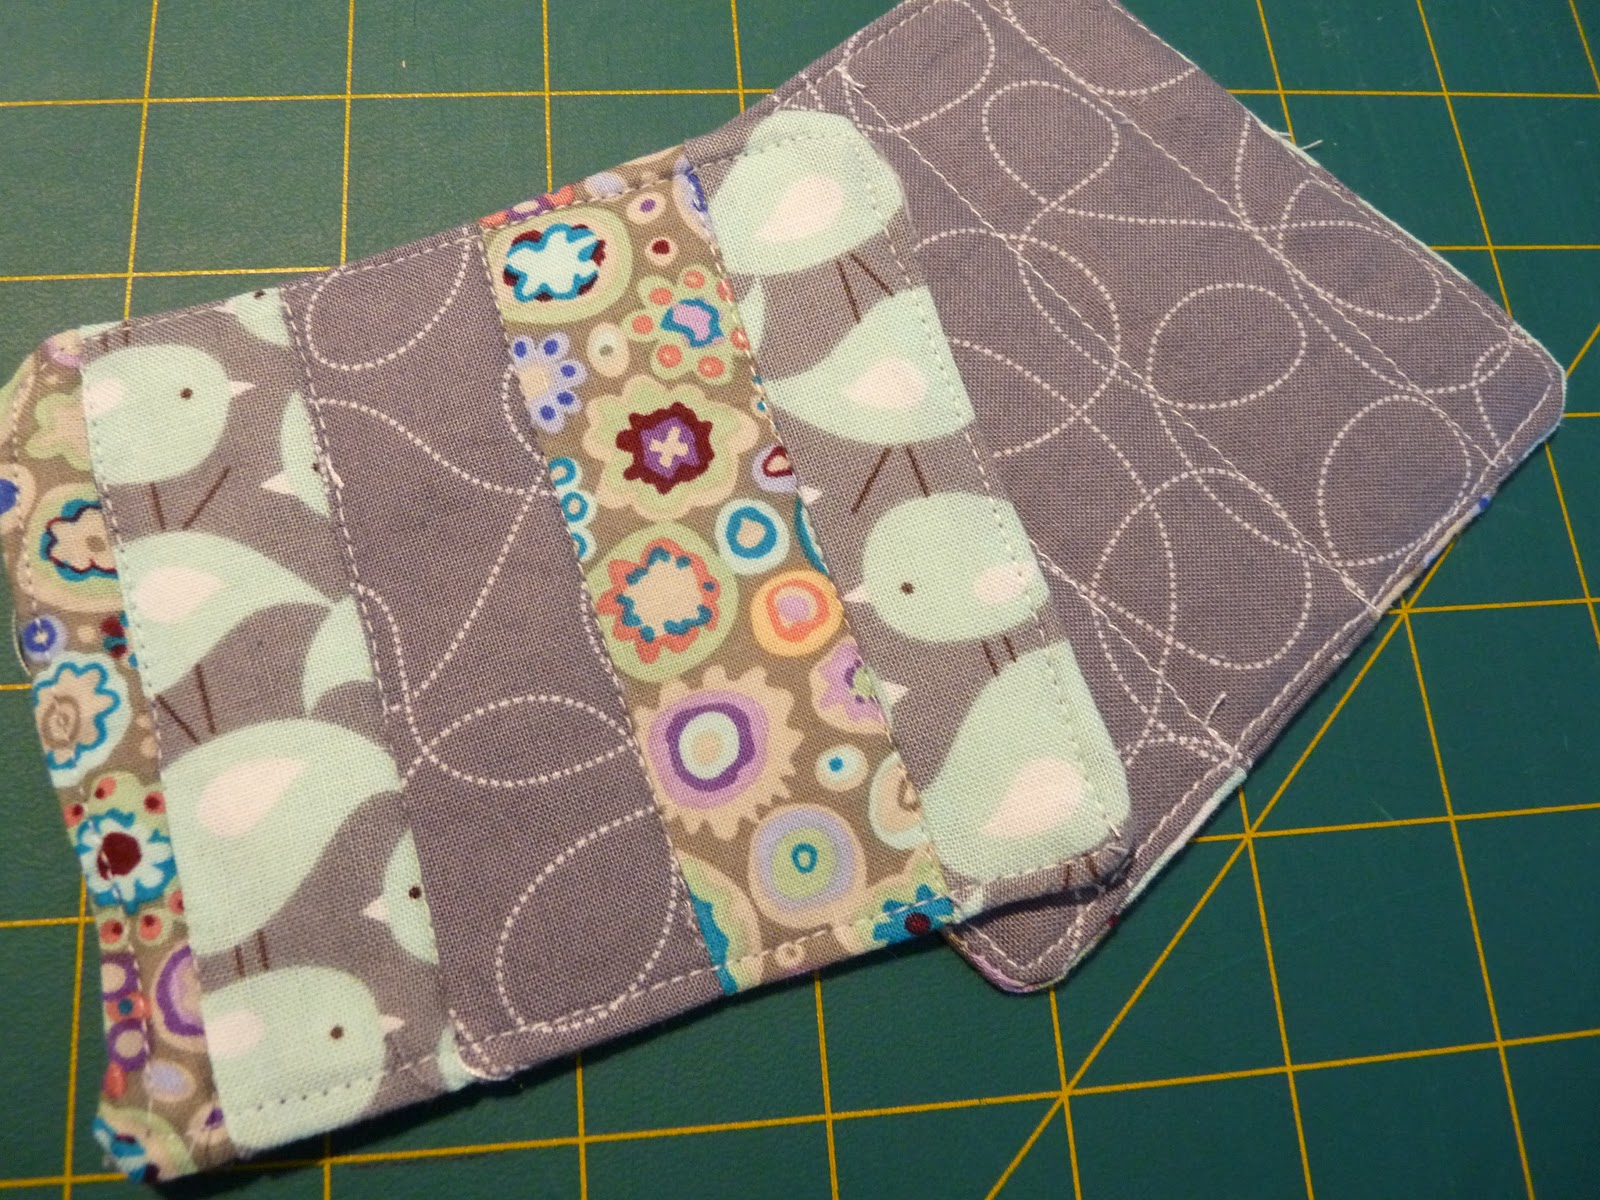
The other day I had a crafternoon date with myself.  I hadn't had one in a very long time, and I was due.  I knew that I wanted to make something to replace the quick and dirty coasters I made for our desk before.  I also knew I wanted to use some of my lovely fabric I bought at Needlework.  I was itching to do a little quilting, so I made these cute birdie coasters!  Don't they lovely under my mixed berry iced tea?

If you have a little bit of fabric that you want to turn into some cute coasters, I took a few notes to help you on your way.  Its okay if you have never quilted before, this is quilting-light.

Materials for making 2 coasters:
- 5 square inches of corresponding (or not, the pie's the limit) cotton fabrics
- 2 4 1/2 square inches squares of cotton batting for the center of each of your coasters
- thread
- rotary cutter and ruler (scissors work, but the rotary cutter is so helpful.)
- cutting mat/ cutting surface
- iron and board
- pins
- sewing machine (makes things go a lot faster)

Before you do anything, iron your fabrics.  It makes cutting the pieces so much easier.  Ask me how I know...

Step 1: Assemble your materials and choose the fabrics you are going to use.  I only had these fabrics in fat quarters.  You only need 5 square inches of each fabric.

I chose these pretty pieces.

Step 2: Cut out your pieces.  You will need 5 1 1/2 inch by 4 1/2 inch strips of fabric, one 4 1/2 square inch piece of cotton batting and one 4 1/2 square inch for each coaster.

Step 3: Once you have all the strips cut out, decide the order you want to use for the coaster.  Take 2 strips and face them right side of the fabric together.  Sew a seam on one side. You will have two strips sewn together once you open it up.  Press flat with the iron, and line another strip with right sides facing to one side of the 2 strips.  Continue in this fashion until you have a section of 5 strips sewn together.  Press with the iron so all the seam lay in one direction.

Step 4: Now we prepare the quilt sandwich:


Cut your sewn strips so they measure 4 1/2 square inches like your batting and backing fabric.  Lay the batting down first, then the backing fabric, right side facing up.  Then lay your sewn top on top of the backing fabric right side down.

Step 5: Pin the sandwich to hold it together. 

Step 6: Sew a seam around the edge of the coaster leaving a inch opening in one edge.

Now you should have an inside-out coaster.

Step 7: Carefully turn the coaster right side in.
 It will look messy as you turn in right side in.

Step 8: Press the coaster flat, and fold the little flaps inward.  Sew them closed, and for good measure, sew a seam around the outside of the coaster so it will lay flat.

Step 9: I quilted the coaster by sewing straight seams where the fabrics met on the front.

Step 10: Put a refreshing and well deserved drink on your coaster!

I really like these coasters.  Unlike the other ones, these ones can be thrown in the laundry when they get dirty.  I love how the fabrics really go together!  Needlework is really good for matching their fat quarters.  When you grab one, you might as well get the one's beside it.  I guess this means I can go and get some more pretty fabrics!


Thursday, 31 May 2012

From the (Quilting) Vault

Did you know that I used to quilt?  Like a machine.  I learned how to sew a straight line, and that was all I needed to get into quilting.  I loved it.  I would go to the fabric store and buy the cheapest fabrics (I was a broke quilter) and see if I can make something beautiful from them. 

I was pretty good at it.  I made 2 quilts and gave them away as gifts.  And I made smaller quilted items like tote bags and pillows and wall hangings.  I even sold some! 

But I found a job, and didn't have as much time to cut pieces, and quilt like I used to.  Its a little sad really.  I enjoy sewing so much.  Quilting is a little like alchemy; you can turns scraps no one wants into art. 

While I was cleaning out my fabric box, I found two pieces I never finished:


I think this was going to be a pillow?  Its the size of a throw pillow.  It could have been a panel for a bag though. I remember when I designed the quilt block, I was teaching myself paper piecing, and really loved house shapes.  So a house shaped quilt is what came of it. 


This is how I know it wasn't meant to be something larger. The backing fabric is just white cotton.  And its already quilted.  I think I meant to leave it like this, but I think I'll put another 2 border pieces on it to make it a little bigger.   

I must have really liked this fabric, because I have more than a meter of this purple, and a half meter in another color.  I think I will try and finish that up this weekend.  My machine is on the fritz right now, but I know a great place where I can sew by the hour...


Another leftover paper pieced block. Its pretty cute.  I remember I got these scraps from a quilter, and she said that they were too small to do anything with.  I must have taken that as a personal challenge (like I would probably do) and make a block out of them.  If I had the time, I would make an entire quilt out of heart blocks like this.  But I think I may have to turn this into something really small.  I hate to see quilting go to waste. 
 
I'm not someone that likes to leave things unfinished.  I wonder what made me stop working on these.  Oh, sometimes I wish my memory was a lot better.  But at least now I will be able to turn these forgotten crafts into something I can use of gift away!  Does that count as upcycling?

Have you ever abandoned something you were working on?  Why? 


Thursday, 22 March 2012

Hexagons a go-go!


I'm a little addicted to making these hexagons.  I have this book on quilting, and inside there's a tutorial on paper piecing, so I thought I would try it.

Now I know what all the hoopla (link) was about.  It is a lot of fun, and not so difficult.  I am having a great time going through my stash for blue fabrics to make hexagons out of.  I'm making a table runner for my table.  I have some blue stoneware on it and a painting with lots of blues in it.  I thought a quilted table runner will be great!


The only thing is that it will take at least 60 hexagons to make my runner.  Thank goodness I like making these little hexagons.  If you live around town here in Hamilton, I know that Needlework (link) will have a class on English paper piecing in the near future, so keep a look out on their website.

I should go and make some more hexagons! 

Thursday, 23 February 2012

Made: Quilted phone case


I finally got a new phone!  After months of a phone that constantly died while I was talking, I took the plunge and got a new one.  I didn't get a very popular model though-- well, its not popular yet.

So to protect my new phone, I made this phone pocket.  Because it uses a touch screen, I wanted to give it a little cushioning, so I quilted it using a little cotton batting I had left over and a simple stitch pattern.

I did take enough pictures to write up a tutorial, so if there is interest, I will write one up for anyone that has a Samsung Galaxy phone that needs covering.

***TUTORIAL ADDED****  A printable PDF version is available for free download on my "Make It!" (link) tutorials page.

When I sew, I kinda make it up as I go along.  I've tried to be clear and concise in this tutorial.  Sometimes, I forget something, or make a mistake. Please let me know if I did that here.  Also, if you make a case, I would love to see some pictures of what you made!  Please share!  Ok, here we go!

What you will need:
  • 2 pieces of corresponding fabric, cut into the measurement of your phone plus 1 inch (4 pieces of fabric total) seam allowances cut into the measurement of your phone plus 1 inch
  • cotton bating cut into the measurement of your phone plus 1 inch (2 pieces total)
  • Matching thread
  • Rotary cutter, quilting ruler and mat (for easier cutting pieces)
  • Sewing machine

 Step 1: Cut all you pieces out

Using a rotary cutter and ruler, I cut all out my rectangles so that they measured 6 inches by 3 inches (the measurement of my phone plus 1 inch.) I cut 2 pieces of dark blue for the outside, the light fabric for the lining, and the batting for protection.  Put your lining pieces a side, you will be sewing the outside fabric and the batting together first.

Step 2: Sew the batting to the outer fabric

Pin the bating to the outer fabric, and using a marking chalk, mark the quilting design you want on the outside of your case.  I kept t simple, and went with a diamond pattern.  If you want to use this design, remember sew the first line from one corner, diagonally to another corner.  This will help all you quilting seams line up, and keep you fabric from bunching too much.


 Step 3: Sew the outside of the case together
 After quilting both side, place both pieces right sides together.  Sew a seam (1/4- 1/2 inch seams) up each side stopping about an inch from the top if you are lining your case.  Leaving an inch from the top will help when you put the whole thing together.  Sew a seam across the bottom, so you have a pocket.  If you don't want your pocket lined, you can stop here turn right side in and carry your phone around. No one will know what's inside!  If you like adventure, you can continue on and line your case.

Step 4: Sew the lining

Set aside the outer part of your case, and with the right sides of the fabric facing together, sew the side seams of you lining together.  Sew the bottom seam to make a pocket, but leave about 1 1/2 inch space unsewn in the bottom.  This is so we can turn the whole thing right-side-in when he time is right.  Turn the lining, so the right side of the fabric is facing outward.  Put the lining into the inside out pocket that is the outer part of your case, the right sides of the fabric should be facing inside the pocket.

Step 5: Sew the top of the bag 
I wish I would have taken a picture of this, but I had my hands full!  Sew a seam all around the top of the pocket.  After the seam is sewn, sew up the sides.  Trim and extra fabric from around the top of the pocket.  Now is when the magic happens...

Step 6: Flipping it inside out/ right side in
 Reaching inside your pocket, pull out the lining (it should be inside out.)  Through the little hole you left in the lining, you will turn the whole pocket right side in.  It takes a little working like in the picture above.  But once you get everything through you should end up with:

 
 Using a needle and thread, or your machine, sew up the hole left in the lining.  Push the lining into back in the case and make sure your phone fits!


 Voila!  A unique and useful protective case for your phone!

Some tricks I learned:
  • Pushing the corners out in the case was tricky.  For this I use a knitting needle. 
  • Test your phone in each part before sewing the case up.  It should be a little loose. 
  • Use cotton fabric and batting in your case, and not wool.  Wool carries/ causes (?) static electricity, and that's really bad for electronics. 
I hope you enjoy making and carrying your new case!

Tuesday, 21 February 2012

Made: Sewn birds


I cleaned out my fabric box on the weekend.  I have so much of it!  I used to quilt a lot, but I don't have as much time as I used to, so now I make little projects to tide me over. 

I found this pattern (link) created by the fabric shop Spool, and I had to try it. 


The only problem was they are very addictive to make.  Soon I had all these little birds.  And I started looking for place for them to perch.


And I even tried to see if Shiloh wanted a new room mate:


Finally, the flock decided to roost on my bed.  They seem quite happy there.


Maybe I'll make a mobile so they can have a permanent home...

Thursday, 16 February 2012

Made: New Make-Up Bag


My make up bag was getting too small.  I don't carry around a lot of make-up, but I do carry around other make-up like items.


Look at all that stuff!  I needed something a little bigger, but not as big as most of the make-up cases I found.  So I made one!   I found this cute fabric on sale a while ago, and I thought it would be perfect for something I can carry around.


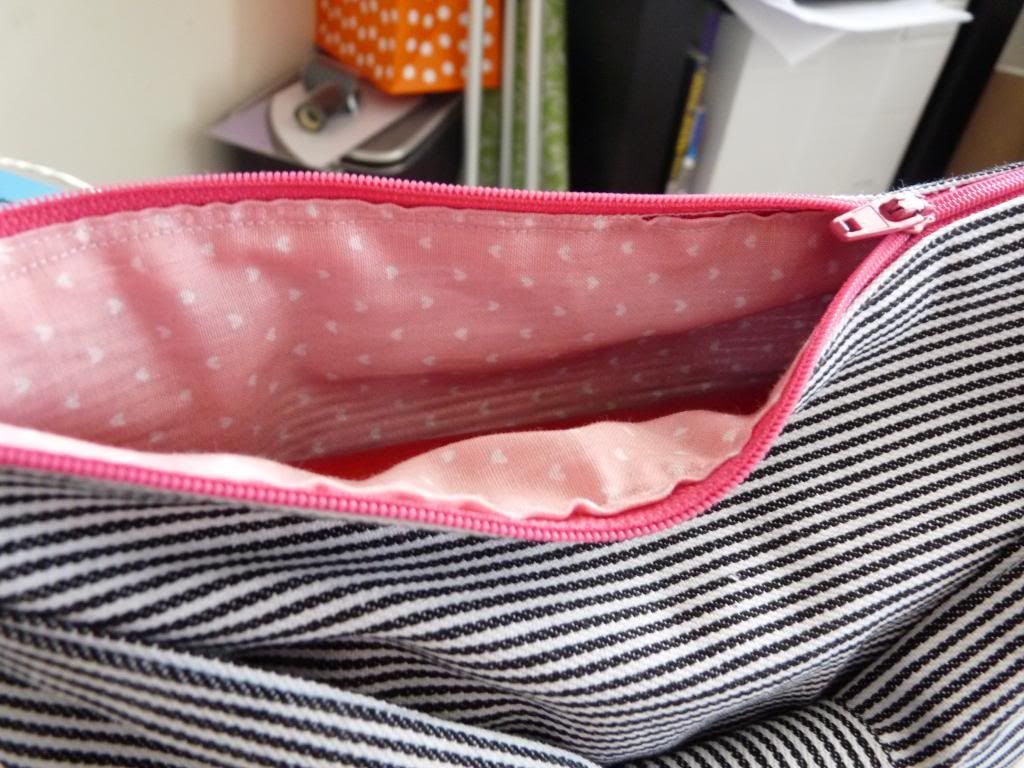
I had all the notions and such on hand from other sewing projects.  It had been so long since I had sewn anything, I was a little rusty, but I think it turned out nicely.  And it is lined:


I had this red and pink striped fabric too, and it is perfect for inside.  I really love how it turned out.  One more picture:


If you want to make one for yourself, the tutorial that is closest to my bag is here (link).  Enjoy!