Showing posts with label home. Show all posts

Monday, 17 May 2021

Happy Organized Fun Time! (Cleaning the craft room)


Oh, I love when things are all lined up in rainbow order!  I recently had a week's vacay- and since I can't go anywhere, I decided to redo and reorganize my craft room!  Since I'm teaching from home, I spend most of my time in this room either crafting or teaching.  I wanted it to be comfortable, organized and bright- so that I can concentrate on working and playing.

Before

It's not so bad I guess.  This is cleaned up, but it's still shabby.  And it's has things all crammed in spaces where things shouldn't be like in between my cupboards, I had too much furniture in there; it didn't match; and there was way too much plastic.  And junk.  Way too much junk.  And craft supplies that I didn't use.  And I am an art work hoarder.  I keep a lot of my artwork. 

It took a solid week of cleaning, and going through EVERY ITEM and purging junk.  I know that people use the Kondo question, "Does it spark joy?"  I don't do that.  The Bass method is, "Will I use this?  Will I need to buy it again?" And the main one, "What will I use this for?"  And got down to it. 

(I didn't thrown more than one grocery bag of trash away.  I donated craft supplies to a daycare, and gave some to my crafty friends.  The furniture and organizer went to the storage locker for my classroom)

After (from the door)

It's still busy.  But its more organized for sure.  the Drawers (from IKEA) better organize my supplies and oddly had a tone of room in them despite the size.  I was surprised.  I was able to make room for the inventory for my shop, and have a dedicated space for my paper and some stronger boxes to hold the this and that.  All my stuff is accessible while I'm working, which I love.  
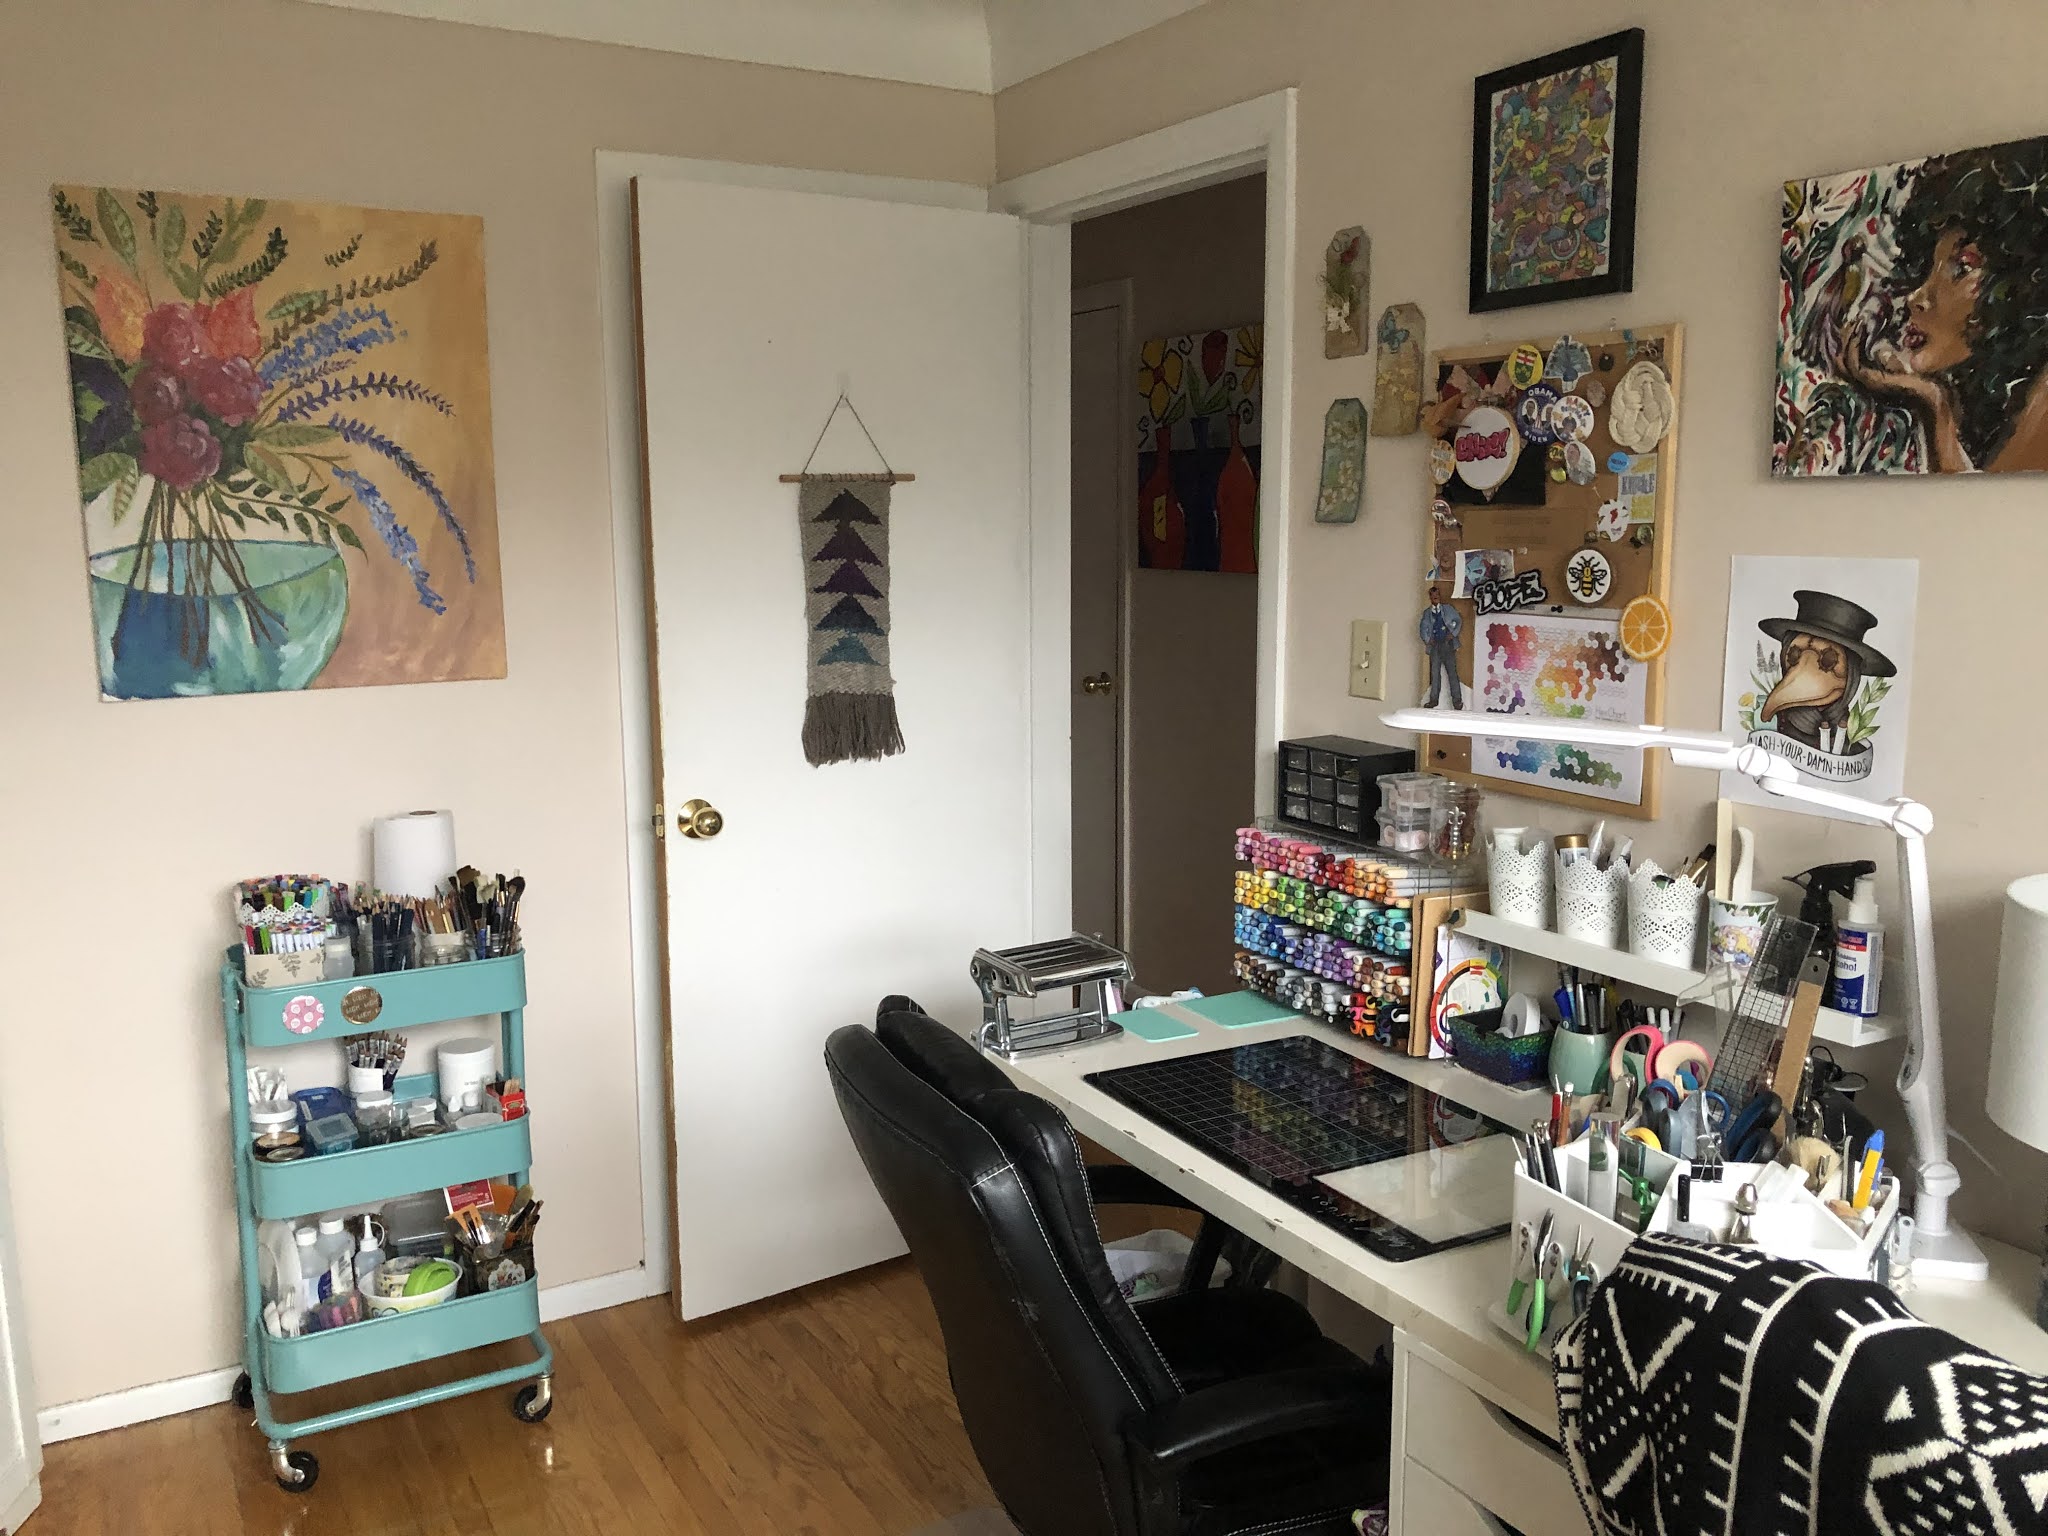

After

The best part is that there is nothing crammed into little spaces.  Its cleaner, and easier to clean.  I also have space to show my art work.  


I found a better way to add art to my shelves- any frames are attached to the wall in-between the shelves and the shelves actually hold things that I can't hang on the wall.  That way I get double use out of this wall.  


I also have space for my plants, which where living in the kitchen.  I was also able to organize the stuff for my online shop, where I can find each collection easily.  

Overall, I'm really happy with hoe this room turned out.  The rest of my house is not as crowded as my craft room was- I think that's a craft people thing:  everything has potential.  At least, I know that the stuff I gave away can have potential-- somewhere else.
       

Saturday, 26 December 2020

DIY Earring Display

My statement earring collection may be out of control...


You may or may not know, that I cut all my hair off.  Yep, I'm one of those girls who, in lockdown, decided to go for the big chop.  And since then, I've been obsessed with statement earrings.  So I started making them.  And then, selling them here.  

As a result, I've increased my earring collection immensely.  And they were sitting in a box.  Which was frustrating to find to wear.  So, I challenged myself to make an earring display out of what I have in my house.  I couldn't buy anything new to create this, and I think it turned out well for repurposed items. 

To make this display I used 2 small jute canvasses, a roll of natural-coloured ribbon, some of those pearl stickers, a picture hanging kit and some glue.  That's it!  Its pretty sturdy, and it holds a lot of earrings- evidently- but I can still see all the pairs I have to choose which ones I want to wear on any given day.

And then I hung up my necklaces to complete my jewelry display.  I like it hanging over my dresser so that I can choose my accessories after I'm dressed.  

Not that I'm getting dressed all that much these days.  But when it's time to get dressed again, I'll be ready.

Monday, 18 August 2014

My Kijiji skills are strong


For 2 years-- 670 days-- I have been looking for a kilim rug.  It's not that I couldn't find one, I found many I love at prices I did not love.  I'm not cheap, per se; I like the word the French use economisee.  I couldn't justify to my wallet (or my partner) spending more than 600 dollars on a rug. But after a year of stalking eBay and kijiji, I found one!  And at a really good deal, probably too good...

ANYWAYS, I contacted the seller and drove an hour to pick it up and after a good vacuuming and a quick clean, it ended up in my dining nook.

And I love it.


Friday, 15 August 2014

Made: Woven Wall Hanging

From: Creative Bug BlogA Beautiful MessA Pair and a Spare

Usually, I'm slow to notice trends.  I don't read about them, and usually I don't really care.  I like what I like, you know?  But if there's a trend that centered around a DIY, I'm there.  I love when I figure that out.  and that's what I fell about this trend of woven wall hangings.

I am seeing them EVERYWHERE.  I couldn't read a DIY blog without it popping up, y'all.  And the more I saw them, the more I wanted one.  So, I decided to try my hand at one.  I've woven before, but now I don't have a loom.  I've meant to buy a new one, but never think of it when I have the money-- and there's a new Fossil Store in my town, and other things and places I wanted to go and things I wanted to do.  So I never bought one.  But that didn't stop me!  I made this:


...using yarn and some cardboard! 


That's the best part about weaving-- you can use almost anything and weave.  If you want a full tutorial on the process of weaving little wall hanging, A Beautiful Mess has a great one here.  If you don't own a loom (and don't want to buy one) you can substitute a piece of corrugated cardboard at least as big as you want your hanging.  Then cut some notches in the top and bottom (directly across from each other) to weave your warp onto.  Then you can follow the tutorial as written. 

The good thing about using cardboard instead of a loom, is that you can draw a guide for your image onto the cardboard.  That way you don't have to wing it.  I wanted some triangles in the "Flying Geese" pattern I love on quilts. (Note: The link leads you to a page about the Underground Railway "Quilt Codes."  I don't want to hear about how the theory of the quilt codes were "disproved."  I like the story, whether true or not.  It speaks to the ingenuity of the slaves and their allies while trying to escape an unjust system.)  So I wanted some version of it for my wall.


I used some neutral wool, and some Noro yarn for the triangles, a Japanese wool with awesome colors.  The weaving was really fast!  I finished it in one day.  I started it in the morning with my coffee, and finished it while I was watching Arrow.  I held the yarn double for the weft to make it thicker.  I like how it looks.

    
I hope you give it a try!  It was a satisfying DIY with a great end product.  If you do try it, make sure to link back so I can see it too!


Sunday, 20 April 2014

Indoor Gardening: Window Herb Garden


Spring may actually be here.  We will see.  But for now, the sun is making me happier than I have been for a while.  A bright day can even make me productive! 

I've had an idea that I wanted a herb garden in the kitchen for a while since we have that nice big window in there-- but no ledge.  I have found a lot of inspiration online for ideas to add plants to a space where there is none.  The most inspiring and inventive DIY solution I found came from A Beautiful Mess (of course),  but I don't have a workshop, or all those great tool to work with.  Plus, it wasn't really what I wanted.  I wanted to make sure that I could have different types of herbs, which is difficult if they have to share a planter.  So I needed something that would separate the plants. 

On a wander through Ikea (my favorite place!) I saw these great hanging planters, and thought of a new plan for my hanging herb garden.  These pots are the perfect size for the herb plants they sell at my local grocery store, so I bought 3 and planned my herb garden for my kitchen window.

Want your own hanging herb garden?  Here's what I used:

Shopping List

3 SKURAR Hanging planter pots from Ikea- $4.99 ea ($15.00)
3 herb plants, I found mine at my grocery for $2.99 ea ($9.00)
3 plastic planting pots, because my herbs came in biodegradable pots- 1.00/ 6pk
3 hooks, I bought a package of 6 white vinyl coated hooks so that they would be inconspicuous- 1.00/ 6pk


I love how they look in our very small kitchen.  It makes it much more alive!  Here's what I learned while hanging and planting our herbs:
  • I shortened 2 of the pots chains by removing 11 links from each chain.  To do this I used some needle nose pliers and twisted the 11th link.  
  • If your plants have biodegradable pots, you will need a plastic pot to put them in, or else once the pot breaks down, your plant will be sitting on the bottom of the planter, and there will be no room for drainage. If you don't have plant pots, you can re use yogurt containers with some holes in the bottom.
  • Use hooks instead of nails, it provides space between the plant and the window for blinds or drapes.
  • Herbs need direct sunlight, so make sure you hang them in a sunny window.  Our windows face west, so we get late afternoon sun.
D and I finished this in just under an hour.  And it made me so much happier!  I'm not sure if I'm going to shorten the chains some more that that they are all the same length, and sit in the top half of the window.  We'll see how they grow like this.  Do you live in an apartment?  How do you fulfill your gardener's itch? 


Thursday, 13 March 2014

Carving out a Reading Nook


I love to read.  I read everyday.  Most of the time, I read before bed.  I find that its the best way to calm me down; and then I can really get into a story.  When I read, I need a quiet place.  So when I thought about making a little spot for reading, my bedroom became a great place for such a thing.  There's not much to my reading nook, just a comfy chair, a table for a drink, and some cushions and soft things.  And a light.  I may change the light, but for now its a great place for me to read and relax before sleeping.

Do you have a special place to read?  Where is it? 


Friday, 7 March 2014

Branch Weaving


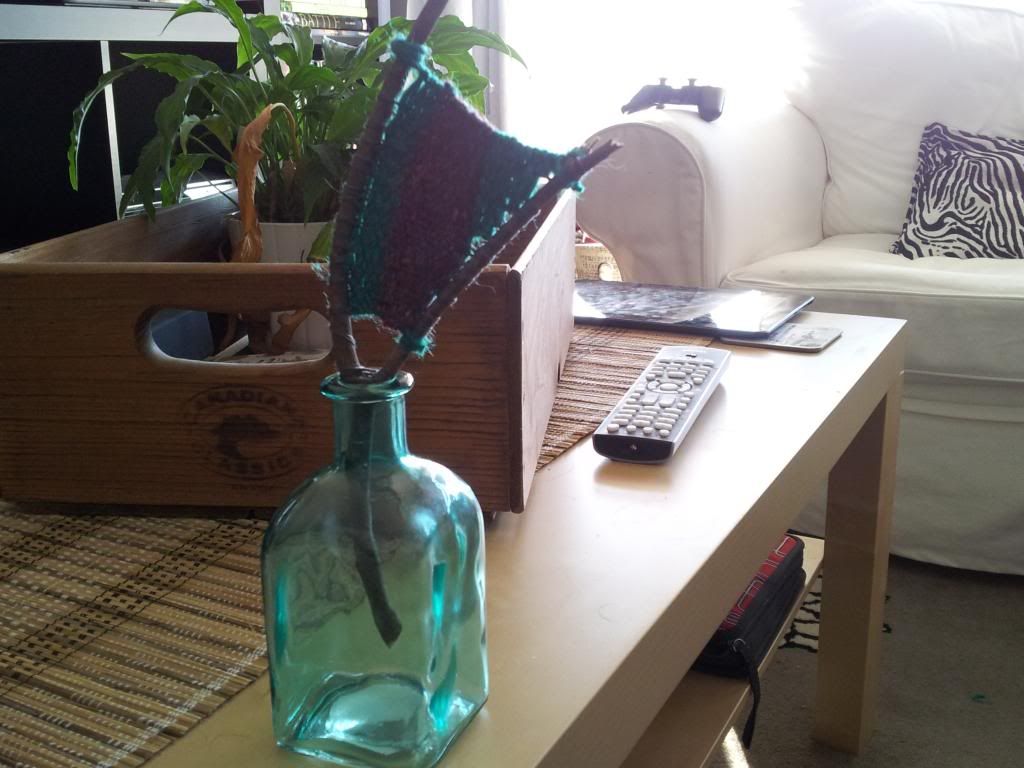
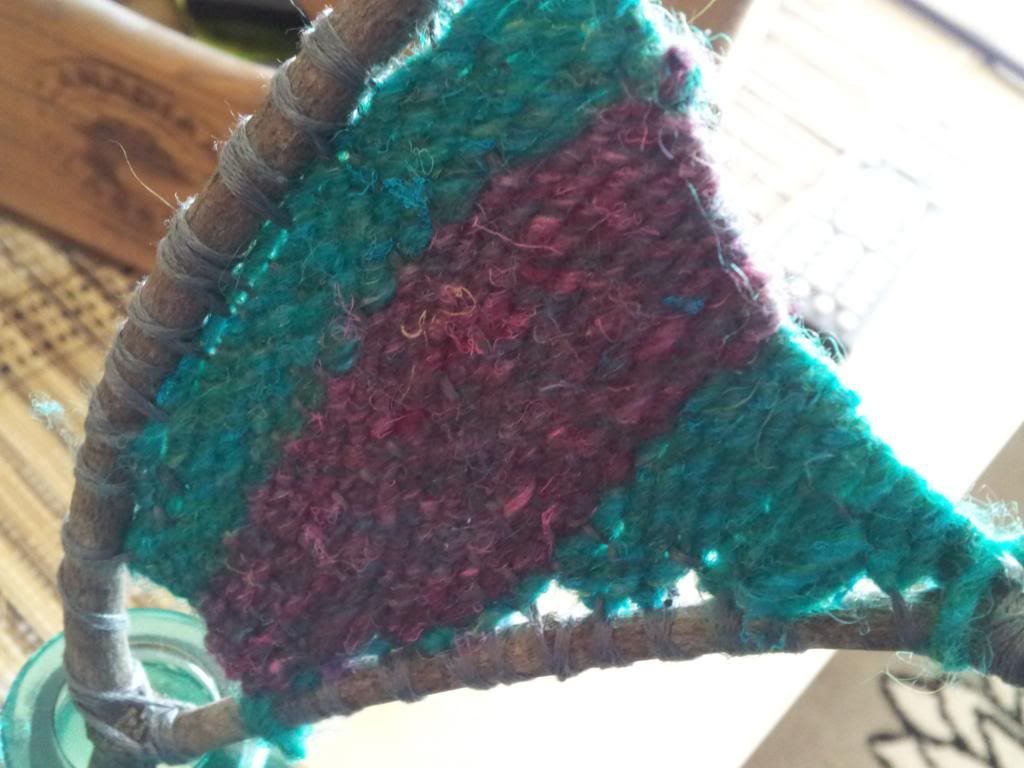
Branch weaving showed up in my Pinterest feed, and I thought it looked really cool.  I really wanted to try it that minute.  But I didn't have a branch.  Because the city was living under 3 feet of snow.  And I don't pull branches of trees, because that's bad for them, and I'm not a 10 year old, so I waited until I came across one laying on the ground.

Last week, D and I went on a death-defying hike.  The trail was covered in ice.  So much ice!  What wasn't ice was knee-deep snow.  It was beautiful, but treacherous.  That bridge in the background?  Completely iced over.


But, I found a branch, and during one of my fave TV shows, I set to weaving on it.  When I finished, I thought it looked nice:


But, I had no idea what its use was or what I would use it for.  I needed to finish one of these, for some reason.  Now that I have, It sat on the coffee table for a few days.

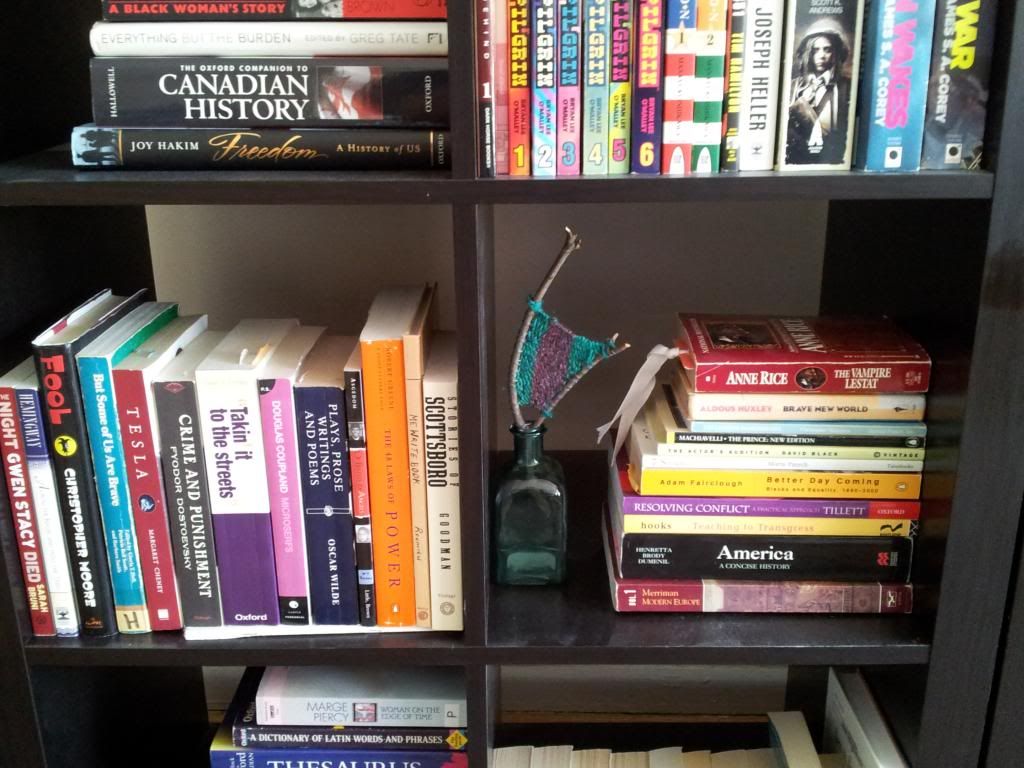
When we came across these bottles on sale for $1, I knew where I could put my new weaving:


So now it lives on my bookshelf.  Making my books a little more interesting.


Saturday, 15 February 2014

Homefront Progress


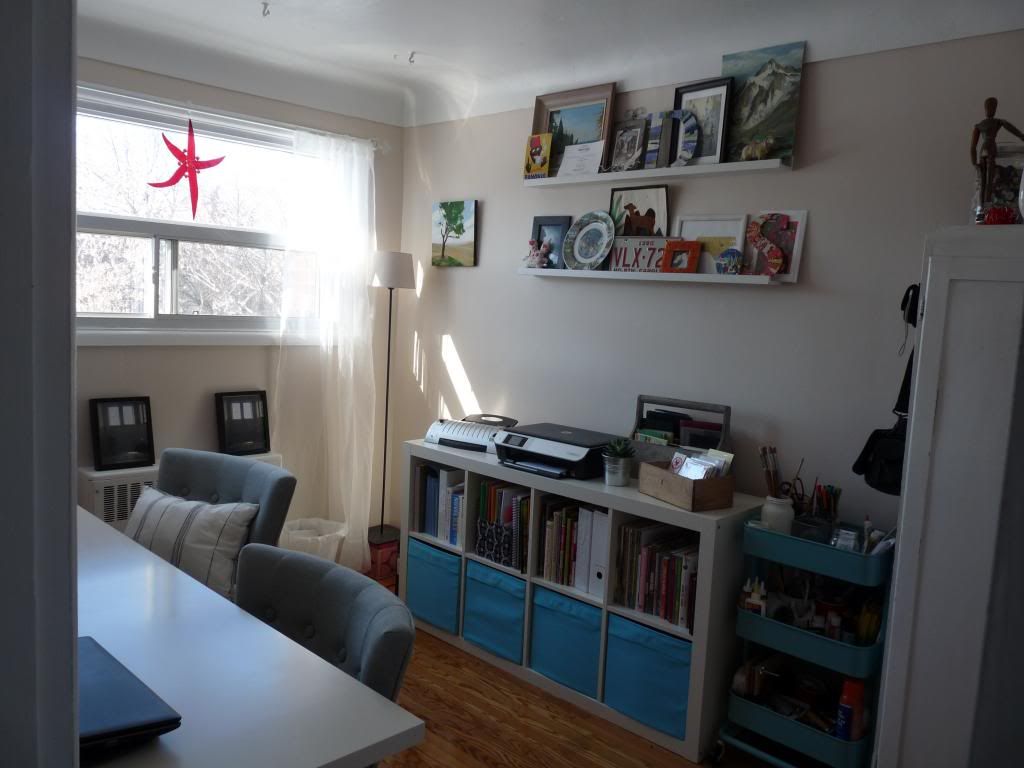
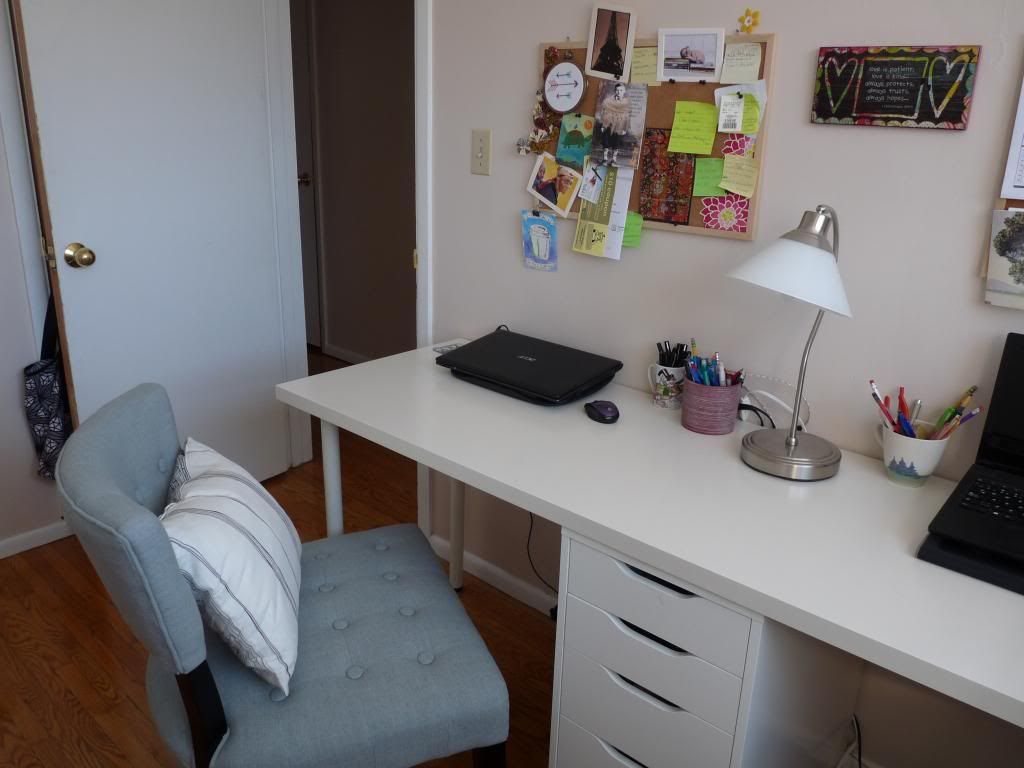
Slowly, we are starting to make this place our own.  It took us a while to get used to the space, and figure out what furniture we needed (or needed to get rid of.) This room, our office was one space that I was never happy with.  I felt that it was mainly storage, and not that pretty for a while.  I didn't have any plans for the craft supplies etc that I had.  So I made it my mission to turn this room into a space that I like in work in by the end of the winter.

In an attempt to make our workspace look a little more organized, we went to Ikea for Valentine's Day (so romantic!) and bought a cart for my crafty stuff.  With the shelf and the cart and the cabinet, I think it looks cleaner and more organized.  Everything is accessible, and with the cart I can pull over my supplies if I need them.


I'm able to keep all of my materials, and yarn and knitting books all in one place.  I love how bright this room is now!  Its a really great place to be creative.  Its not a huge room, which is fine, so we used a few tricks to make it a place where D and I could both use it and be creative.  The back wall is mainly storage:  The bookshelf holds our books and the bottom baskets hold other things not easily stacked on a shelf (mostly yarn.)  With the bookshelf on its side, we use the top as an extra counter top.  I can move the laminator and use our counter-top ironing board if I am sewing.  Otherwise, it holds our color printer and some journals.  I am a sucker for a journal.


The big purchase we made for this room was the chairs.  I wanted really comfortable chairs that you could sit in for hours.  In the end we decided on this accent chairs that we found.  They are so cozy:  I can sit on them cross-legged, the back is really supportive.  They are great!  They were not super expensive, but they were more than I would usually spend on a chair.  They were worth it!  I love sitting in here now. 

It feels really good to get a room to where you want it.  Still working on some other rooms in the house.  I hope you don't mind if I continue to share my progress in decorating our space!

Do you have a room that gives you trouble?


Monday, 9 September 2013

Made: Runched Pillow


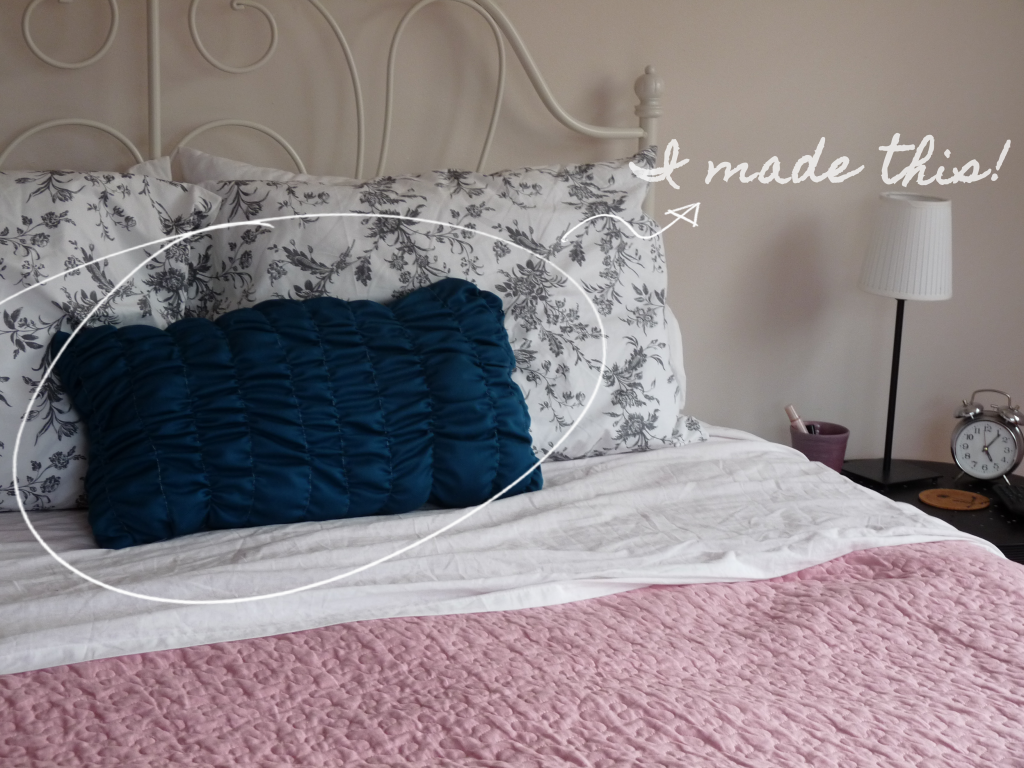
Are you sick of my new apartment posts yet?  This might be the last one for a while, I'm hoping to post some thoughtful pose up here soon.  I made some throw pillows for the living and bedroom lately.  I was having a really hard time finding pillows in the colors I wanted.  So, in true DIY fashion, I went to the fabric store, and found some great fabrics (on sale!) and set out to make them with my new sewing machine.  I thought I would show you a "Pinterest-almost-success-project" pillow.

I don't usually try the things that I see on Pinterest.  I usually look for my projects through books or other blogs-- there are some talented bloggers out there to learn from!  But I really liked the look of a runched pillow.  And I thought one would look so nice on my bed.  I saw a great tutorial (on Pinterest) and thought I would try it.  I'm not going to go through the steps; if you want to make one use the tutorial.  It is super-detailed.  I will however give you some tips based on making this pillow:
  • You need almost 2 times the width of fabric for your pillow.  If you want a 24" wide pillow,   your fabric needs to be at least 40".  The runching shrinks the size significantly.
  • Draw your lines on your pillow.  Otherwise you will have crooked seams like me.
  • Measure the distances between runchings.  Again, or it will look weird.  Like mine.
  • Even though the tutorial says to fold over your edge, I didn't.  It made the pillow hard to sew into, well a pillow.  Just gather the material 1/2" from the edge, and make your seam close to the first gathered seam.  
  • Use the same color fabric and thread.  You can really see the thread in this project, so its better if it blends.
  • Don't cut the backing piece of the pillow until you finished the front part.  Then measure for the back piece.  That way it will match perfectly.
  • Go slow when gathering, or you will break the thread.  Ask me how I know.
  • I found it easier to do 3 seams for each line.  I gather the top, the middle then the bottom.  This way I didn't break the thread.  

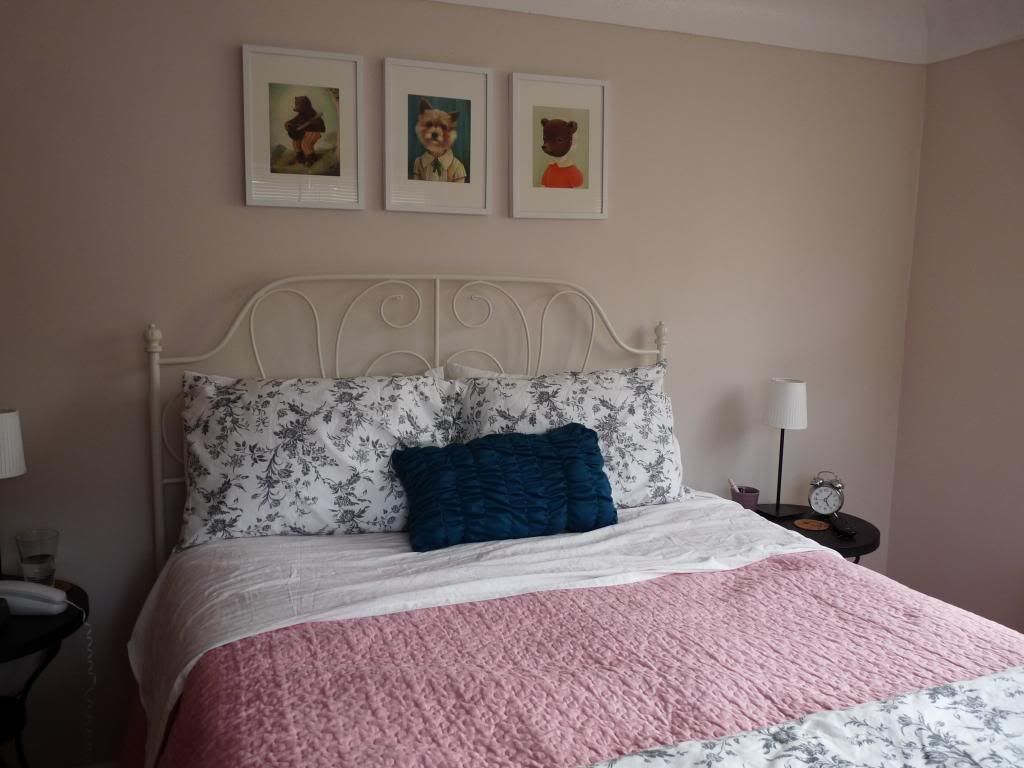
This is what the pillow looks like in my new bedroom:
 

I wanted the pillow to match the paintings hanging above our bed.  I think it does!  Our bedroom is calming, and bright-- pretty much my favorite room in the house!

Monday, 2 September 2013

New home: Antiques Tour


I think I'm becoming house proud.  I really like finding little unique things about our place.  For the most part, we have a lot of Ikea furniture.  Which I think is great because: a) we live in a small place and Ikea has great solutions for living in tiny homes; b) its affordable, especially for someone like me that likes to change her mind about furniture and decoration; c) its utilitarian, which I love, but still interesting in design. 

ANYWAYS, this is not a post defending Ikea (which is awesome.)  This is about the cool vintage things that I have at home.  We love the few things we have.  Most were handed down, but a couple we bought at different places; my favorite place being the Aberfoyle Antique Market near Guelph, ON.


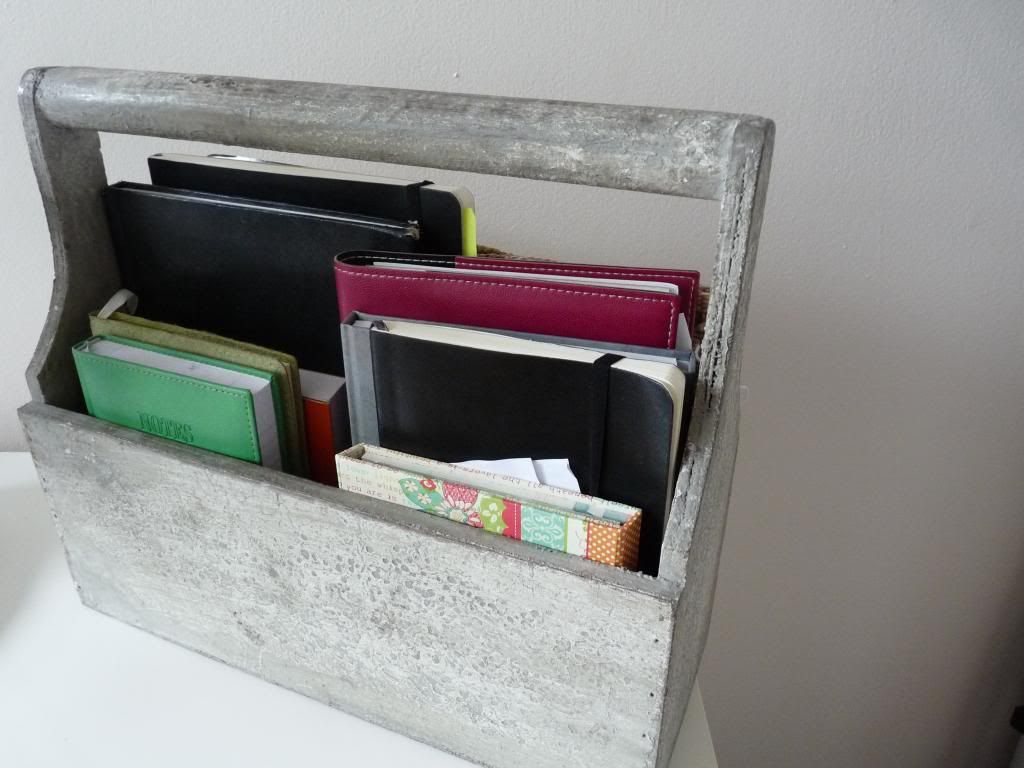
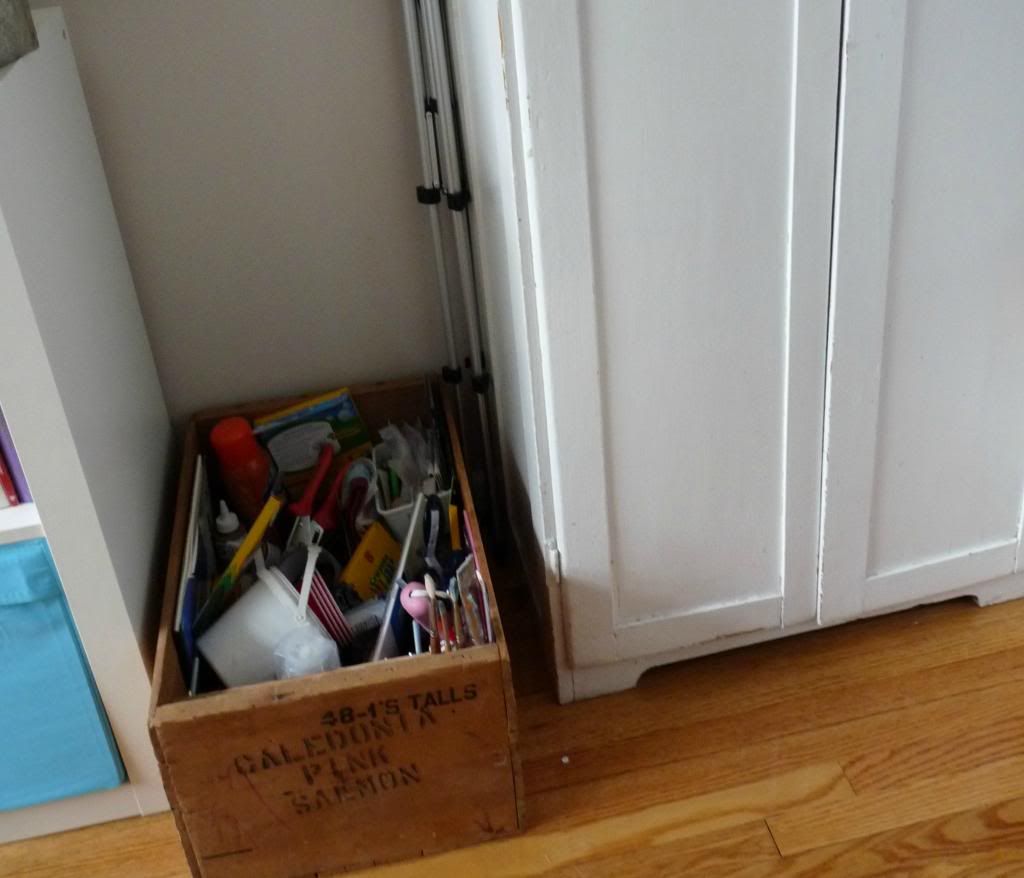
In the office, we have a few old wooden crates that hold some of my craft stuff.  It makes is easily accessible, and looks cute.  I got these a long time ago for 4 bucks each.  I went to the market lately, and now they are at least 20/ea.  Which is crazy.  I guess they are popular now.  Beside the box is an antique cabinet that my Mom gave me.  She painted it white, which I like.  It was her toy cupboard as a little girl.  She used it for me and my brother, and gave it to me when I moved out.  It serves as our pantry and sewing cupboard.  It is a handy piece of furniture to own.


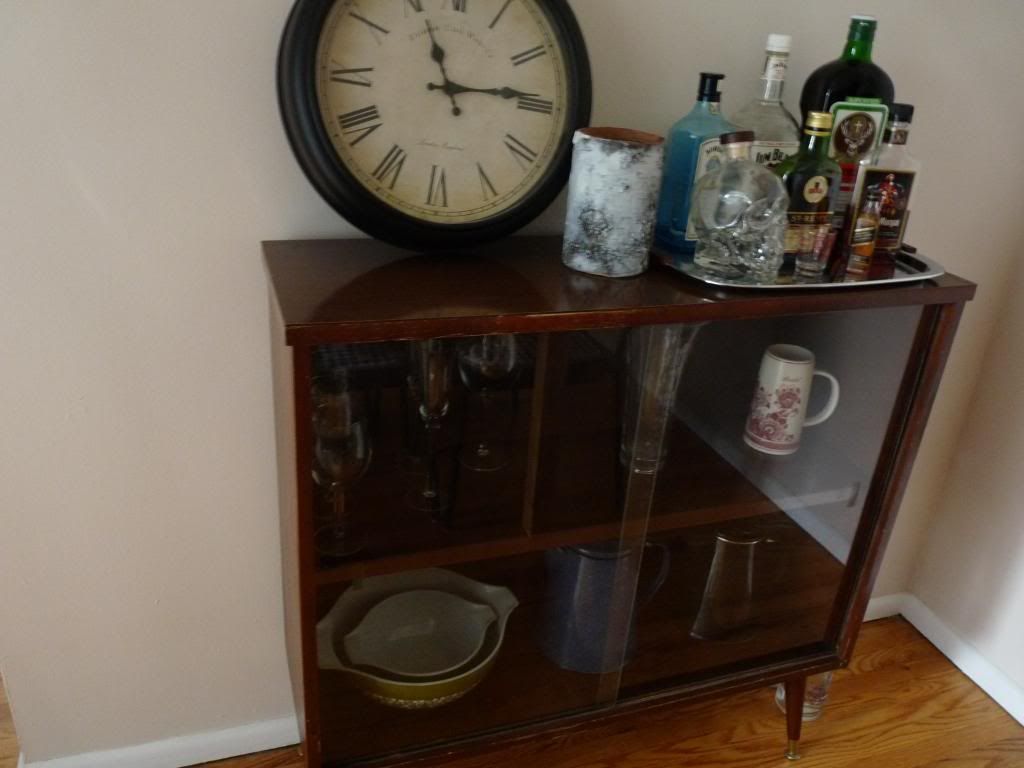
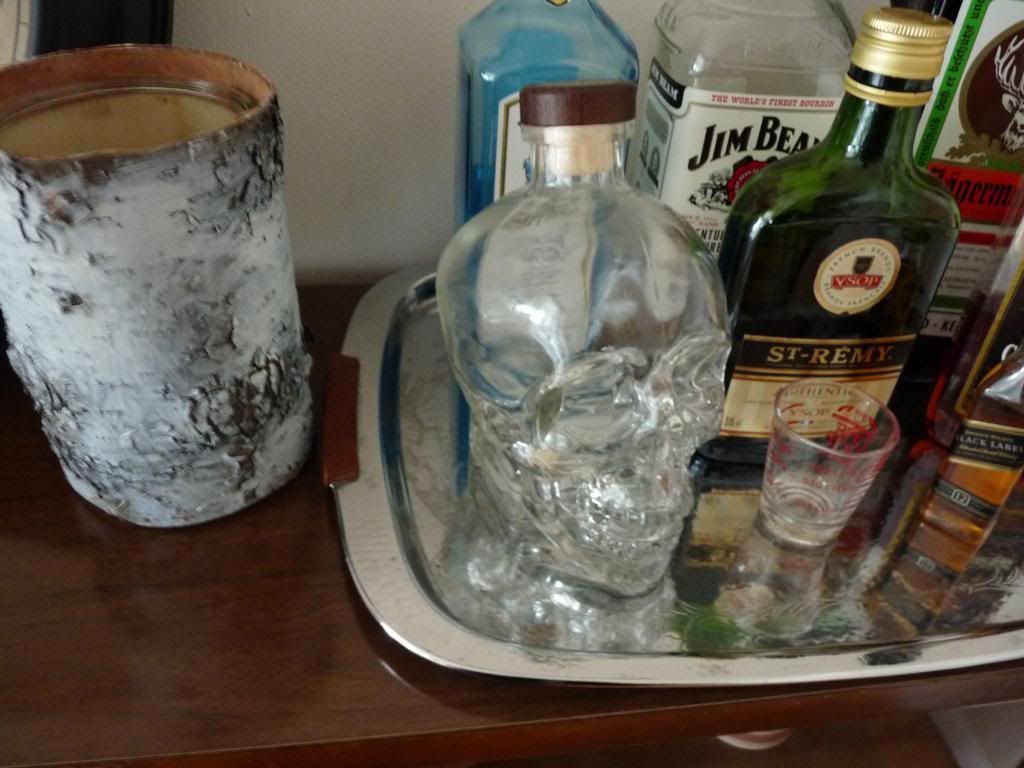
I bought a mid-century record cabinet at the antique market; my Mom saw that someone had a matching hutch, and asked if I could have it.  So she got it and brought it over to me.  I actually love this more than the record cabinet I was using, so I put that cabinet in storage, and use this hutch in the dining room.  Inside I store some pretty but useful vintage stuff: my Pyrex, some old enamel coffee pots, and a vintage beer stein.  I love the idea of a bar cart, but don't have the space for it, so we put our liquor on top on a tray.

 
The tray is also an antique from the same period.  I'm really into the 50s and 60s.  I have been for a long time.


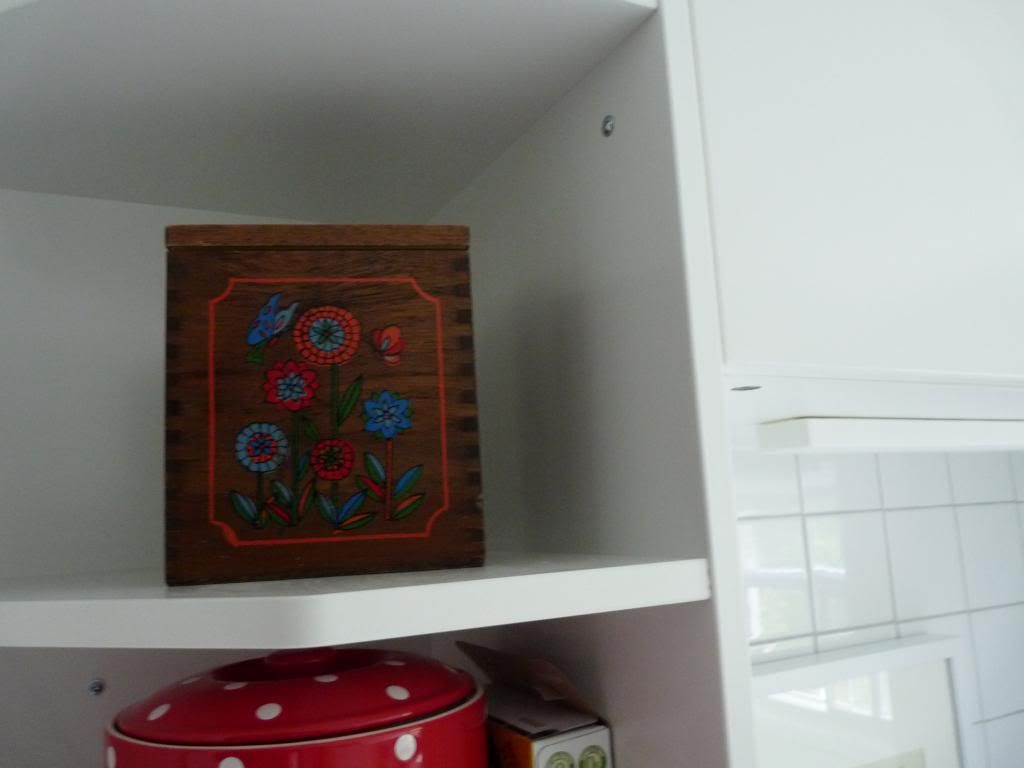
My recipe box was a lucky find.  I got it for 95 cents!  And I love the cheerful flowers on it. Also, I love that I have a shelf to display it on.


I don't have a lot of antiques in the living room.  I wanted an antique sofa, but Hamilton has a big problem with bedbugs; so I don't trust upholstered antiques anymore.  So for now, I just have some vintage baskets and crates in the living room.  This one is on our coffee table as a corral for remote controls, glasses, and tissue.  Its handy, and keeps everything in place without looking like a mess.  I put a plant in there, because, hey; I like plants.  (The table runner isn't antique, its from ten thousand villages.  One thing I like more than antiques is fair trade.)

So there you have it!  A few vintage-y things that are in our apartment.  I hate clutter, so I'm super picky about the vintage stuff I bring home.  I think what we have suits our place well.

What kind of vintage or antique items do you have around the house?  Did you find them, or were they gifts?


Friday, 30 August 2013

New Home: Picture Tour


We have finished moving!  We are unpacked, and save for a few pieces of art and some cushions, we are nested.  Since we took this move to be a new start in a new place, I decided that we should invest in some art for our walls that reflect our personalities instead of some mass-produced stuff on the walls for color.  So far, its looking really good!

I thought it would be fun to show you what we have on our walls right now, as a glimpse into our new place.  The above picture, "She said kiss me somewhere dirty..." was in our old place, but its our fave so it followed.  It was printed by my friend Dave, and I bought it from Mixed Media here in Hamilton.  It has a prominent place in our living room.  After all, we did meet in Hamilton.


In the kitchen, we have room for art now!  It is a HUGE upgrade from the last place.  It has a window, which I love, and tile, which I also love.  Over my stove, I hung this page from an antique book.  The book was a botany book from 1880.  It features 3 of my favorite things: coffee, tea, and chocolate.


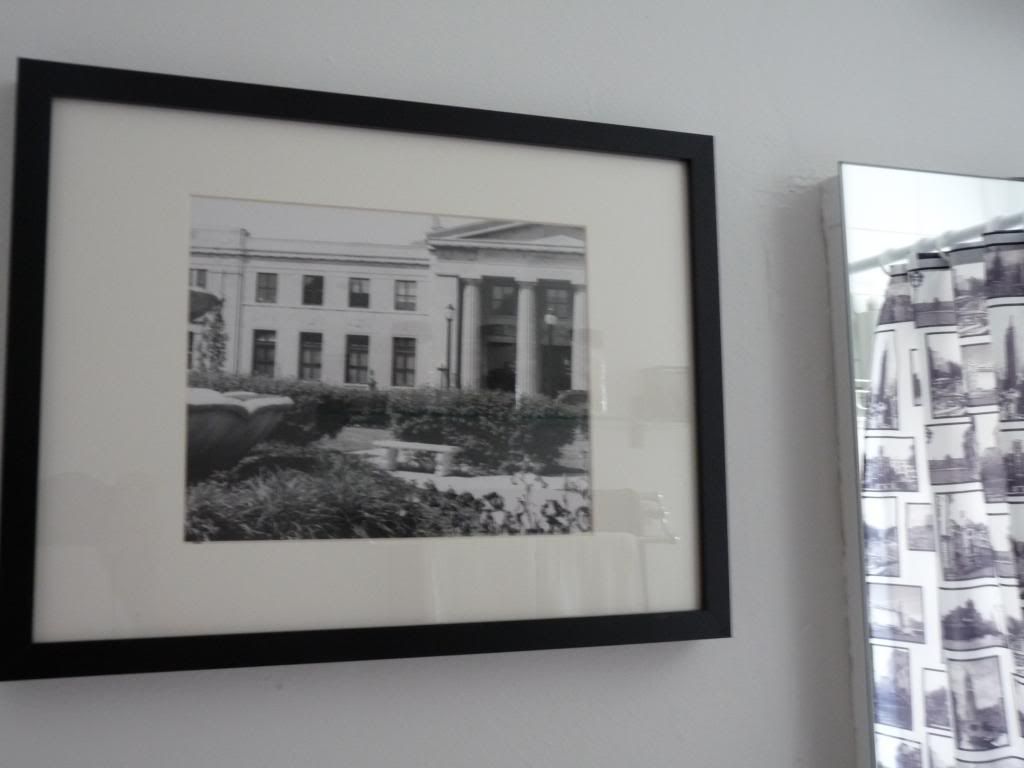
Bathroom: A photo that my kinda-cousin took during her photography course.  Its of one of my favorite buildings in town, the old train station.  Looks familiar?  If you have seen X-men or Hemlock Grove, it would-- they were filmed there.


In the office... Did I mention I have an office/ craft room now?  Because I totally do!  I have a table for sewing, and crafts, and my computer and photography stuff.  There's a closet for my music stuff.  Its the best little room in the place.  If I'm in the middle of a project, I can leave it, and my living doesn't look trashed-- I just close the door and invite company over.  It is the most exciting thing.

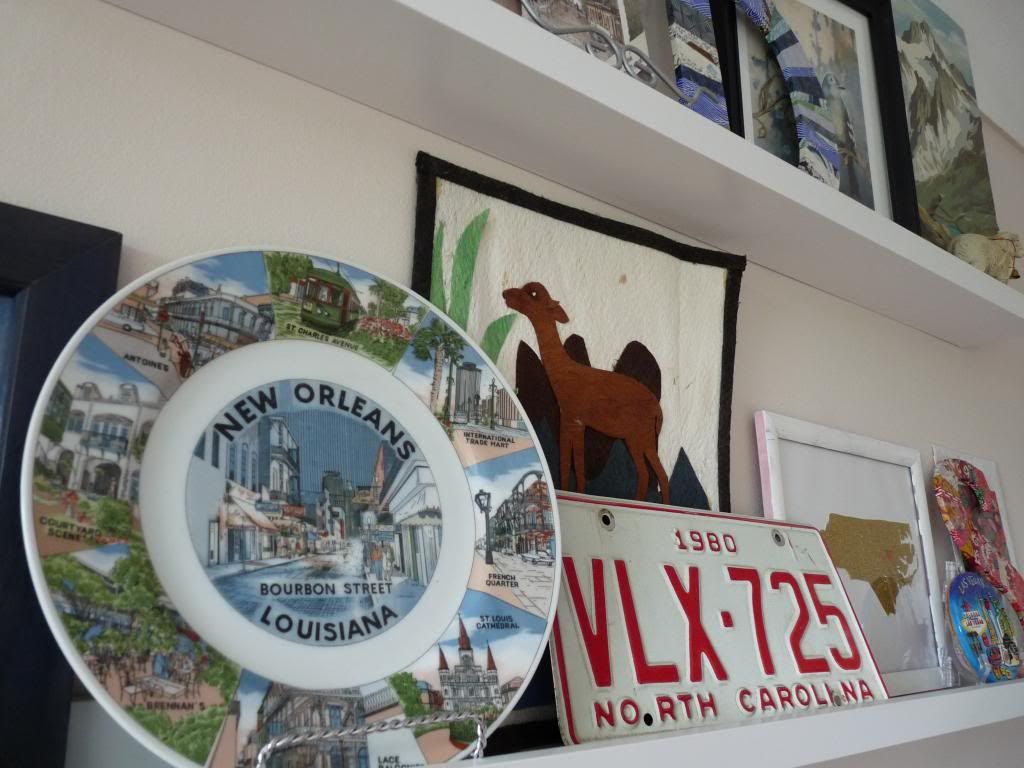
ANYWAYS, We moved my inspiration wall into the office.  Its two shelves and has cool things like the license plate from when I was born; a plate and a stone roofing tile I got in New Orleans; a souvenir from Las Vegas; some art by an indigenous artisan in Honduras and the like.  Its like a "around the world in 2 shelves," kind of wall.


The latest and probably my favorite new art are the prints I have hanging above our bed; they are prints of painting by Emily W. Martin.  I love them because they remind me of fairy tales, and our bedroom is already kind of whimsical like her pictures.  My fave of the three is the doggie.  I call her Nelly, the dog-faced child-- who you may remember from here.  This is a little more, um, I don't know... classy?

So there is some of the art we have in our new home!  Do you have a particular piece that you think represents you?  A favorite piece?


Tuesday, 22 May 2012

Thrifted: Funky Placemats


I love these woven placemats I found while thrifting!  I think they are from the 70s-- and I love the 70s.  I even taught my students how to do the hustle. 

I love the bright yellow in these.  Remember my yellow table and chairs I couldn't have? These are a little piece of that dining table of my dreams.  I think they are super cute, and they totally match my mushroom salt and pepper shakers.  Even D likes them!

My dream is to have the whole dinning room decked out in 70s vintage.  But for now, these go nicely with what we have. 


They even look good under a stack of blueberry pancakes.  Is there any particular era that you love to look for?


Friday, 23 March 2012

A Star Bunting and the best invitation ever


I forgot that I crocheted all these stars.  I couldn't remember why I made them, so I decided to do something with them.  I made a bunting!  I'm a little obsessed with buntings lately; there are so many beautiful fabric ones to buy on Etsy.  I've been meaning to make one, but I haven't got around to it yet.  So when I saw these stars, I had to turn them into something I could hang in my room!


I love it hanging under the window, but I'm not sure how to stick it up.  It is being held on with tape which is kind of tacky (pun intended!) and really temporary.  I could put some nails in the wall, but I have a hangup about holes in the wall.  Even most of our pictures hare hung on sticky hooks.


The little stars are cute!  I have a thing for stars.  Last year my classroom was decorated in stars (I had a theme for the year and it was space travel).  I love the shape of them, and I love the colors of these.

Do you want to make a star bunting?  Well, it so happens that I wrote out the pattern!

Little Crochet Stars

I used worsted weight wool with an H/ 5.00mm hook

Make a magic ring (adjustable loop) and chain 4

First round: in the ring ch 1, 3 dc *ch 2 3 dc. Repeat * 3 more times, ch 2 and join to the first ch 1.  You should have 5 groups of dc clusters separated by ch 2 spaces.

Second round:  sl st in the next dc. *In ch 2 space work 3 dc, ch 2, 3 dc. Skip the next dc and sl st in the middle dc of the cluster. Repeat * around.

Third Round: sc into each st of round 2.  In the ch 2 spaces work 2 sc, ch 3 sc. End the round with a sl st.

Make as many stars as you would like in the bunting.  I used 9 (4+1+4) so that it would be symmetrical.  Attach stars together in the ch 3 points using coordinating yarn.  On each end, attach a length of yarn, and crochet a chain for as long as you need to attach bunting.  I chained 10 on each side.

After the bunting is attached, on a medium iron, iron your stars flat.  I used a little bit of laundry starch, but you could use watered down white glue using this technique (link) too.  After the stars are dry and flat, your bunting is ready to hang!


Find somewhere that needs a little cheering, and set it up! 


 In other news, I got the greatest wedding invitation in the mail today.  My lovely friends Kate and Ian are getting married!  And this was what they sent out:


Isn't that so funny?  I got the card, and you pull off the mustache for the date!  I love it.  And Kate and Ian are two of the funniest people I know, so this card is completely suitable for their event.  This invite really made my day.

The guy on the card kind of reminds me of a face from the game "Guess Who?" Remember that one?