Showing posts with label dirty hippie. Show all posts

Saturday, 24 November 2012

Dirty Hippie DIY: Cure for the Common Cold


'Tis the season for coughs due to colds.  And a doozy of a cold has been going around my workplace.  I think I've caught it (or a mutated version of it) 3 times.  I think I'm starting on number four now.

But I don't like taking all sorts of chemically stuff when I'm at home and I can rest away my illness.  So I go the good old fashioned route and sleep and drink gallons of tea.  I have a special recipe for a mixture I drink in hot water-- it always makes my stomach feel better, and it usually soothes my throat.  And the hot water helps my stuffy nose.  And, it tastes good.  AND, there are no chemicals in it. 

There is no name for it.  I call it the "tea jar" in our house.  There are a few different versions that I've used, but this is my favorite.  You can make your own "tea jar" with 3 ingredients:

1/2 cup of honey
2 inch piece of ginger root
1 lemon

That's all you need for some soothing tea.


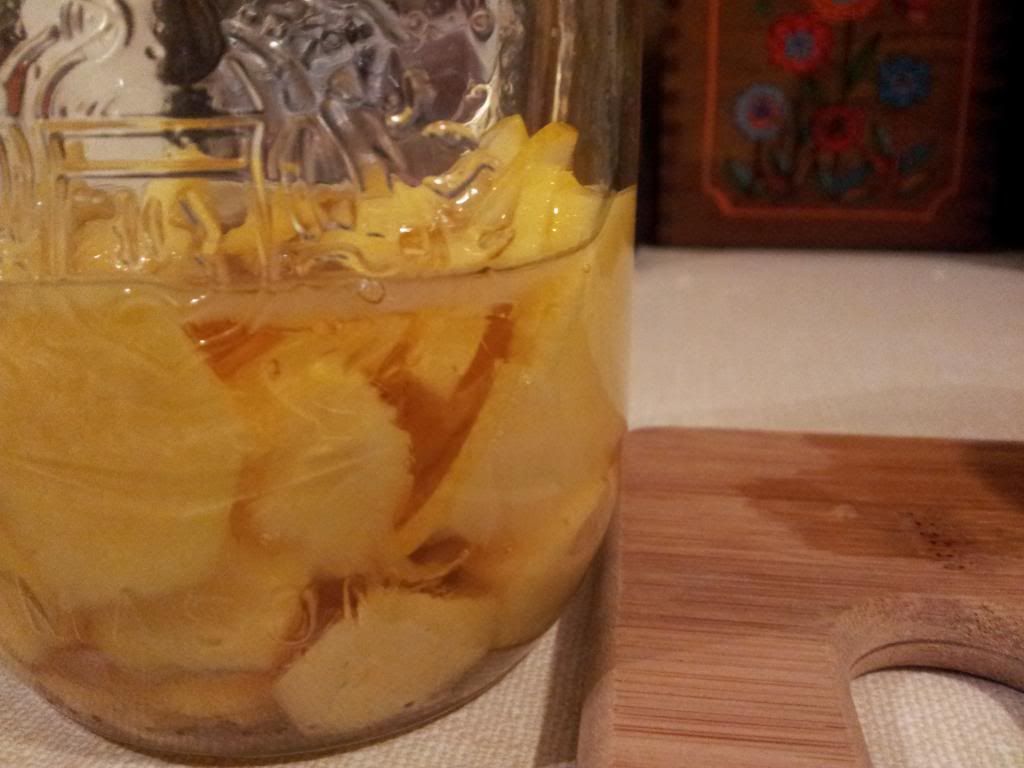
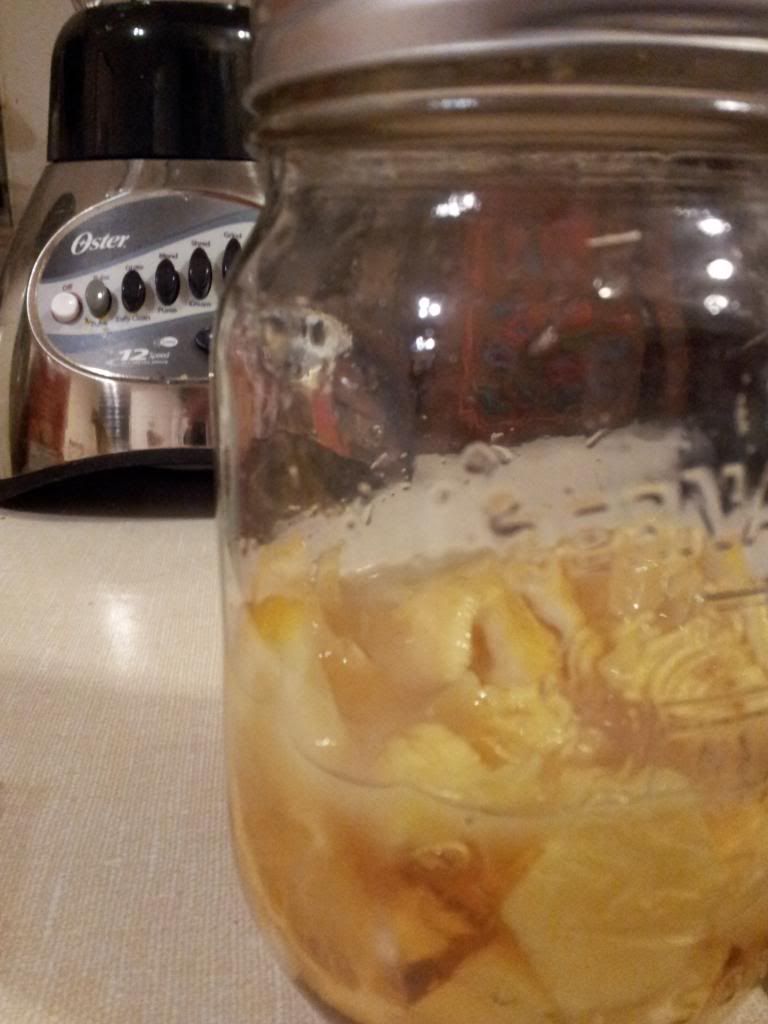
Peel the ginger root and slice it really thin.  Wash the lemon, squeeze some of the juice from the lemon into the jar and then slice it really thin.  Put the lemon and ginger in a mason jar, and shake it to distribute it in the jar evenly.  Pour the honey over the whole thing, and seal the jar.  Store it in the fridge.

You could probably use it right away, but it is better if you wait.  I usually wait over night, but a couple of hours is okay too. 


To use it, boil some water, and put a heaping teaspoon of the honey in your mug.  Pour the hot water over it, and sip. 

I think I'll go make some now, I feel an itch in my throat...


Wednesday, 29 August 2012

Foodie: Breakfasts on the Go


I used to be the type of person who grabbed coffee and a muffin on the way to work.  Not the healthiest way to start my day, and really expensive.  So I started looking for things I could take with me that were not costly, and were not, basically, a bald cupcake for breakfast.  So someone, I can't remember who, turned me onto refrigerator oatmeal.   And I totally love it.

If you don't know what this amazing concoction is, essentially, it is soaked oats in various yummy yogurt mixtures.  You make it the night before, and grab it in the morning.  Its super easy to make, and I find them very yummy.


All versions start with the same 2 basic ingredients: oats and chia seeds.  Yes, the Ch-ch-ch-chia kind.  Here's how I make it:

Ingredients:
1/3 cup of plain Greek or Balkan style yogurt
1/3 cup of rolled oats (not instant or quick cooking or steel cut)
1 Tbsp of chia seeds
1-2 Tbsp skim milk, or almond milk or coconut milk
1 Tbsp of some kind of sweetener like jam or maple syrup
1/3 cup of fruit, cut into small pieces

Instructions:
Mix the oats, yogurt, chia seeds and milk into a take-along container (I use old mason jars), and mix.  add sweetener, stir, then add fruit to the top.  If adding bananas, add in the morning so they don't go brown.  Put in the fridge for at least 4 hours.  Then you can eat it!

That's it.  No cooking required.  The oats and the chia swell, so this makes a fairly hearty breakfast.  I usually can't eat it all.  You could probably reduce the measurements to 1/4 cups, but I haven't done that.   I really like it.  And its nut free so I can eat it at school.

The first combination that I fell in love with was strawberry jam as the sweetener, and banana as the fruit.  It is yummy.  Since I first started making it, I have created two new flavors:


You make it the same way, but use maple syrup for the sweetener, and blueberries as the fruit.  This is my new favorite.


At a close second it this version.  It is a little tart, but in a good way.  Its second because there are a lot of seeds.  Teeth, proceed with caution on this one.

Got any other nut-free on-the-go breakfast foods for me?  That aren't desserts in disguise?

Saturday, 18 August 2012

DIY Week: Natural Make-Up Remover


I don't often wear makeup.  I don't like it on my face, and I'm not especially skilled at putting it there.  But, there are sometimes when I have to wear it; like when I'm in a show or play, or for formal events.  So, there's no way around it, makeup is a part of my life.  I found that the makeup removers that I can buy were either super irritating, or super greasy and caused some problems for my skin.  Not to mention they are kinda expensive.  So I found an alternative.


Here is what I use to make my makeup remover.  Its a short list of ingredients:

1/2 cup of distilled water 
1 tbsp of extra virgin olive oil
1/4 tsp of aloe vera gel
8 drops of Seabuckthorn Seed Oil
A clean bottle in which to store your remover

A Note: The Seabuckthorn Oil is not a necessity for the remover to work.  I add it because it has soothing properties, and because I use it on my face as a moisturizer every day.  I also like the smell of the oil, and I know that it is safe for use around my eyes.  It is pretty pricey, and a little hard to find; but like I said, it is totally optional for this recipe. 


Add all the ingredients to the water in your bottle.  The oils will sit on top of the water, because oil is hydrophobic.  Commercial cleansers get around this by adding emollients to integrate the oil into the water.  Instead of adding chemicals, all I do is shake this bad boy up before using.  The oil and the water mix briefly after a good shake.  Squirt a little onto some cotton while it is mixed, and remove that makeup!


The remover with start to separate again after you let it settle.  That's normal and not a problem.  Just remember to shake the bottle before using.  It works really well, it took off my mascara here.  I put a little on the cotton pad, hold it against my eyelashes for a few seconds, then rub it off.  Easy peasy!


Last day of DIY Week!  I've had a great time sharing some of the products I make for myself.  I hope that you found the tutorials informative, even if you don't give them a try.


Thursday, 16 August 2012

DIY Week: Homemade Deodorant


Well, "dirty hippie" installment number two here: make-your-own deodorant.  I didn't really talk about my skin allergies, and I won't go into too much detail, but my skin can't take much abuse.  If there is pressure on it for a long time, like from a bra or waist bands on pants and such, I develop bad bruising and rashes.  I have horrible scars around my ribcage from this.  Also, certain chemicals cause me to have sever contact dermatitis, which is a bad rash that is both itchy and painful.  For a long time i thought I would just have to bear it since I couldn't go naked, or without certain grooming products, like deodorant and hair gel.

But after years of suffering, I decided that I couldn't handle it anymore.  I met some friends that taught me all about natural alternatives to things like deodorant.  I have used a bunch of brands, and they all worked about the same.  I never smelled bad, but I did sweat.

I never really cared about sweat showing on my clothes; I'm from the Southern U.S.! We sweat there all the time.  But here in Canada,  the more people kept pointing it out to me, the more self-conscious I became.  So I went back to my old anti-antiperspirant. 

One day, my skin rebelled so fervently, that I had to take time off work because I couldn't function-- I had to keep my arms raised to have even a little comfort.  I realized that I needed an alternative; so I started making my own deodorant.  At first I used a recipe I found online, but then I changed it and honed it to my needs.

Why use a natural deodorant?  Well, it's no secret that there are tons of bad chems in regular deodorant that seep into your body through you skin.  Cancer researcher Dr. Philippa Darbre of the University of Reading says there is evidence that the aluminum-based active ingredient in antiperspirants can mimic estrogen in the body.  Parabens also increase the risk of breast cancer my mimicking estrogen, according to some experts. Researchers have found parabens inside autopsied breast tumors. Dr. Darbre comments on the study:


And that's not all.  Other harmful chemicals include: Propylene glycol (anti-freeze); TEA and DEA (hormone disruptors);  FD&C colors (carcinogens, and made from coal); and aluminum (a neurotoxin).   Dr. Samuel Epstein, specializes in environmental medicine points out, "Not a single cosmetic company warns consumers of the presence of carcinogens in its products." 


If you are going to use a homemade deodorant, you will have to get used to sweating.  This stuff will not block sweat from coming out of your pores.  So you will have sweat stains.  I am fine with this, so I love my homemade deodorant.  It makes me smell like oranges.

Ingredients:
1/8 cup of shea butter
1/8 cup of cocoa butter
2 tbsp of baking soda
2 tbsp of cornstarch
1/4 tsp of Vitamin E
8-10 drops of essential oil (I use sweet orange)
8-10 drops of tea tree oil

You can get most of the ingredients fairly cheaply from Goodness Me, or Whole Foods.  I bought the Shea butter Fair trade through Ten Thousand Villages.   

Substitutions: Some people use coconut oil.  I haven't tried it; I'm one of those peoples whose body and hair doesn't really like coconut oil; and because I have always used Shea and cocoa butter for moisturizers too.   You can use any essential oil scent you want, I use orange because I like all my grooming products to smell the same.  (This is going to sound odd, but I like making my own body products so that I can customize the scents.  All my products use the same scent.  I like smelling vaguely of oranges.)  Sometimes I add some Witch Hazel (or I guess you could use cheap vodka?) for evaporation of sweat, but I didn't in this batch.  If you want to use it, add 2 teaspoons.  It does the same job of the tea tree oil; its an antibacterial, to kill the bacteria that causes body odor.


This is super easy to make.  Put the Shea and cocoa butters into a microwave safe container that you won't be using for food.  Pop them in the microwave for one minute and take it out when the butters have melted.  In my microwave it only takes 20 seconds.  Once they are melted, add your baking soda (deodorizer); your cornstarch (absorbant); Vitamin E; Essential oils (smells nice); Tea tree oil (anti-bacterial); and Witch hazel if using (anti-bacterial and evaporation of sweat).  Always add your oils at the end of the process; if you heat of the oil, the fragrance will dissipate, and it will be useless.  Some oils are volatile, and can catch fire, so don't heat up the oils.  Give it a good stir, and let the mixture cool, and solidify.

This will give you about 125 ml of cream.  I store mine in a mason jar.  It doesn't have to go in the fridge, the Vitamin E helps preserve it.  Sometimes, when I have it, I add some grapefruit seed extract for preservation too.


It will get pretty hard.  To use it, I scrape some out of the container with my finger nail or a small metal spoon, and let it soften in my hand before I rub it onto my armpit.  I use an amount about the size of a soy bean once a day.  DIY hair gel, DIY deodorant, you too can be on your way to becoming a dirty hippie! Please let me know if you try this!

 There are still 2 more days of DIY Week left!  
Every day this week I will be sharing a new DIY project.  I hope you find them useful!


Wednesday, 15 August 2012

DIY Week: Earth-Friendly Laundry Soap


It looks like flour with cheese in it.  But it is actually my laundry soap.  Or should I call it my laundry mix, since its only part soap?  Its not a detergent; surprise, surprise, I'm allergic to those.  Whatever we call it, it is what I use to do my laundry.  Since Wednesday is laundry day, our DIY is about my laundry mix! (that doesn't sound right, need a new name.)

The mix I make is a bare bones washing mix.  It has 3 sometime 4 ingredients.  It works well, has no strong perfumes, and is not bad for the environment.  Three-way win!


This batch used:
1/2 bar of Castile laundry soap
2 cups of borax
2 cups of baking soda
(and usually 2 cups of washing soda, but I didn't have any.  It will still work without it.)

Grate the soap.  I use a grater that I don't use for food.  I bought it at the dollar store for DIY-ing, not cooking. 


Mix the grated soap with the other ingredients.  And that's it.  I store the soap in an old Soy-Protein powder jug because it is a great size and has a 2 tbsp scoop in it.  Perfect for storing our laundry mix.

To use it, scoop 2-4 tbsp of mix per load into the washer while the water is running before you add your clothes.  We has always used liquid detergents, so I didn't know this gem of information.  Let the mix lather and dissolve, add clothes and launder as usual.   The best part about this recipe, is that you don't need to use any of that toxic fabric softener either.  Baking soda acts as a water softener, and makes your clothes really soft afterwards.  

 
There are still 3 more days of DIY Week left!  
Every day this week I will be sharing a new DIY project.  I hope you find them useful!


Tuesday, 14 August 2012

DIY Week: Flax Seed Hair Gel


I've been called a "dirty hippie" more than a few times.  Its no secret around here that I make more than a few of my own personal grooming products.  So I see the label of "dirty hippie" as a sort of badge of honor; although I am never really "dirty."  I just don't use, and therefore don't smell like commercial products.  Instead I smell like, well, oranges.

I choose to make my own grooming products, but I also kind of have to; I have a severe allergy to SLS (sodium lauryl/laureth sulfates) and other surfactants.  And while SLSs could be considered as a DIY shark repellant, it is something I would rather not have near my skin.  So, I have to make my stuff including hair gel.

I make the easiest natural hair gel in the world from flax seeds.  It is especially popular with the natural hair movement, and other women with curly hair.  I have natural hair.  I love it, and I can't ever see myself getting it treated ever again.  After I went through the big chop, I started using this gel, and no chemicals in my hair.  And my hair and scalp have been happier for it.

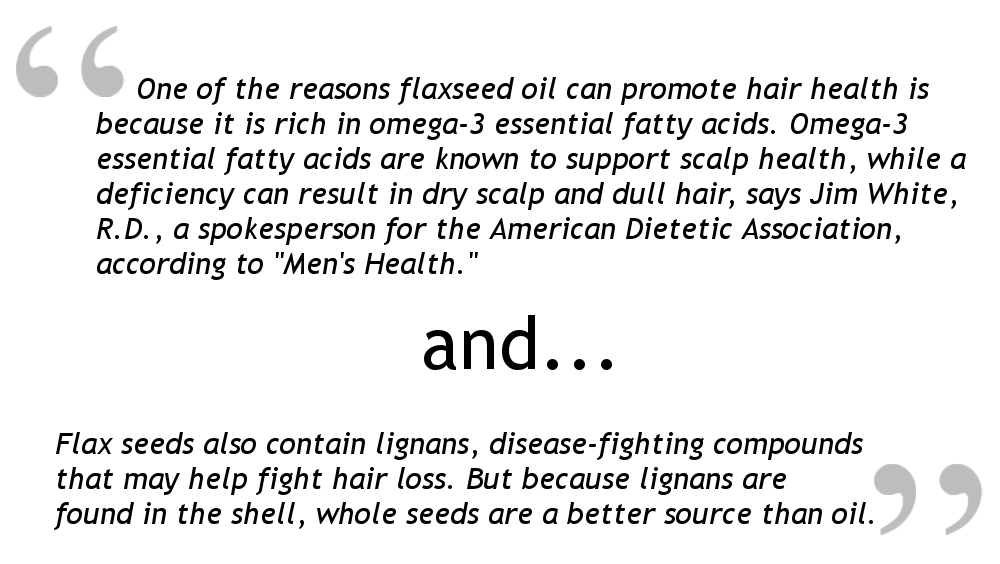
Still not convinced?  Here is what Livestrong.com has to say about flax seed and how good it is for hair:


Hooray for flax seeds!  There are more than a few resources on how to make Flax Seed Gel; and my method is no different than most of the others.  Here is a great video and a printable resource if you want to make it for yourself.  I have some pictures to show you how the process works for me:

I use the ratio of 1/4 cup whole flax seeds to 2 cups water.  This makes just about 250mL of gel, which lasts me for almost a month (it only stays good for about that long anyways.)  I also only add Vitamin E, grapefruit extract and sweet orange essential oil, that's why I smell like oranges.  I let the gel cool a little before squeezing it out; I'm not Superwoman.

Boiling
Gelling
Straining
Squeezing
Gel!

I store my gel in the fridge in some little mason jars, and I use it everyday.  I like it because it smells good, and doesn't leave my hair crunchy (I hate that.)  The best part though, is for a $2.00 scoop of flax seed from the Bulk Barn, I get a year's worth of hair gel.  That means I spend $0.16/month on hair gel.  I love DIY.


 There's still more DIY Week coming up! 
Every day I will be sharing a new DIY project.  I hope you find them useful!