Showing posts with label decorate. Show all posts

Tuesday, 13 October 2020

Macrame All the Way!


I love learning new skills.  And I needed a plant hanger.  So I took up macrame and added another craft to my craft-lexicon.  Its relaxing.  But its not passive.  Its a lot of reaching (especially if you are working on a large piece).  But the results are really nice.  Its not the cheapest of hobbies, thicker rope is pretty pricey, so you don't want to waste it.  

But it is kinda quick, and the things you can make are really nice.  And its pretty quick to learn.  You can make nice things with 2 knots, and then you can learn a bunch of knots if you are so inclined.


This is the first thing I made.  I went for it.  And I learned a lot while making this, even though it only used 3 knots.  It hangs in my bedroom as part of Operation: Macrame my bedroom.  I'm going for a whimsical, but light theme for my bedroom, and this def fits.  It is pretty large too.  A little ambitious for my first macrame hanging, but I'm glad I powered through.


The other hanging I made for my bedroom is this plant hanger.  I got this lovely pot at the nursery I buy my plants from.  And its looks lovely.


I have a lot of plants.  So learning this has allowed me to hang my plants around.  One of my friends said it looks like "a hug for a plant." It does.


I have enough plant hangers, so I started looking for things I could make with knotted rope.  So I started making these coasters since I wanted some for our nightstands.  And I think they looked pretty cute.

I really enjoyed learning this, and I'm thinking of other ways I can incorporate macrame into my crafts.  Ooooh, maybe a lamp shade?


Monday, 18 August 2014

My Kijiji skills are strong


For 2 years-- 670 days-- I have been looking for a kilim rug.  It's not that I couldn't find one, I found many I love at prices I did not love.  I'm not cheap, per se; I like the word the French use economisee.  I couldn't justify to my wallet (or my partner) spending more than 600 dollars on a rug. But after a year of stalking eBay and kijiji, I found one!  And at a really good deal, probably too good...

ANYWAYS, I contacted the seller and drove an hour to pick it up and after a good vacuuming and a quick clean, it ended up in my dining nook.

And I love it.


Friday, 15 August 2014

Made: Woven Wall Hanging

From: Creative Bug BlogA Beautiful MessA Pair and a Spare

Usually, I'm slow to notice trends.  I don't read about them, and usually I don't really care.  I like what I like, you know?  But if there's a trend that centered around a DIY, I'm there.  I love when I figure that out.  and that's what I fell about this trend of woven wall hangings.

I am seeing them EVERYWHERE.  I couldn't read a DIY blog without it popping up, y'all.  And the more I saw them, the more I wanted one.  So, I decided to try my hand at one.  I've woven before, but now I don't have a loom.  I've meant to buy a new one, but never think of it when I have the money-- and there's a new Fossil Store in my town, and other things and places I wanted to go and things I wanted to do.  So I never bought one.  But that didn't stop me!  I made this:


...using yarn and some cardboard! 


That's the best part about weaving-- you can use almost anything and weave.  If you want a full tutorial on the process of weaving little wall hanging, A Beautiful Mess has a great one here.  If you don't own a loom (and don't want to buy one) you can substitute a piece of corrugated cardboard at least as big as you want your hanging.  Then cut some notches in the top and bottom (directly across from each other) to weave your warp onto.  Then you can follow the tutorial as written. 

The good thing about using cardboard instead of a loom, is that you can draw a guide for your image onto the cardboard.  That way you don't have to wing it.  I wanted some triangles in the "Flying Geese" pattern I love on quilts. (Note: The link leads you to a page about the Underground Railway "Quilt Codes."  I don't want to hear about how the theory of the quilt codes were "disproved."  I like the story, whether true or not.  It speaks to the ingenuity of the slaves and their allies while trying to escape an unjust system.)  So I wanted some version of it for my wall.


I used some neutral wool, and some Noro yarn for the triangles, a Japanese wool with awesome colors.  The weaving was really fast!  I finished it in one day.  I started it in the morning with my coffee, and finished it while I was watching Arrow.  I held the yarn double for the weft to make it thicker.  I like how it looks.

    
I hope you give it a try!  It was a satisfying DIY with a great end product.  If you do try it, make sure to link back so I can see it too!


Thursday, 13 March 2014

Carving out a Reading Nook


I love to read.  I read everyday.  Most of the time, I read before bed.  I find that its the best way to calm me down; and then I can really get into a story.  When I read, I need a quiet place.  So when I thought about making a little spot for reading, my bedroom became a great place for such a thing.  There's not much to my reading nook, just a comfy chair, a table for a drink, and some cushions and soft things.  And a light.  I may change the light, but for now its a great place for me to read and relax before sleeping.

Do you have a special place to read?  Where is it? 


Friday, 7 March 2014

Branch Weaving


Branch weaving showed up in my Pinterest feed, and I thought it looked really cool.  I really wanted to try it that minute.  But I didn't have a branch.  Because the city was living under 3 feet of snow.  And I don't pull branches of trees, because that's bad for them, and I'm not a 10 year old, so I waited until I came across one laying on the ground.

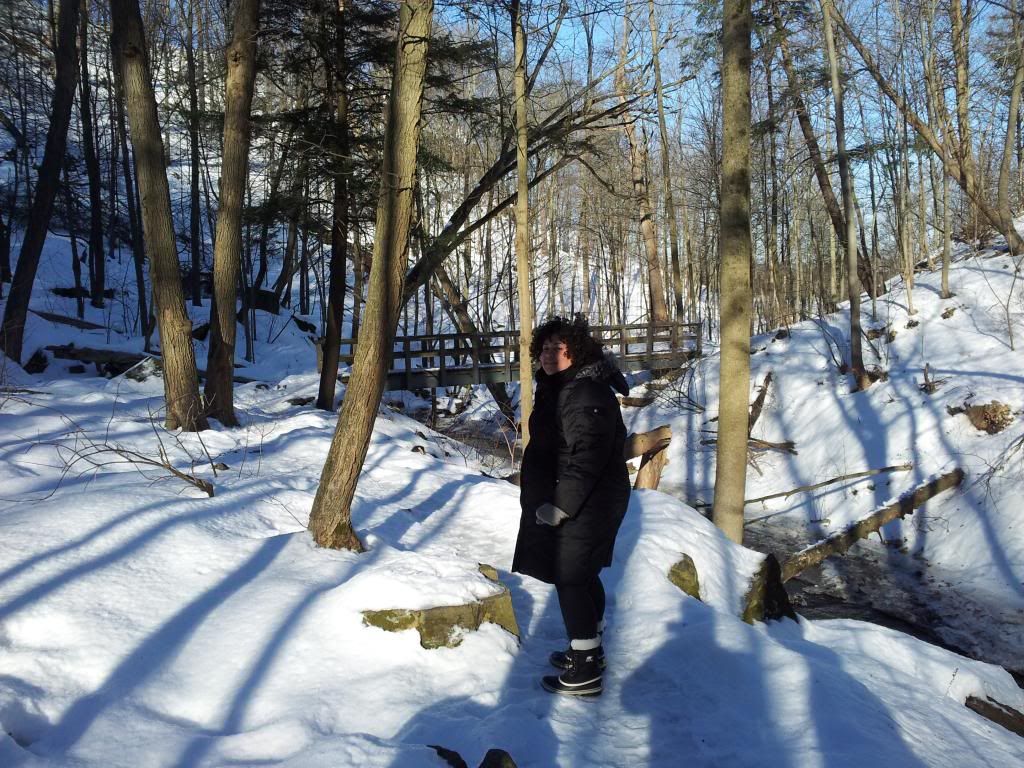
Last week, D and I went on a death-defying hike.  The trail was covered in ice.  So much ice!  What wasn't ice was knee-deep snow.  It was beautiful, but treacherous.  That bridge in the background?  Completely iced over.


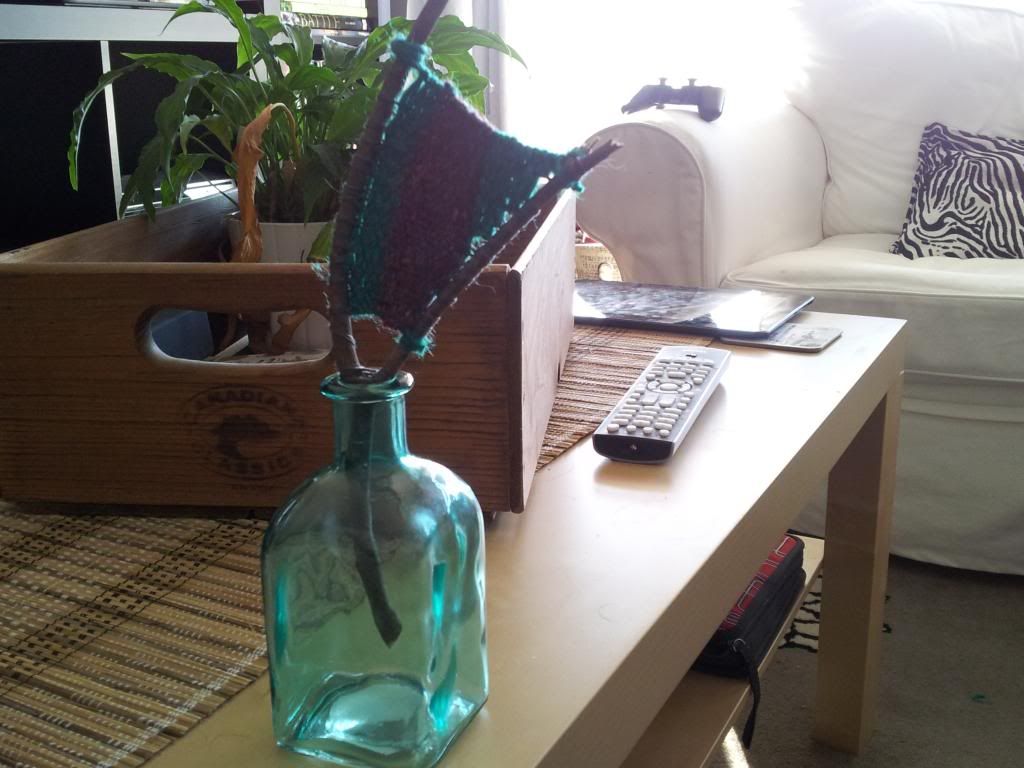
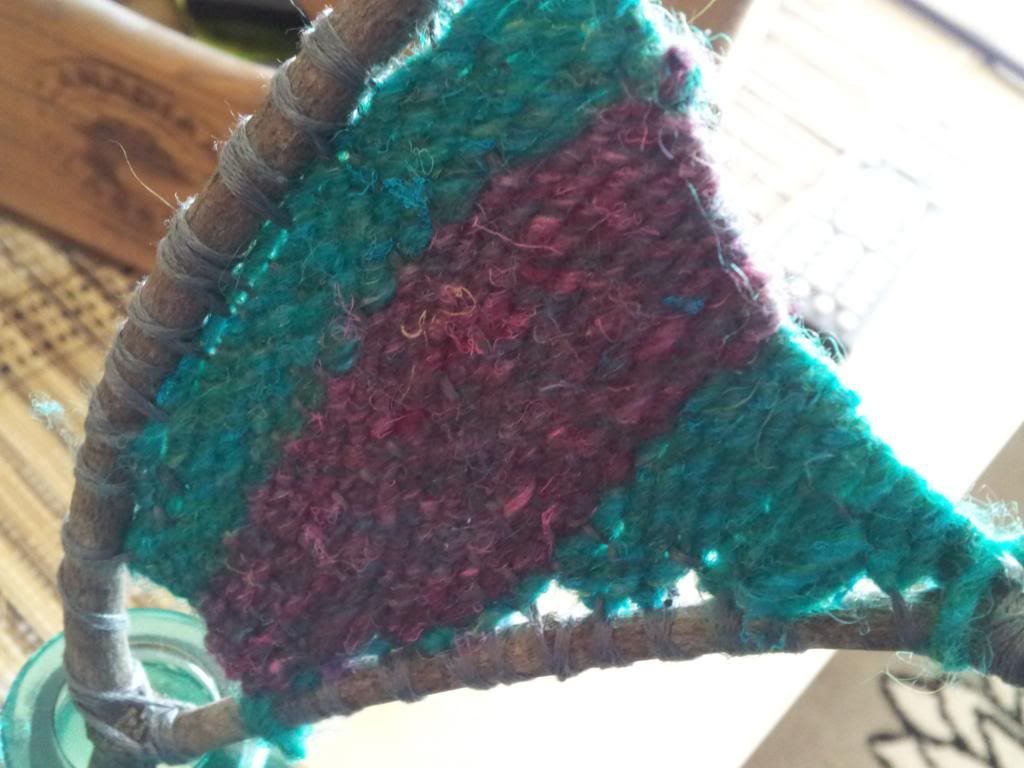
But, I found a branch, and during one of my fave TV shows, I set to weaving on it.  When I finished, I thought it looked nice:


But, I had no idea what its use was or what I would use it for.  I needed to finish one of these, for some reason.  Now that I have, It sat on the coffee table for a few days.

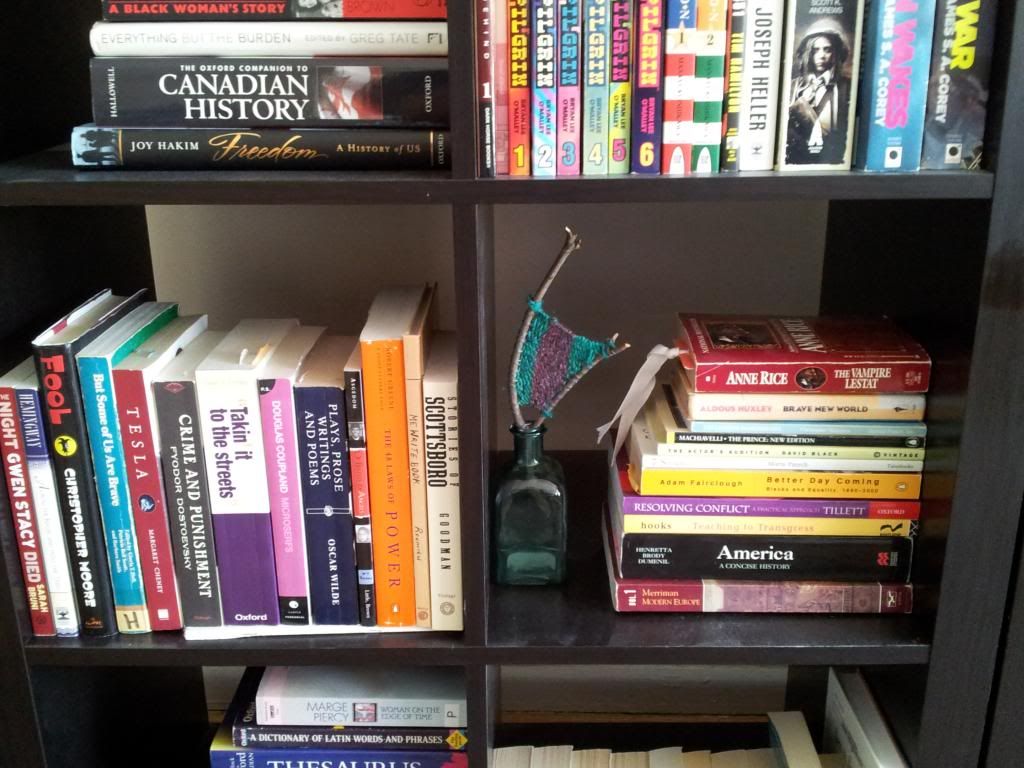
When we came across these bottles on sale for $1, I knew where I could put my new weaving:


So now it lives on my bookshelf.  Making my books a little more interesting.


Saturday, 15 February 2014

Homefront Progress


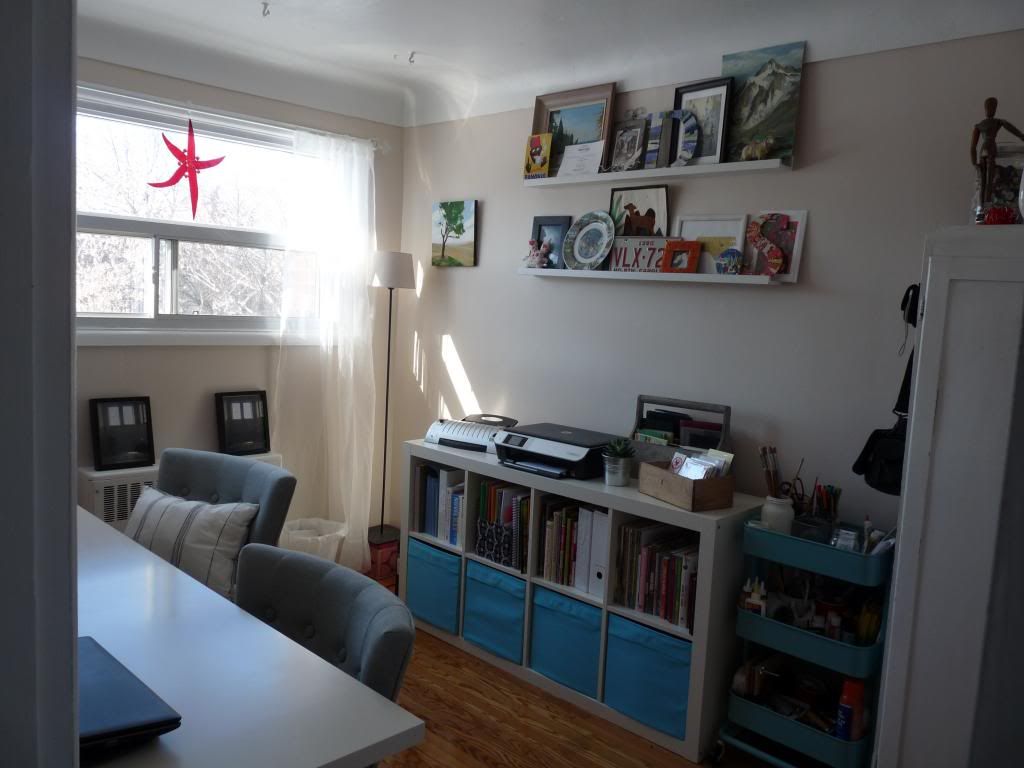
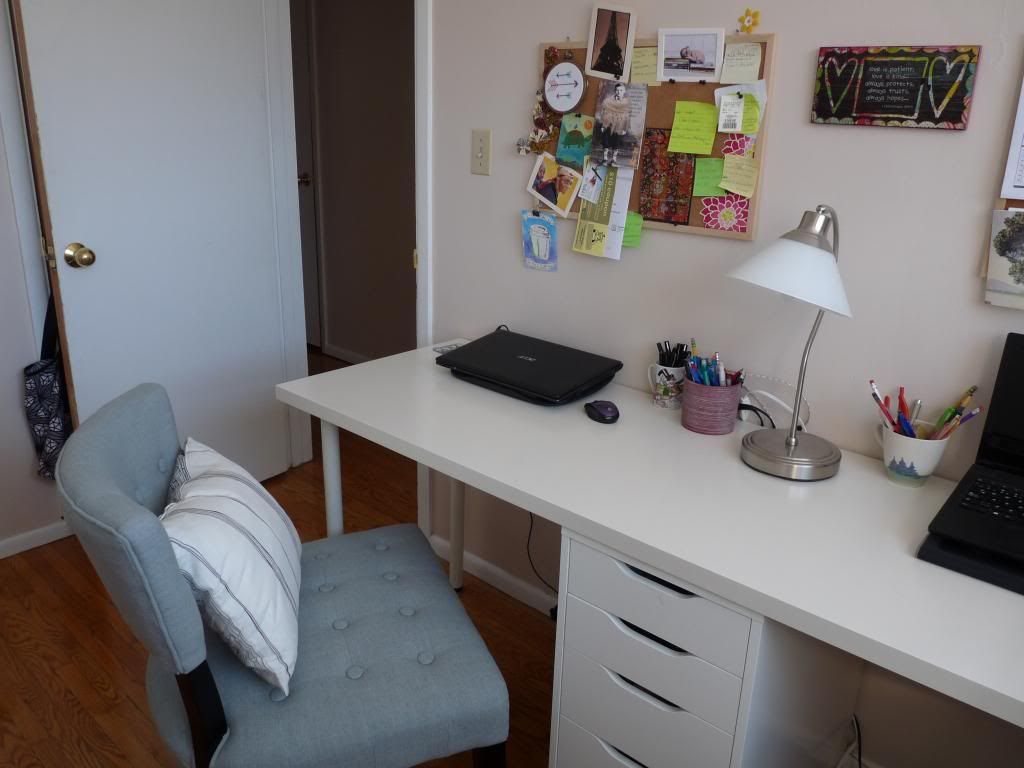
Slowly, we are starting to make this place our own.  It took us a while to get used to the space, and figure out what furniture we needed (or needed to get rid of.) This room, our office was one space that I was never happy with.  I felt that it was mainly storage, and not that pretty for a while.  I didn't have any plans for the craft supplies etc that I had.  So I made it my mission to turn this room into a space that I like in work in by the end of the winter.

In an attempt to make our workspace look a little more organized, we went to Ikea for Valentine's Day (so romantic!) and bought a cart for my crafty stuff.  With the shelf and the cart and the cabinet, I think it looks cleaner and more organized.  Everything is accessible, and with the cart I can pull over my supplies if I need them.


I'm able to keep all of my materials, and yarn and knitting books all in one place.  I love how bright this room is now!  Its a really great place to be creative.  Its not a huge room, which is fine, so we used a few tricks to make it a place where D and I could both use it and be creative.  The back wall is mainly storage:  The bookshelf holds our books and the bottom baskets hold other things not easily stacked on a shelf (mostly yarn.)  With the bookshelf on its side, we use the top as an extra counter top.  I can move the laminator and use our counter-top ironing board if I am sewing.  Otherwise, it holds our color printer and some journals.  I am a sucker for a journal.


The big purchase we made for this room was the chairs.  I wanted really comfortable chairs that you could sit in for hours.  In the end we decided on this accent chairs that we found.  They are so cozy:  I can sit on them cross-legged, the back is really supportive.  They are great!  They were not super expensive, but they were more than I would usually spend on a chair.  They were worth it!  I love sitting in here now. 

It feels really good to get a room to where you want it.  Still working on some other rooms in the house.  I hope you don't mind if I continue to share my progress in decorating our space!

Do you have a room that gives you trouble?