

Are you sick of my new apartment posts yet? This might be the last one for a while, I'm hoping to post some thoughtful pose up here soon. I made some throw pillows for the living and bedroom lately. I was having a really hard time finding pillows in the colors I wanted. So, in true DIY fashion, I went to the fabric store, and found some great fabrics (on sale!) and set out to make them with my new sewing machine. I thought I would show you a "Pinterest-almost-success-project" pillow.
I don't usually try the things that I see on Pinterest. I usually look for my projects through books or other blogs-- there are some talented bloggers out there to learn from! But I really liked the look of a runched pillow. And I thought one would look so nice on my bed. I saw a great tutorial (on Pinterest) and thought I would try it. I'm not going to go through the steps; if you want to make one use the tutorial. It is super-detailed. I will however give you some tips based on making this pillow:
- You need almost 2 times the width of fabric for your pillow. If you want a 24" wide pillow, your fabric needs to be at least 40". The runching shrinks the size significantly.
- Draw your lines on your pillow. Otherwise you will have crooked seams like me.
- Measure the distances between runchings. Again, or it will look weird. Like mine.
- Even though the tutorial says to fold over your edge, I didn't. It made the pillow hard to sew into, well a pillow. Just gather the material 1/2" from the edge, and make your seam close to the first gathered seam.
- Use the same color fabric and thread. You can really see the thread in this project, so its better if it blends.
- Don't cut the backing piece of the pillow until you finished the front part. Then measure for the back piece. That way it will match perfectly.
- Go slow when gathering, or you will break the thread. Ask me how I know.
- I found it easier to do 3 seams for each line. I gather the top, the middle then the bottom. This way I didn't break the thread.
This is what the pillow looks like in my new bedroom:
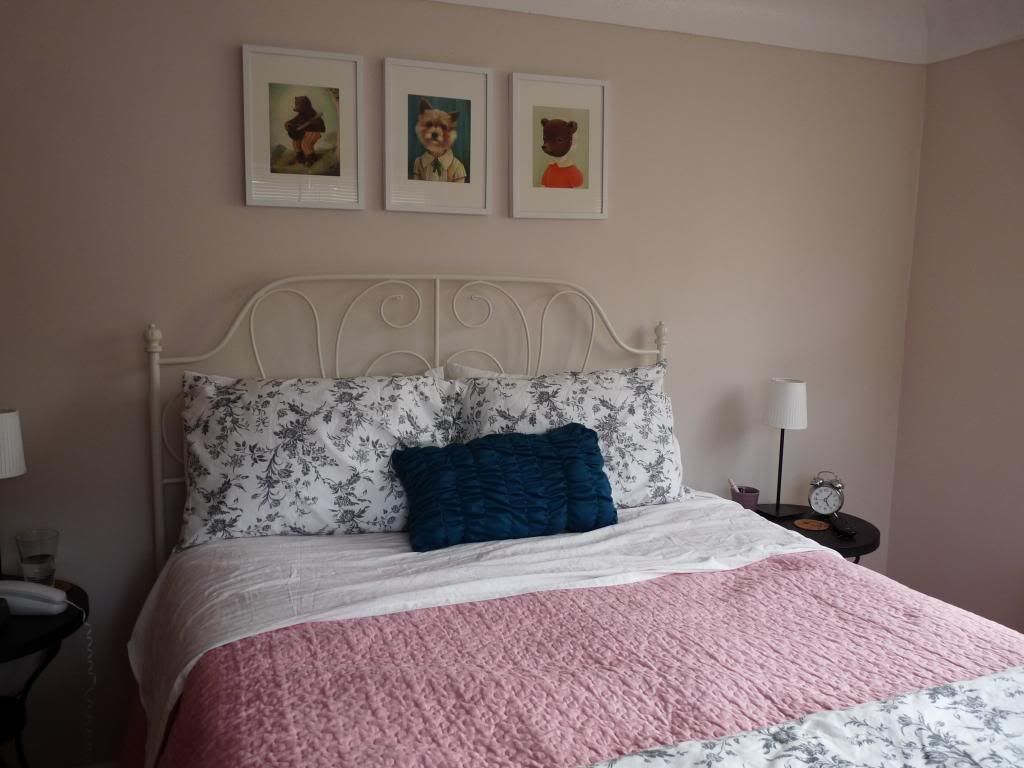
I wanted the pillow to match the paintings hanging above our bed. I think it does! Our bedroom is calming, and bright-- pretty much my favorite room in the house!

Oh my God I love this! Such a beautiful color!
ReplyDeleteEEE, so cute. Great job Stephanie!
ReplyDeleteLove it! You are soooooo talented! Thanks for sharing
ReplyDelete~SimplyyMayra :D
ADORE!
ReplyDeleteI am always jealous of folks who have bedrooms that are actually "put together" unlike mine which is essentially just a room with a bed.
Thanks! I couldn't find a pillow in the same color anywhere, so I made one. I was at Target today, and wouldn't you know it? I found a knit pillow in this exact color. Sheesh!
ReplyDeleteThanks! A seasoned professional seamstress like yourself could have done better-- but not so bad for my first try.
ReplyDeleteShucks. You're going to make me blush. Thank you for commenting!
ReplyDeleteMy room looks "put together??!" Hooray! That's a lovely compliment! Thank you.
ReplyDeleteI have never actually made a pillow case, so I am not too sure about that one haha! And yours looks complicated too.
ReplyDeleteIt's amazing how something like this can make an awesome room even better! So pretty and I love how it ties everything together without being all matchy. So cool.
ReplyDelete