Monday, 27 January 2014

Warm Knitted Mittens on a Snow Day


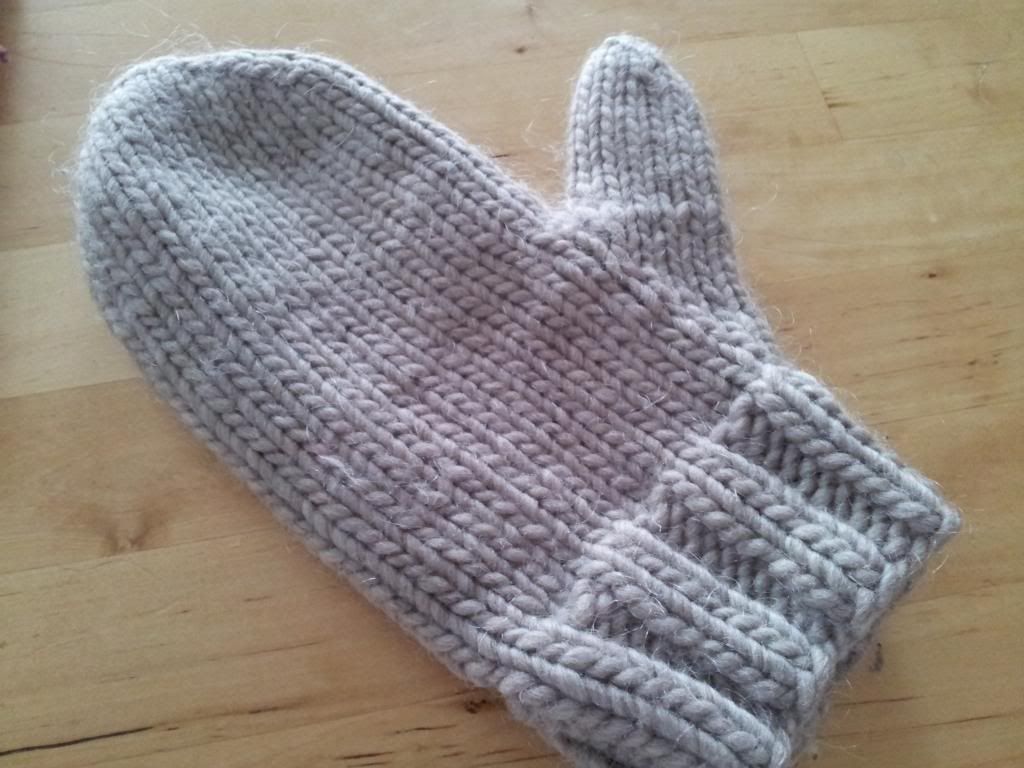
Today was a snow day.  So I sat with some coffee, and knit.  Mittens of course!  There's nothing I love more in the winter than my hand knitted mittens.  They are the only things I wear.  I have even managed to get D on the knitted mitten train.  I made him a pair a few years ago and he loved them.  But this year, he managed to get a hole in the thumb.  So he asked me to make him a new pair.  I've been making these mitts for so long, I don't know where I got the pattern originally.  I thought this time, I would write down the pattern I use so that I had it, and to share with you!  (If you knit that is..)


This pattern uses a bulky yarn.  I usually use Lamb's Pride Bulky for my mittens.  Its soft and dense, and my mitts always turn out perfectly when I make them.  The red and purple mittens above are made with a lighter weight of yarn (Manos de Uruguay Classica) held 2 strands together. 

This pattern makes a nice thick mitten.  Like the kind you would need in Canada (which is where I live.)  Here's what you need:

Materials:
1 skein Lamb's Pride Bulky, or other bulky weight yarn
1 set of 5 Double Point needles US size 9
2 stitch markers in different colors
yarn needle for weaving in the ends

Gauge:
4 sts/ 1 inch

Instructions:
Cast on 32 stitches onto 4 double-pointed needles. Join to work in the round. Mark the beginning of the round with one of the stitch markers.  Begin knitting in 2x2 rib. Continue 2x2 rib for 10 rounds or 2 inches.

Decrease round: begin stockinette stitch and K2tog, K to end of needle, on next needle K to last 2 stitches, SSK, on third needle, K2tog, K to end of needle, on fourth needle, K to last 2 stitches, SSK. You should have 28 sts on your needles.

Increase for thumb gusset: K14, M1, place marker (NOTE: not really necessary, I put one here because it helps me remember the number of increases,) K1, M1, K to end of round. Increase one stitch before the first increased stitch and after the last increased stitch every 3rd row, 4 more times. By the end of this round, you should have 38 sts.

Next row: K14, place next 12 stitches on scrap piece of yarn or a stitch holder. Cast on two new stitches over gap (I use backward loop method) and continue to knit to end of round.You should have 30 sts in the round.

Continue knitting hand portion of mitten until it reaches tip of little finger.

Start decreasing for the top of the mitten: 
First round: K2tog, knit to the end of the needle, on the next needle K to the last 2 stitches and SSK, on the thirds needle K2tog, k to the end of the needle, on the last needle, K to the last 2 stitches, SSK.  
Knit one round even.  Repeat the last 2 rounds until there are 2 stitches on each needle.  Take the yarn needle and pull yarn through the remaining stitches.  Weave in ends.

Thumb:
Pick up the 12 stitches for the thumb and put them on 3 needles, 4 stitches on each needle.  K one round and at the end of the round pick up 1 or 2 stitches over the gap.  Close the gap to complete the round.  K in the round until long enough for your thumb to just poke out the top.  K2tog, K1 to the end of the round.  K one round even.  K2tog to the end of the round.  Pull yarn through the remaining stitches.  Weave in ends.


These mitts are really quick to make up.  I finished the first one in about 2 hours.  I like them because they are quick and really warm.  If you make a pair, will you let me know?  I would love to see your mittens.


Saturday, 11 January 2014

The Comeback

Well, well, well... Looks who's decided to grace this blog with her presence... Stephanie.  To what do we owe the honor?

Look, blog I'm sorry.  I've been really busy.

A likely excuse.  And a common lie for you, isn't it?

Ok, I haven't been that busy.  But I haven't been that interesting either.

Feeling sorry for yourself again?

What? No!

C'mon...

Ok, maybe a little.  But you know, the winter and all that.  It was freezing here-- even for Canada!  And so I haven't been getting out there and trying new things.  And I spend all my time at work, on work.  You know how the fall and winter are.

Why don't you try making a schedule.  That works for other bloggers.  And then people would get your witty repartee again.  If anyone still reads this, that is.

Now, now blog, let's not get nasty...

I'm sorry.  I've been feeling neglected.  You have that other blog that you write on...

I do, but that's for work.  You know that.  You said you wouldn't mind.

I don't, I guess.  But back to that schedule thing...

You are right, I will start a schedule, and make sure I post something, even if I think its innocuous and silly.

Those are the best posts.

Um, thanks?  Anyways, I will post on weekends.  Is that ok?

Its a start.  And better then nothing.

Than.  Better than nothing.

Listen, you better wrap this up, you're starting to correct your own grammar.

Ok.  Well, see you either tomorrow or next weekend.  With something to talk about.  Goodnight.

Night.


Monday, 14 October 2013

Fall Traditions: The Waterfall Hikes


This year, D and I started a new Fall Tradition; we are going to try and hike all the waterfall trails in our city before the winter comes. 

Fall is my favorite time to hike.  There are so many cool things that happen on Fall hikes, like today when we were walking, leaves started falling down all around us.  It was really pretty. And Hamilton has tons of cool waterfall trails.  This seems like the type of challenge we both really dig.

Our first hike was this morning to Tiffany Falls.  Its really close by.  And really pretty. 


Can't wait for the next one!


Friday, 11 October 2013

Cross-stitch Sentiment Art- Sentitmenart? Sartiments? Help me think of something here...


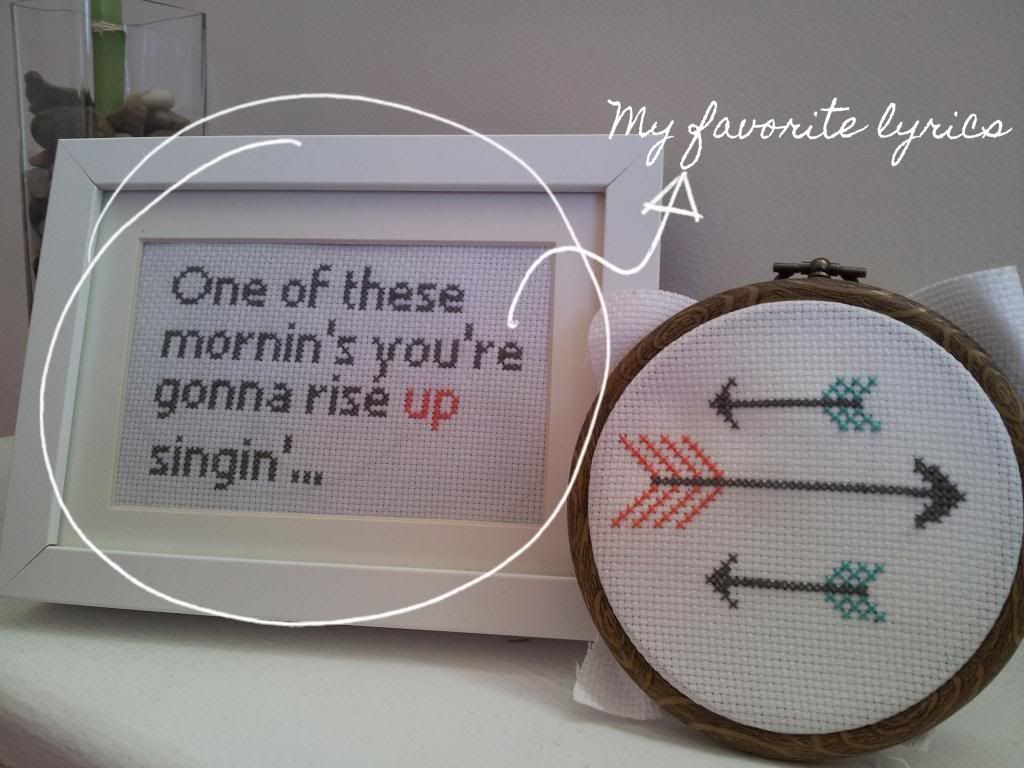
One this I've been doing a lot of lately is cross stitching.  I really like it.  Its relaxing; and its really versatile.  One thing I really love stitching is quotations.  I made these little things while watching TV.  It was really to put one of these together.  Pretty inexpensive too!  If you want to try and make your own, but have no idea how to cross stitch, I would have a look at this site. It even has pictures! 

To make my quotations, I used 16 count fabric (makes the letters a little bigger), a size 5 sharp needle, and 2 of the 6 strands in a length of embroidery floss.

The other super helpful site was this one, the Cross Stitch Writing Tool.  All you have to do is type in your words, and it will chart out the letters for you!  You can save the file as a PDF or print it out!  I typed in my words, and chose a font, and I was ready to start stitching!

The arrows I just made up.  But there are thousands of free cross stitch patterns of arrows out there.  Just use a little imagination, and sew it up!

But seriously.  I'm really into the trend of running two words together that have no business jammed up against each other.  Frenemy?  Love it.  So, in that tradition, what should this be called?  Sentitment-artity?  Cross- stitchitments?


Wednesday, 9 October 2013

DIY: Pumkin Spice Latte (Its ok that I spelled it wrong, I probably made it wrong.)


I'm back!  Since I took such a long break, I thought I would apologize with this peace offering on how to make your own addicting beverage.

I know so many people that are addicted to the Pumpkin Spice Latte from Starbucks.  And that's cool.  I used to love them!  But lately, I've noticed that they have been making my sick; and my tummy can't handle too much of a beating anymore.

Also, for those who know me, I am incredibly cheap when it comes to spending money on things I'm pretty sure I can make myself.  For a fraction of the cost.  And its probably way healthier for me.  And tastes better.

ANYWAYS, I was searching for people that have tried to make the PSL for themselves, and they had some great ideas!  But they seemed really time consuming for a cup of coffee.   

That's the pleasure of SBux, you don't have to do anything but hand over that money!  So here is a "latte" that is easy, fast, and cheap.


Steph's Pumkin Spice Latte (Its ok that I spelled it wrong, I probably made it wrong.)

Ingredients:

1-2 tbsp honey (or you could use less agave syrup)
A mixture of cinnamon, ground clove and nutmeg that equals 1/4 tsp
About 1 cup of Soy milk, or any kind of milk
3/4 cup of strong coffee

Method:


Mix the honey (syrup) and spices together well.  Set aside while you assemble the rest of the team.

For the coffee part, I use my Keurig brewer.  (See I told you I wanted fast!)  To brew your coffee this way, use a dark roast (bold) coffee.  Brew one up using only 6 oz. of water.  That will make a nice strong cup for you latte.


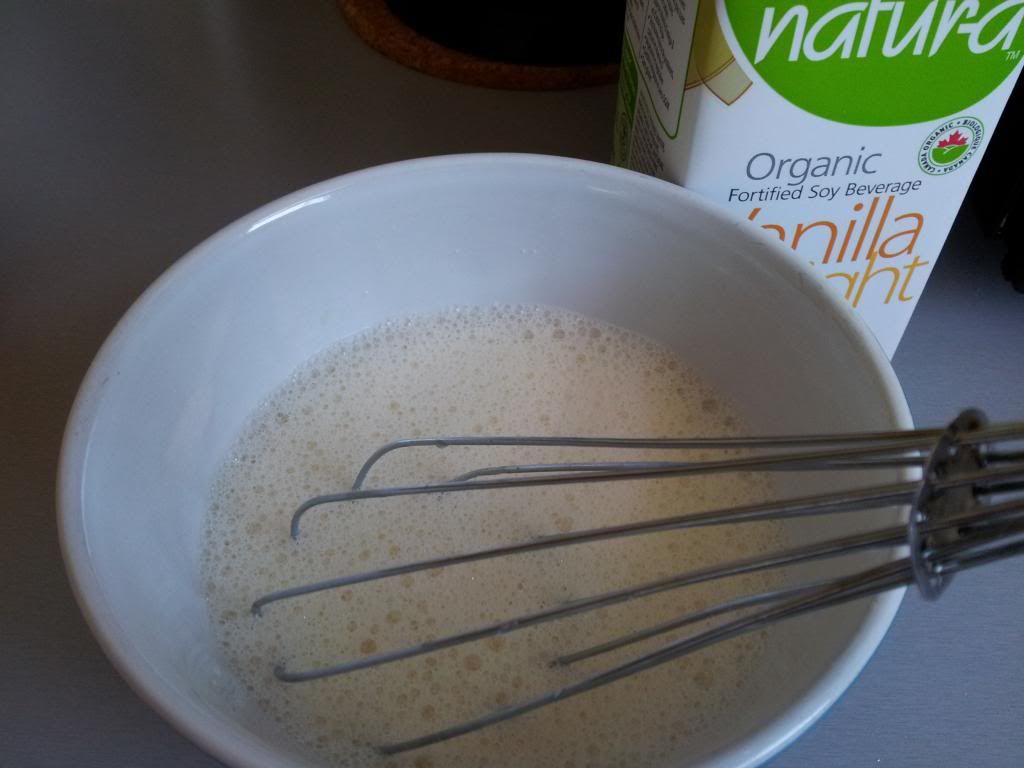
For the milk part, pour your milk into a high walled bowl.  With a whisk, beat it until its frothy.  About 30 seconds.  Put the milk in the microwave for 30 seconds (until hot.) Take it out, give it another quick whisking, and assemble the knockoff latte:

Add 1-2 tsbp of honey to your cup, pour the hot coffee over the syrup and mix well.
Then pour the foamy milk into the coffee, and spoon some foam on top.

You could sprinkle some cinnamon on top if you are obsessed with making it look legit.  But then drink it immediately, because you've wasted enough time.

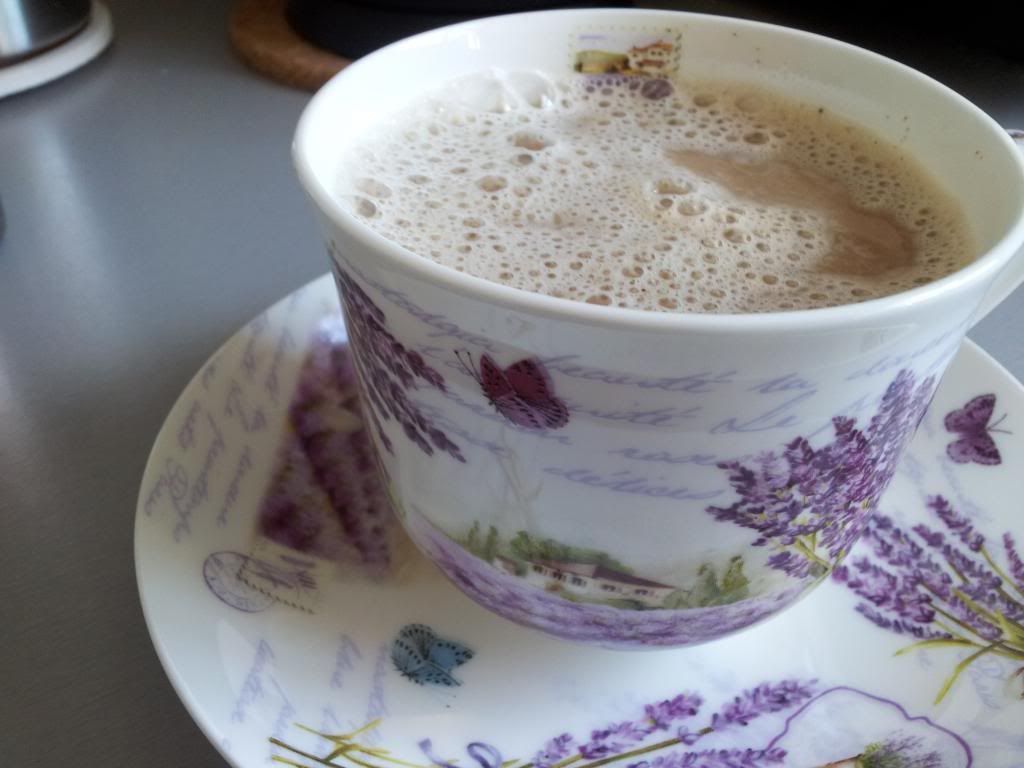
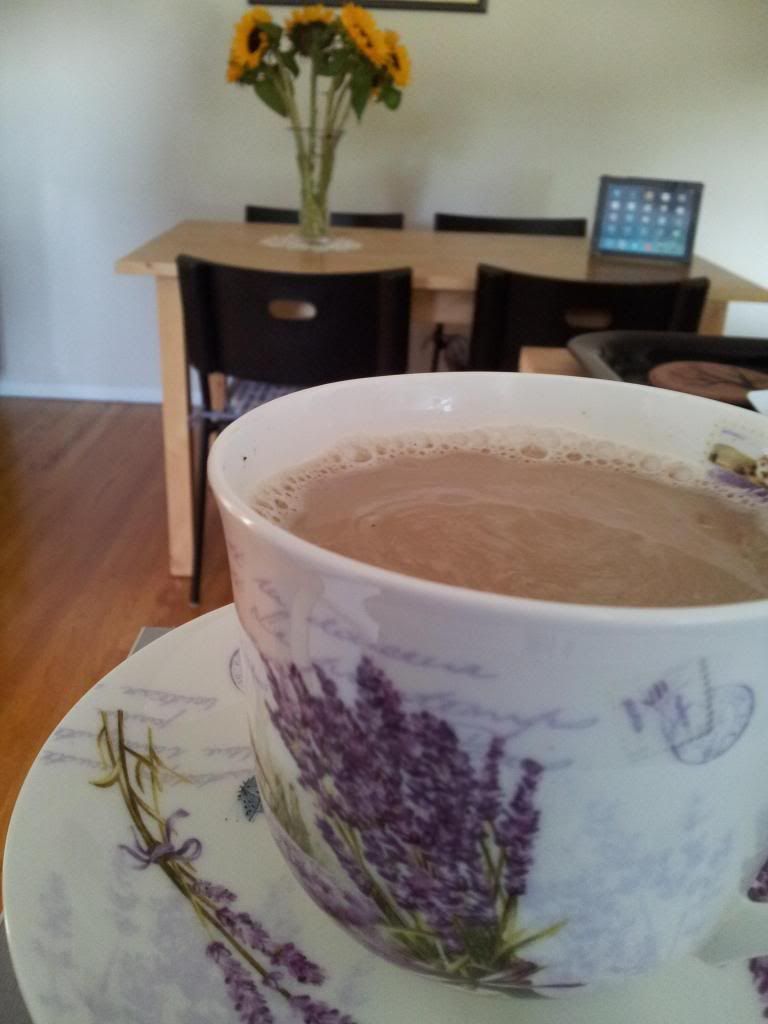
Or wait, and try to get some artsy pictures of it until the foam is gone:


Either way its delicious.  And I still have my 5 bucks.  And my Pumpkin Spice fix.  Enjoy!


Monday, 9 September 2013

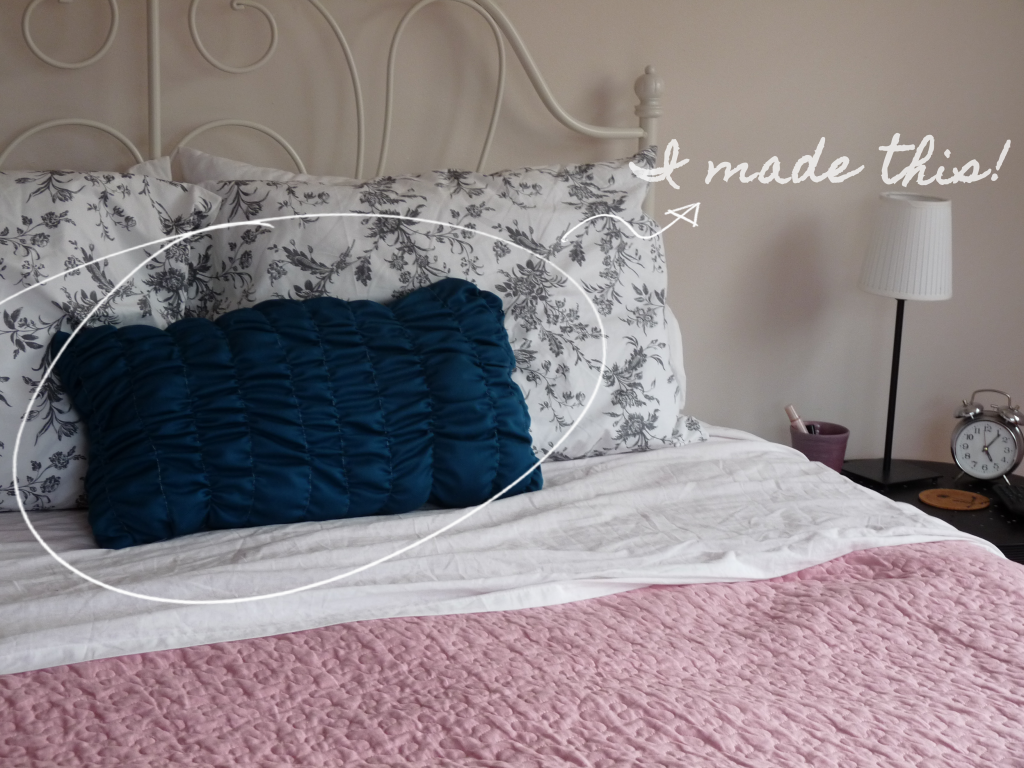
Made: Runched Pillow


Are you sick of my new apartment posts yet?  This might be the last one for a while, I'm hoping to post some thoughtful pose up here soon.  I made some throw pillows for the living and bedroom lately.  I was having a really hard time finding pillows in the colors I wanted.  So, in true DIY fashion, I went to the fabric store, and found some great fabrics (on sale!) and set out to make them with my new sewing machine.  I thought I would show you a "Pinterest-almost-success-project" pillow.

I don't usually try the things that I see on Pinterest.  I usually look for my projects through books or other blogs-- there are some talented bloggers out there to learn from!  But I really liked the look of a runched pillow.  And I thought one would look so nice on my bed.  I saw a great tutorial (on Pinterest) and thought I would try it.  I'm not going to go through the steps; if you want to make one use the tutorial.  It is super-detailed.  I will however give you some tips based on making this pillow:
  • You need almost 2 times the width of fabric for your pillow.  If you want a 24" wide pillow,   your fabric needs to be at least 40".  The runching shrinks the size significantly.
  • Draw your lines on your pillow.  Otherwise you will have crooked seams like me.
  • Measure the distances between runchings.  Again, or it will look weird.  Like mine.
  • Even though the tutorial says to fold over your edge, I didn't.  It made the pillow hard to sew into, well a pillow.  Just gather the material 1/2" from the edge, and make your seam close to the first gathered seam.  
  • Use the same color fabric and thread.  You can really see the thread in this project, so its better if it blends.
  • Don't cut the backing piece of the pillow until you finished the front part.  Then measure for the back piece.  That way it will match perfectly.
  • Go slow when gathering, or you will break the thread.  Ask me how I know.
  • I found it easier to do 3 seams for each line.  I gather the top, the middle then the bottom.  This way I didn't break the thread.  

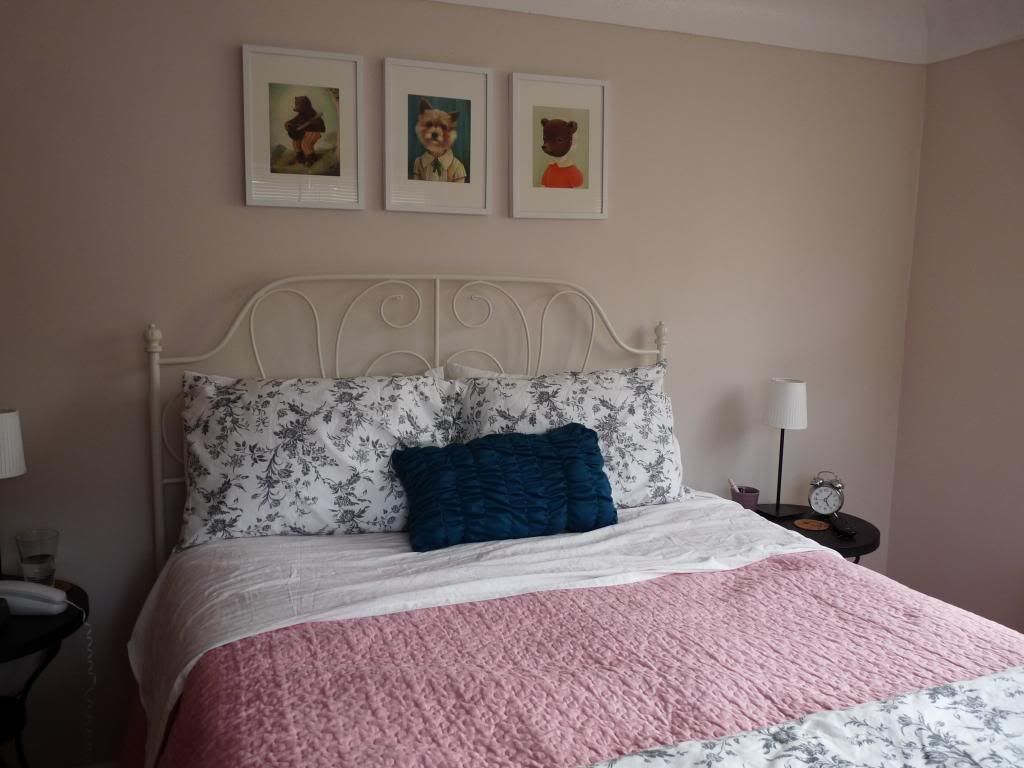
This is what the pillow looks like in my new bedroom:
 

I wanted the pillow to match the paintings hanging above our bed.  I think it does!  Our bedroom is calming, and bright-- pretty much my favorite room in the house!

Monday, 2 September 2013

New home: Antiques Tour


I think I'm becoming house proud.  I really like finding little unique things about our place.  For the most part, we have a lot of Ikea furniture.  Which I think is great because: a) we live in a small place and Ikea has great solutions for living in tiny homes; b) its affordable, especially for someone like me that likes to change her mind about furniture and decoration; c) its utilitarian, which I love, but still interesting in design. 

ANYWAYS, this is not a post defending Ikea (which is awesome.)  This is about the cool vintage things that I have at home.  We love the few things we have.  Most were handed down, but a couple we bought at different places; my favorite place being the Aberfoyle Antique Market near Guelph, ON.


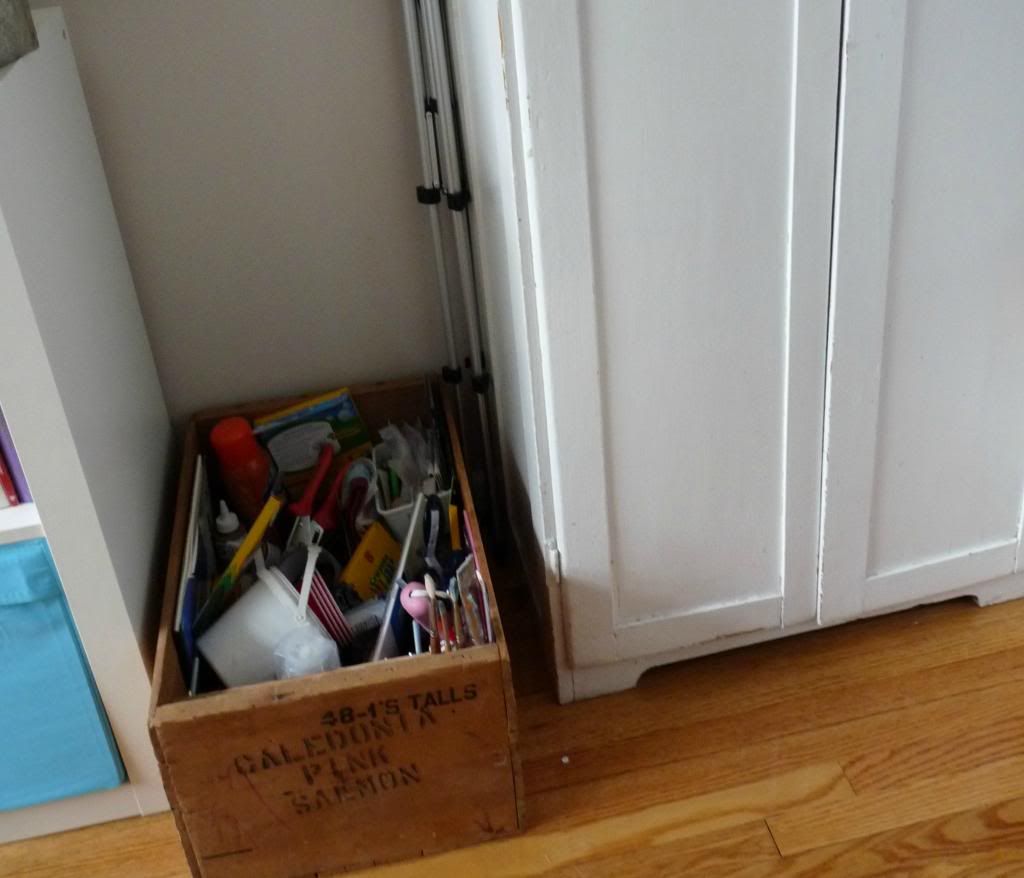
In the office, we have a few old wooden crates that hold some of my craft stuff.  It makes is easily accessible, and looks cute.  I got these a long time ago for 4 bucks each.  I went to the market lately, and now they are at least 20/ea.  Which is crazy.  I guess they are popular now.  Beside the box is an antique cabinet that my Mom gave me.  She painted it white, which I like.  It was her toy cupboard as a little girl.  She used it for me and my brother, and gave it to me when I moved out.  It serves as our pantry and sewing cupboard.  It is a handy piece of furniture to own.


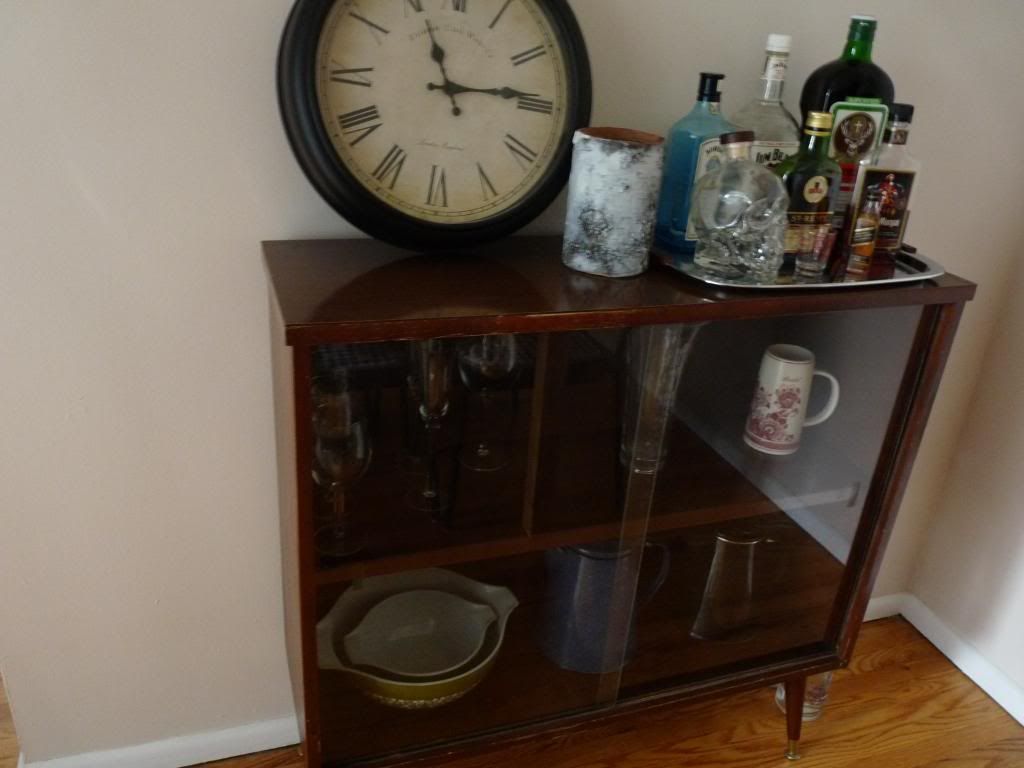
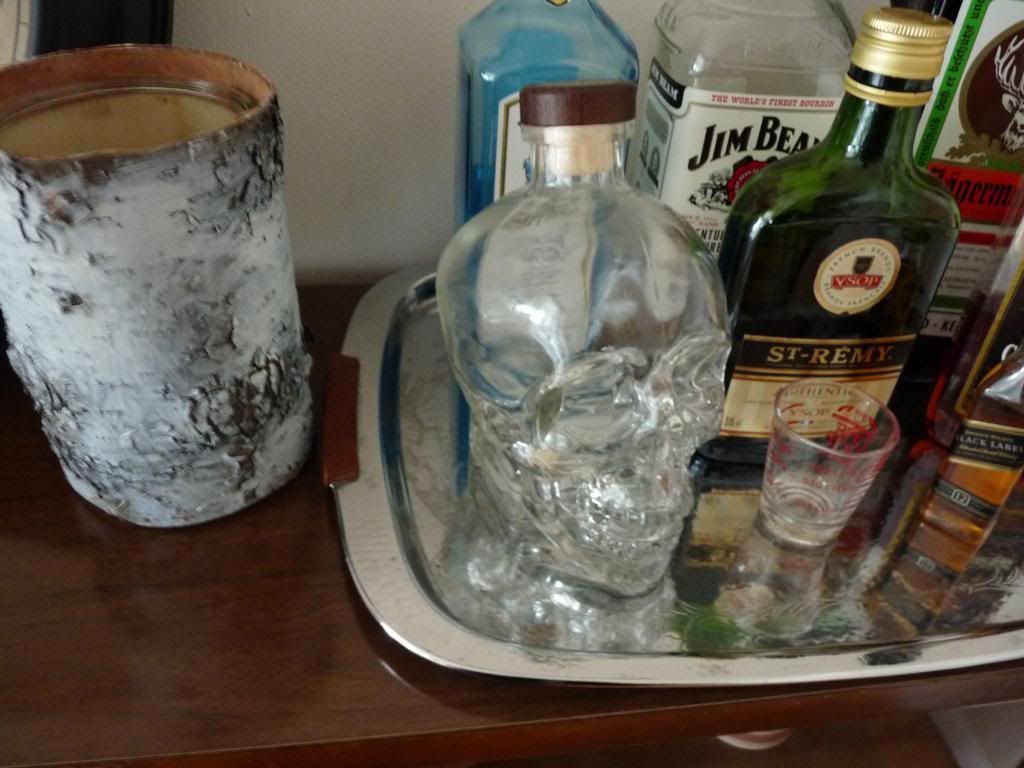
I bought a mid-century record cabinet at the antique market; my Mom saw that someone had a matching hutch, and asked if I could have it.  So she got it and brought it over to me.  I actually love this more than the record cabinet I was using, so I put that cabinet in storage, and use this hutch in the dining room.  Inside I store some pretty but useful vintage stuff: my Pyrex, some old enamel coffee pots, and a vintage beer stein.  I love the idea of a bar cart, but don't have the space for it, so we put our liquor on top on a tray.

 
The tray is also an antique from the same period.  I'm really into the 50s and 60s.  I have been for a long time.


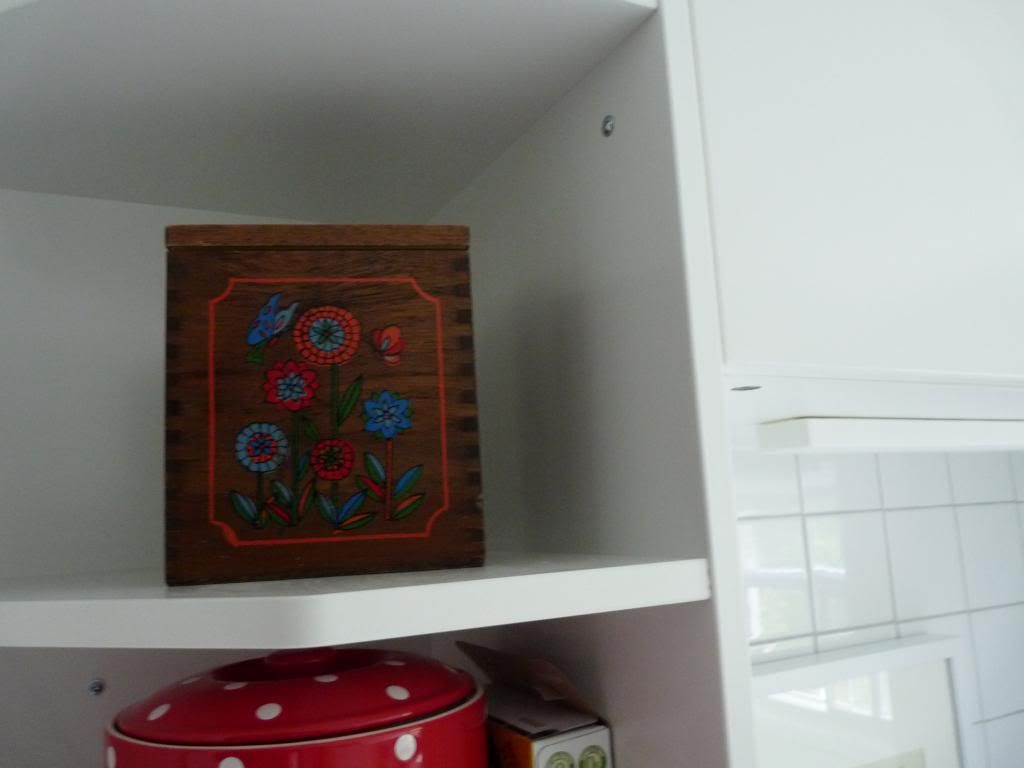
My recipe box was a lucky find.  I got it for 95 cents!  And I love the cheerful flowers on it. Also, I love that I have a shelf to display it on.


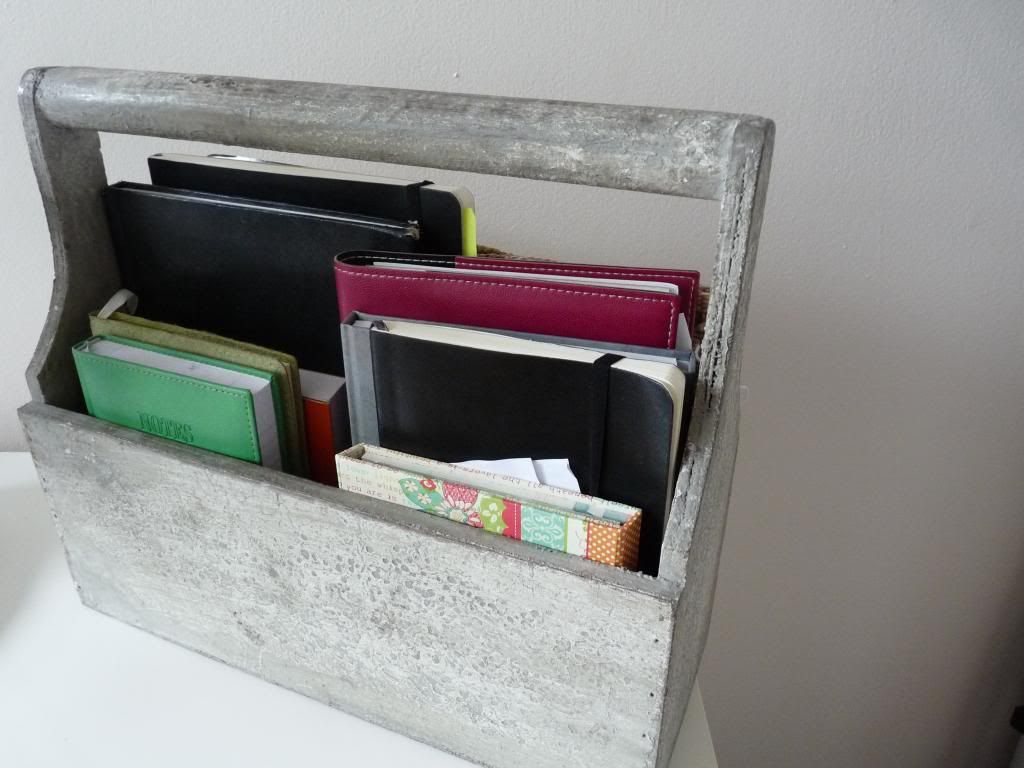
I don't have a lot of antiques in the living room.  I wanted an antique sofa, but Hamilton has a big problem with bedbugs; so I don't trust upholstered antiques anymore.  So for now, I just have some vintage baskets and crates in the living room.  This one is on our coffee table as a corral for remote controls, glasses, and tissue.  Its handy, and keeps everything in place without looking like a mess.  I put a plant in there, because, hey; I like plants.  (The table runner isn't antique, its from ten thousand villages.  One thing I like more than antiques is fair trade.)

So there you have it!  A few vintage-y things that are in our apartment.  I hate clutter, so I'm super picky about the vintage stuff I bring home.  I think what we have suits our place well.

What kind of vintage or antique items do you have around the house?  Did you find them, or were they gifts?


Friday, 30 August 2013

New Home: Picture Tour


We have finished moving!  We are unpacked, and save for a few pieces of art and some cushions, we are nested.  Since we took this move to be a new start in a new place, I decided that we should invest in some art for our walls that reflect our personalities instead of some mass-produced stuff on the walls for color.  So far, its looking really good!

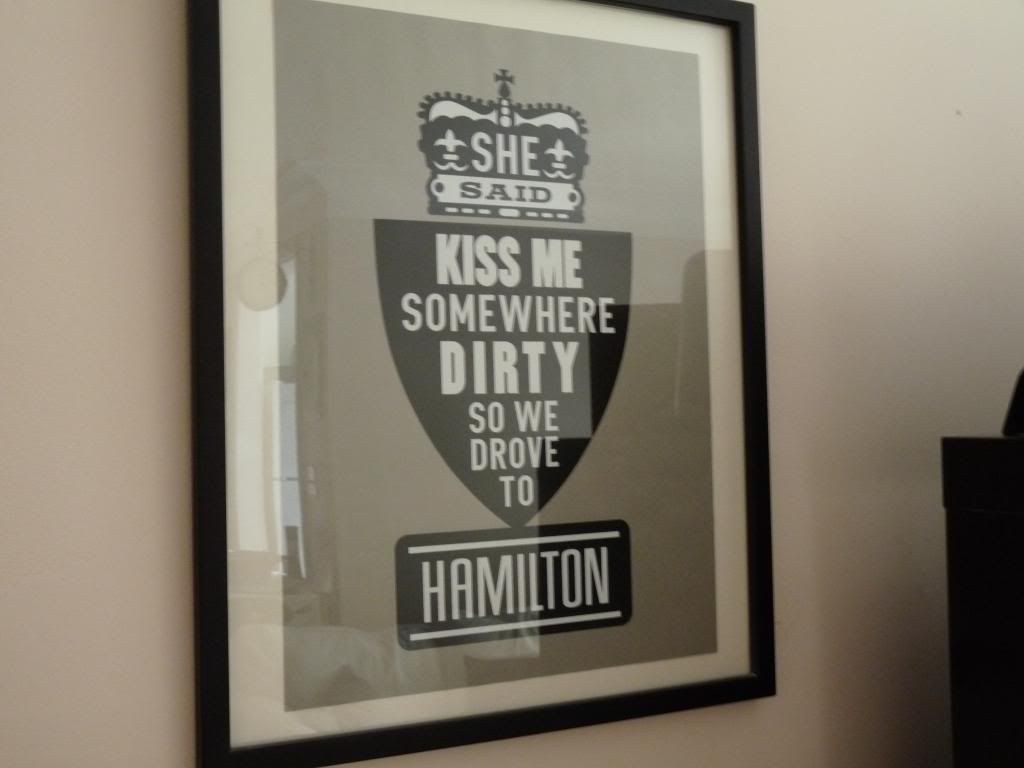
I thought it would be fun to show you what we have on our walls right now, as a glimpse into our new place.  The above picture, "She said kiss me somewhere dirty..." was in our old place, but its our fave so it followed.  It was printed by my friend Dave, and I bought it from Mixed Media here in Hamilton.  It has a prominent place in our living room.  After all, we did meet in Hamilton.


In the kitchen, we have room for art now!  It is a HUGE upgrade from the last place.  It has a window, which I love, and tile, which I also love.  Over my stove, I hung this page from an antique book.  The book was a botany book from 1880.  It features 3 of my favorite things: coffee, tea, and chocolate.


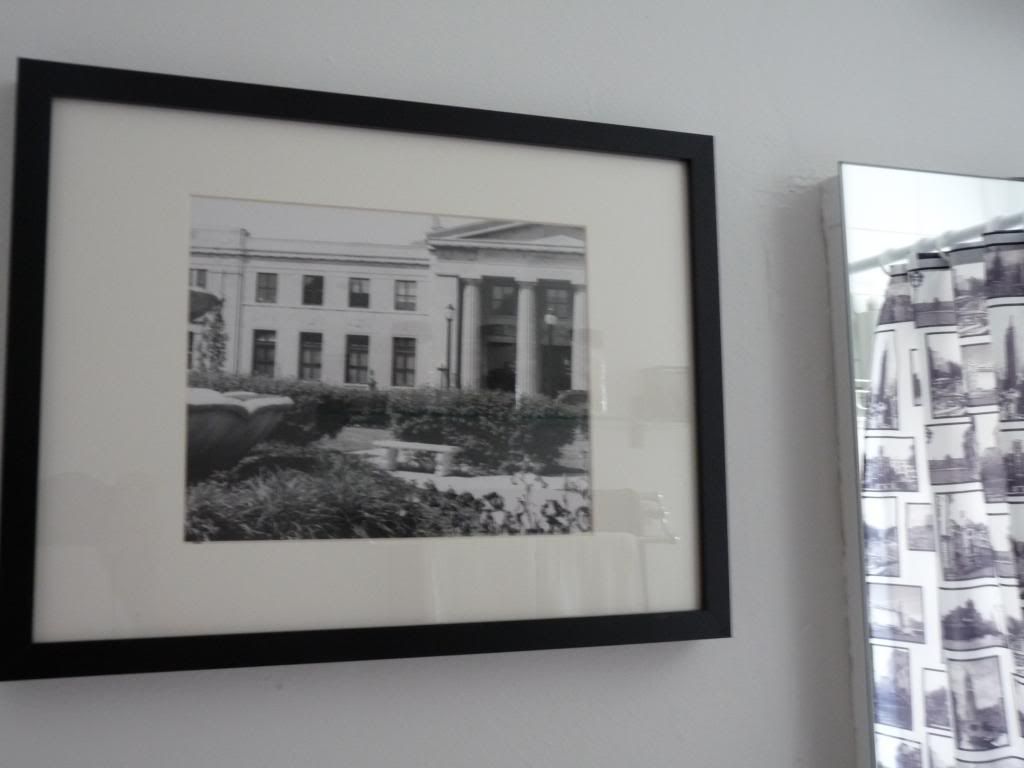
Bathroom: A photo that my kinda-cousin took during her photography course.  Its of one of my favorite buildings in town, the old train station.  Looks familiar?  If you have seen X-men or Hemlock Grove, it would-- they were filmed there.


In the office... Did I mention I have an office/ craft room now?  Because I totally do!  I have a table for sewing, and crafts, and my computer and photography stuff.  There's a closet for my music stuff.  Its the best little room in the place.  If I'm in the middle of a project, I can leave it, and my living doesn't look trashed-- I just close the door and invite company over.  It is the most exciting thing.

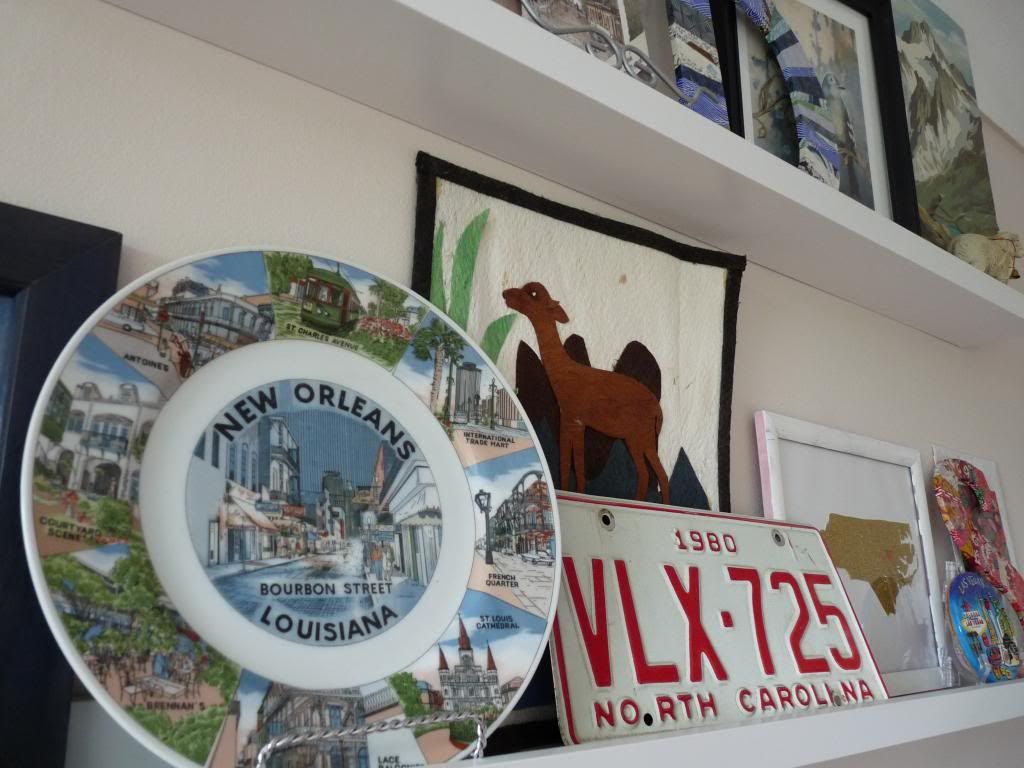
ANYWAYS, We moved my inspiration wall into the office.  Its two shelves and has cool things like the license plate from when I was born; a plate and a stone roofing tile I got in New Orleans; a souvenir from Las Vegas; some art by an indigenous artisan in Honduras and the like.  Its like a "around the world in 2 shelves," kind of wall.


The latest and probably my favorite new art are the prints I have hanging above our bed; they are prints of painting by Emily W. Martin.  I love them because they remind me of fairy tales, and our bedroom is already kind of whimsical like her pictures.  My fave of the three is the doggie.  I call her Nelly, the dog-faced child-- who you may remember from here.  This is a little more, um, I don't know... classy?

So there is some of the art we have in our new home!  Do you have a particular piece that you think represents you?  A favorite piece?


Saturday, 24 August 2013

I don't know anything.

So we have moved. More than that, in true "Stephanie fashion," my week was more eventful than I wanted and/or needed.  

ANYWAYS, now that we have moved,we are slowly waiting for our services to resume.  We have power; which is awesome. We have water, which is essential.  What we are missing, is also essential-- wifi.

Now, I know what you a thinking; Internet is not essential.  It's a luxury that we can stand to do without for a while, to unplug if you will. Usually, I would agree with you.  Not being glued to your computer screen on a vacation of sorts can be a really good thing.  Normally, I would be using this time to paint or knit or do one of the thousand other hobbies I have.  

But here's the rub: I don't know anything.

Every time I wanted to do something in the new place, compare spaces and gather ideas for furniture placement or whatever, I couldn't because we have no Internet.  

If the world ends weekend, I wouldn't be ready because all my survival information is saved on my Pinterest boards!  

So, for my wifi fix, I am typing this from a Starbucks.  Drinking coffee I didn't make (cause I couldn't at home) and quickly updating my blog.

I am also gathering knowledge for the next few days.  Hopefully, I will be plugged in again Monday.  If I can feed myself without my online recipes until then.