Showing posts with label organization. Show all posts

Monday, 17 May 2021

Happy Organized Fun Time! (Cleaning the craft room)


Oh, I love when things are all lined up in rainbow order!  I recently had a week's vacay- and since I can't go anywhere, I decided to redo and reorganize my craft room!  Since I'm teaching from home, I spend most of my time in this room either crafting or teaching.  I wanted it to be comfortable, organized and bright- so that I can concentrate on working and playing.

Before

It's not so bad I guess.  This is cleaned up, but it's still shabby.  And it's has things all crammed in spaces where things shouldn't be like in between my cupboards, I had too much furniture in there; it didn't match; and there was way too much plastic.  And junk.  Way too much junk.  And craft supplies that I didn't use.  And I am an art work hoarder.  I keep a lot of my artwork. 

It took a solid week of cleaning, and going through EVERY ITEM and purging junk.  I know that people use the Kondo question, "Does it spark joy?"  I don't do that.  The Bass method is, "Will I use this?  Will I need to buy it again?" And the main one, "What will I use this for?"  And got down to it. 

(I didn't thrown more than one grocery bag of trash away.  I donated craft supplies to a daycare, and gave some to my crafty friends.  The furniture and organizer went to the storage locker for my classroom)

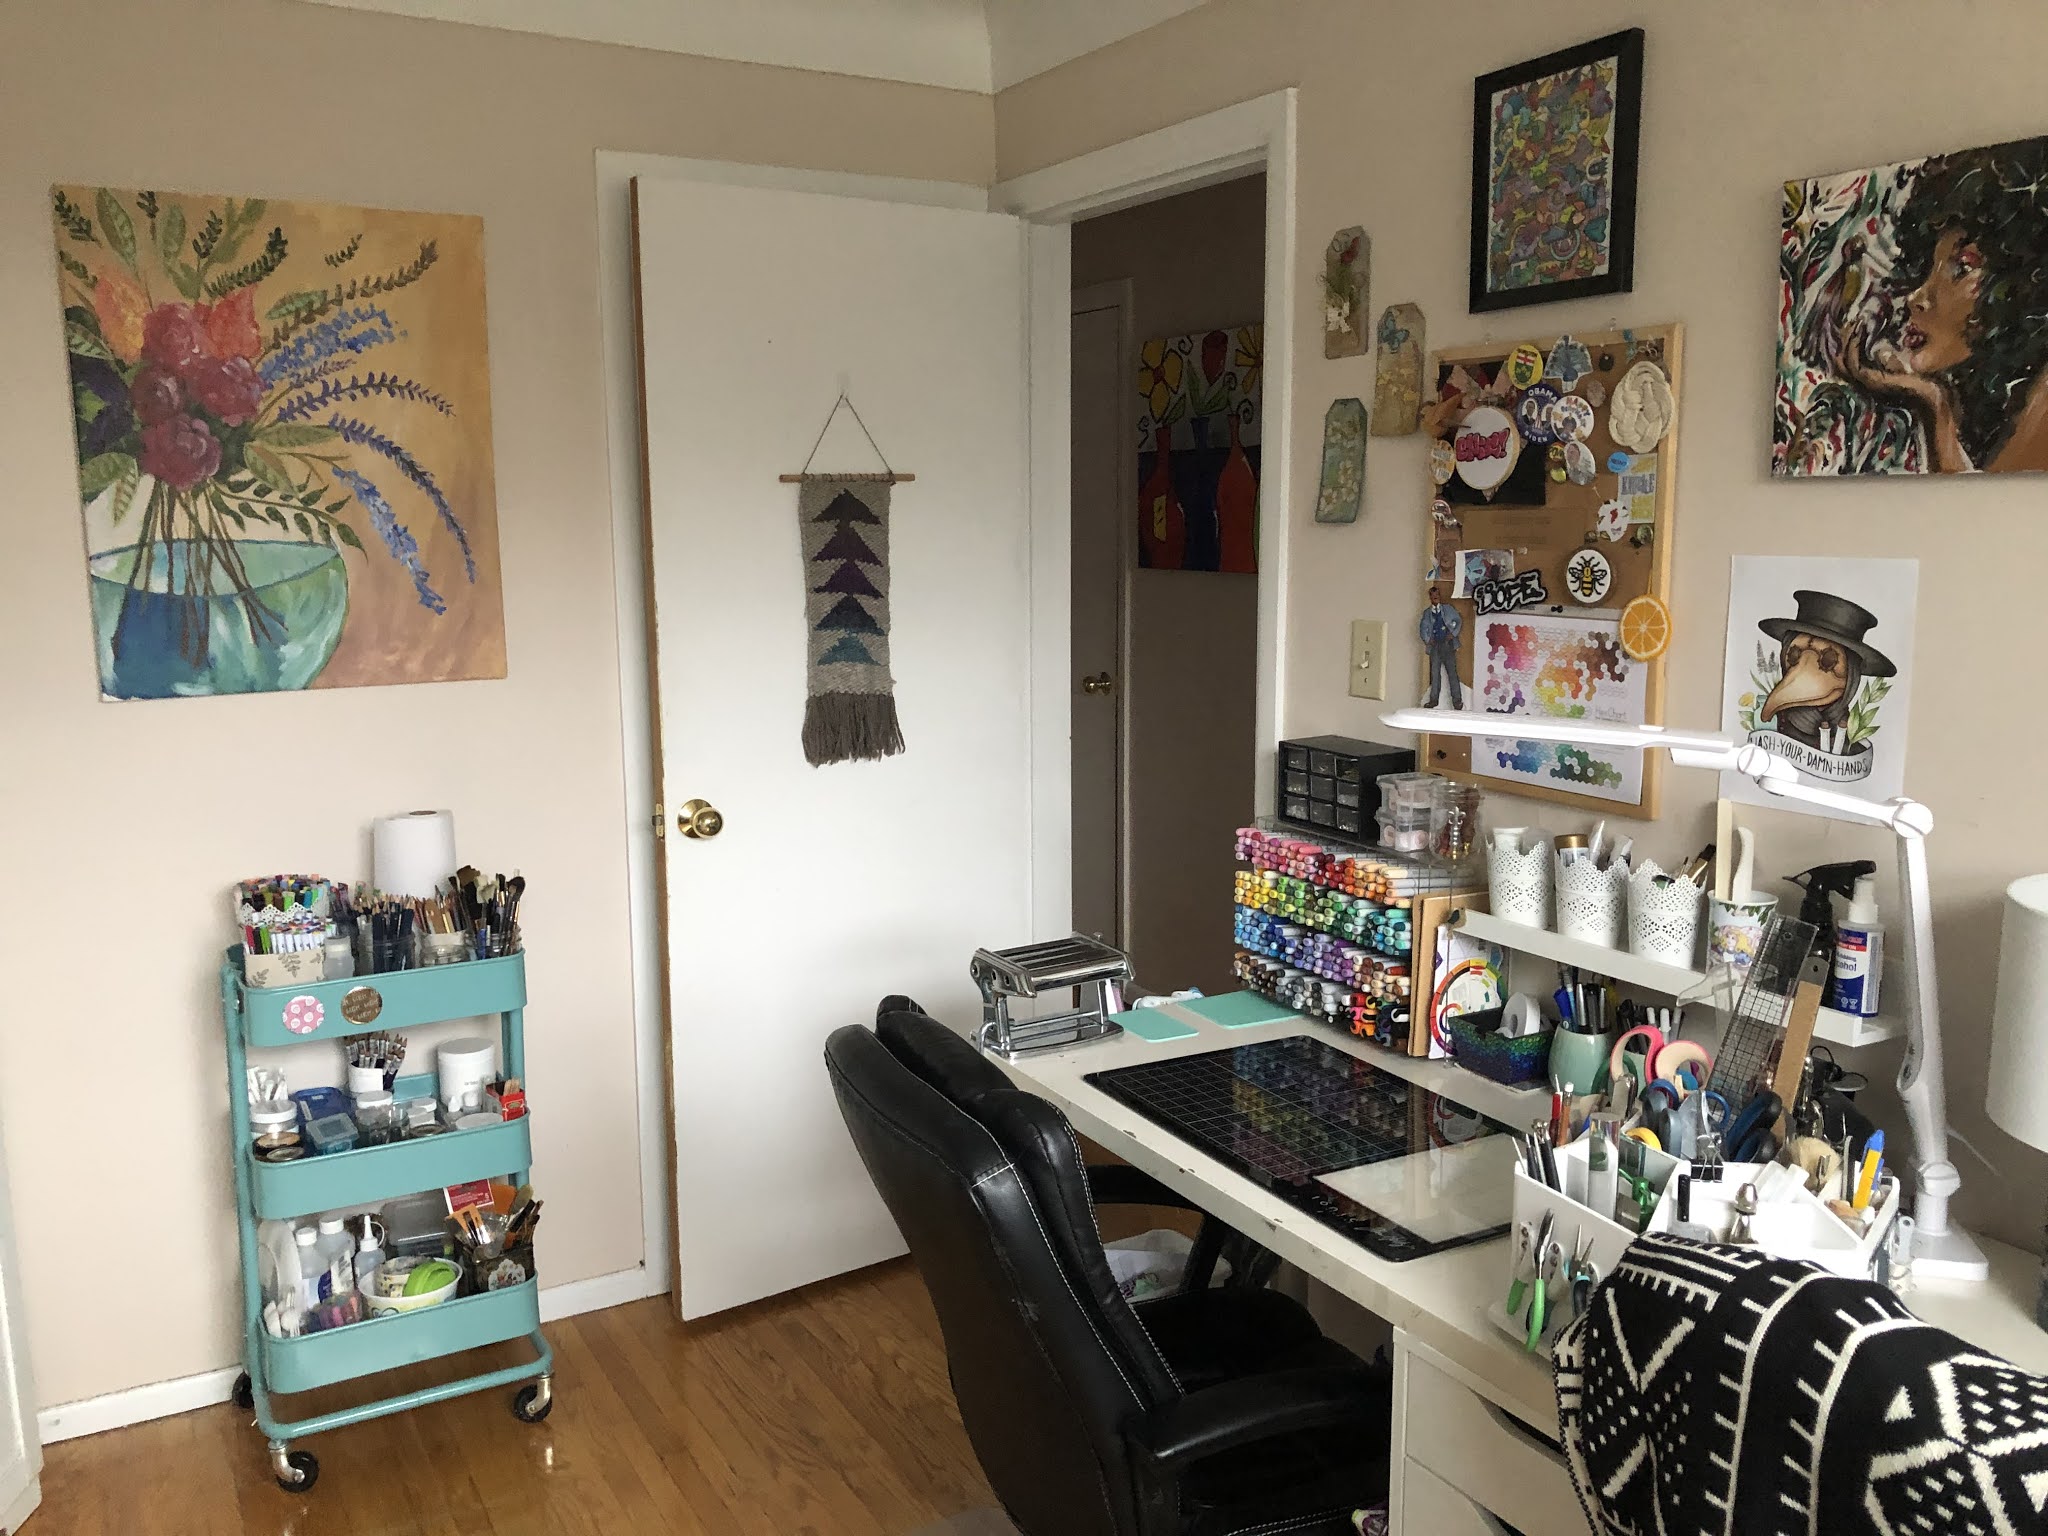
After (from the door)

It's still busy.  But its more organized for sure.  the Drawers (from IKEA) better organize my supplies and oddly had a tone of room in them despite the size.  I was surprised.  I was able to make room for the inventory for my shop, and have a dedicated space for my paper and some stronger boxes to hold the this and that.  All my stuff is accessible while I'm working, which I love.  

After

The best part is that there is nothing crammed into little spaces.  Its cleaner, and easier to clean.  I also have space to show my art work.  


I found a better way to add art to my shelves- any frames are attached to the wall in-between the shelves and the shelves actually hold things that I can't hang on the wall.  That way I get double use out of this wall.  


I also have space for my plants, which where living in the kitchen.  I was also able to organize the stuff for my online shop, where I can find each collection easily.  

Overall, I'm really happy with hoe this room turned out.  The rest of my house is not as crowded as my craft room was- I think that's a craft people thing:  everything has potential.  At least, I know that the stuff I gave away can have potential-- somewhere else.
       

Monday, 30 March 2020

Made: Magazine file-style box


Let's make something!  I'm stuck at my place, self-isolating and wanted to do some organizing.  Can't go out to buy containers, so, like any good crafter I made one!  This one is much better than what I would buy; where would I find a taco box anyways?

I recorded a video for the method I used to make this box, but I zoomed past the materials and measurements, so here they are:

Materials needed:

(A kit for this project is available at www.thecraftershub.ca)
  • 2 pieces of 12 x 12" medium-to-heavyweight chipboard or 4 pieces 8.5 x 11" to make the same size box I made in the video (you can use cereal boxes in a double layer, or cardboard, or if you are in the GTA you can order from here )
  • 2 12 x 12" pieces of solid coloured card stock (any paper will work though-  If its thin, you will need some tape to help strengthen your corners)
  • 1 sheet 12 x 12" design paper (You can use anything here too: wrapping paper, construction paper, paint, a gift bag- something you like the look of)
  • Scissors, craft knife or paper trimmer (something to cut with)
  • Thick glue (any white glue should work, I use Tacky glue from the Dollar Tree)
  • A ruler
  • A pencil

Measurements:


From the chipboard:

  • 2 pieces cut 9" x 7" (22.9 cm x 17.8 cm) for the front and back (to cut the slope: measure 2 inches or 5 cm in from the top left corner and mark with pencil.  Measure 4" or 10 cm from the bottom right of the panel and mark it.  Connect the dots with a diagonal line and cut on that line.
  • 1 piece cut 9" x 2"22.9 cm x 5 cm) for the spine of the box
  • 1 piece cut 7" x 2" (17.8 cm x 5 cm) for the bottom of the box 
  • 1 piece cut 4" x 2" (10 cm x 5 cm) for the front of the box

From the solid paper (for the gussets):

  • 2 strips of card stock or paper 9" x 2" (22.9 cm x 5 cm)
  • 2 strips of card stock or paper 7" x 2" (17.8 cm x 5 cm)
  • 2 strips of card stock or paper 4" x 2" (10 cm x 5 cm)
  • 2 strips of card stock or paper 2" x 2" (5 cm x 5 cm)

From the designer paper (what ever you are using to decorate the box with):

  • 2 pieces cut 9" x 7" (22.9 cm x 17.8 cm) or if you want a border you can substrate 1/2" (1.3 cm from all measurements) )for the front and back (to cut the slope: measure 2 inches or 5 cm in from the top left corner and mark with pencil.  Measure 4" or 10 cm from the bottom right of the panel and mark it.  Connect the dots with a diagonal line and cut on that line.
  • 1 piece cut 9" x 2"22.9 cm x 5 cm) for the spine of the box
  • 1 piece cut 7" x 2" (17.8 cm x 5 cm) for the bottom of the box 
  • 1 piece cut 4" x 2" (10 cm x 5 cm) for the front of the box


And to put it all together, here's the video!


I would love to know how yours turned out!  Let me know in the comments below!