
Dude. I love Christmas. I'm not talking about the religious aspect of the holiday, I'm not into that part. I'm into the gift-giving, meal-making, goodie-baking, fun-spirited aspect of the holiday. So, in honor of the holiday season, I'm going to have 12 posts dedicated to the things I love about Christmas.
I love my tree. Every year, D and I have an argument about what colors we are going to decorate the tree in. He likes multi-colored lights and tinsel; essentially he likes it if the tree looks like a carnival threw up on it. Each year I lobby for something a little classier. Up until this year, I lost the battle. It was fine though, I like decorating the tree and having it up, so it didn't really matter what it looked like to me.
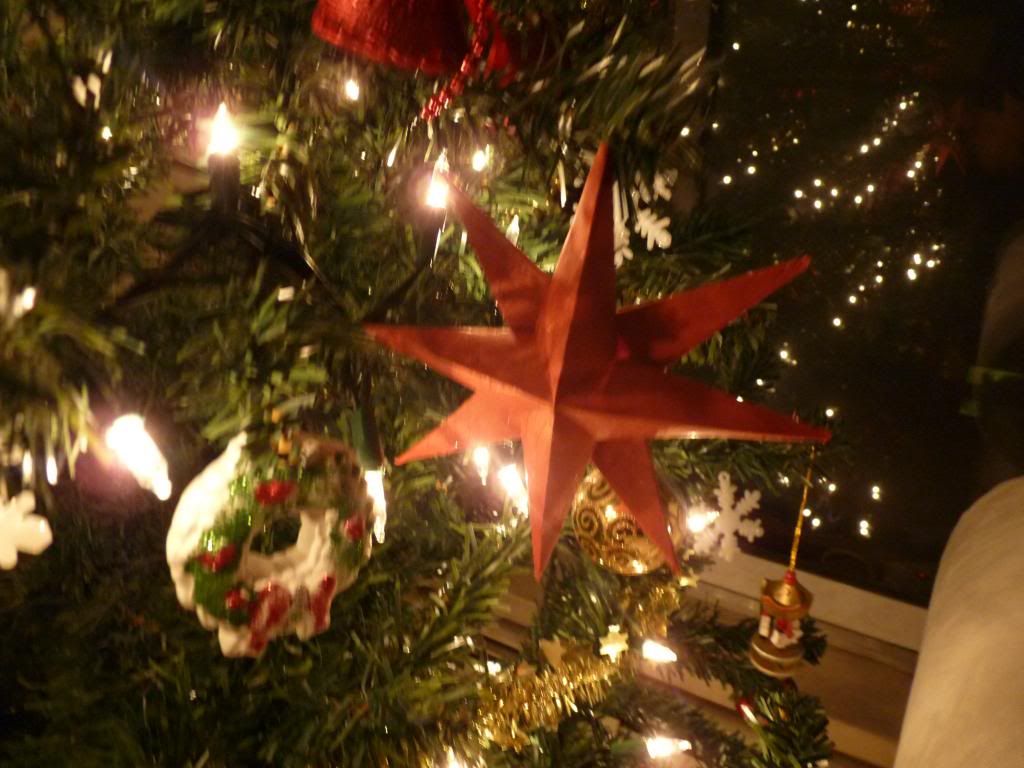
But this year... D reminded me that we made a deal; if we did the tree how he liked it last year, he would let me choose the colors this year. So I went for the classy white-lighted, red and gold decorated tree. And it looks so nice! There was one small problem, we didn't have that many red and gold ornaments. We had tons of balls, but not anything else.
Well, thank goodness I'm crafty y'all. I made most of the ornaments on the tree. These ones are my favorites though. They are fast, cheap and you can make them in any size and color you want.
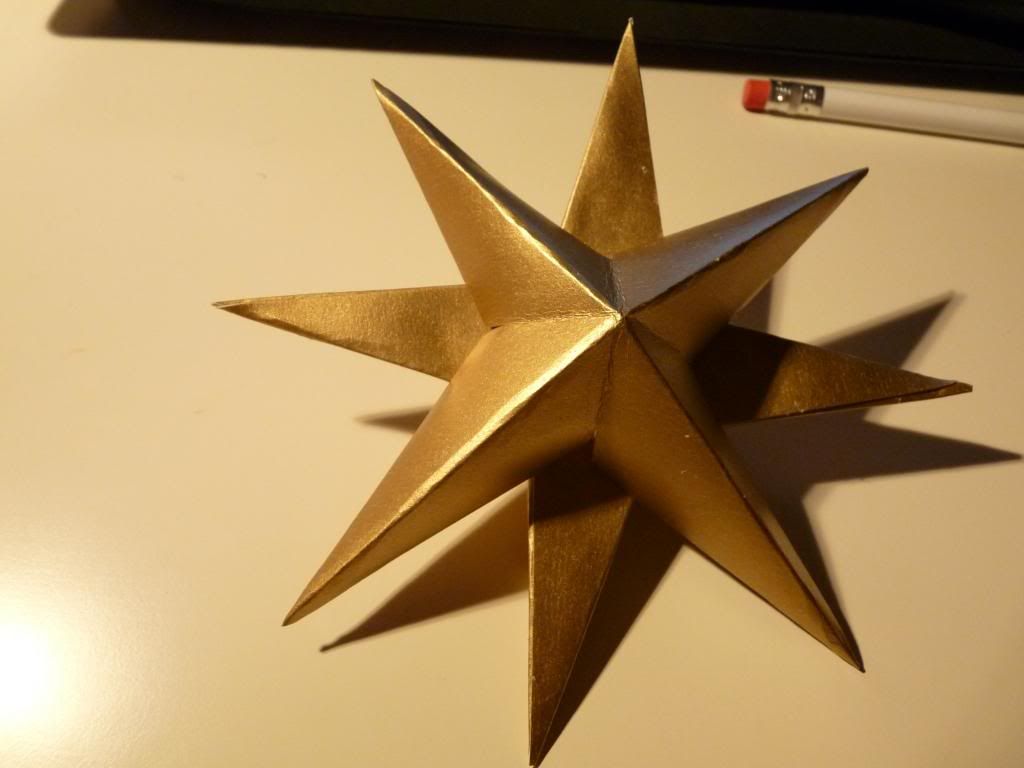
And who doesn't love a tree full of stars?
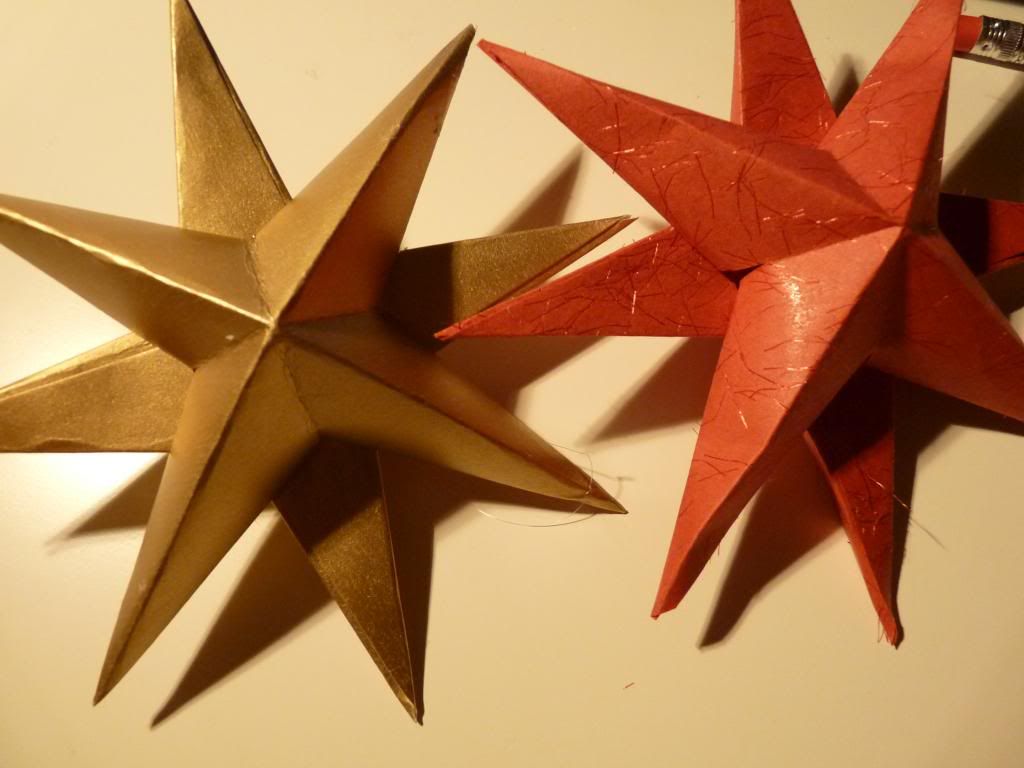
These paper stars are great. They are light, and pretty easy to make. They are really fast too, so you can make 10 of them in no time.
Materials:
Fancy paper (one sided is fine)- cut into 4 inches square.
Scissors
Glue, I used white glue
Ruler
Pencil
Folder if you are using card stock
How to:
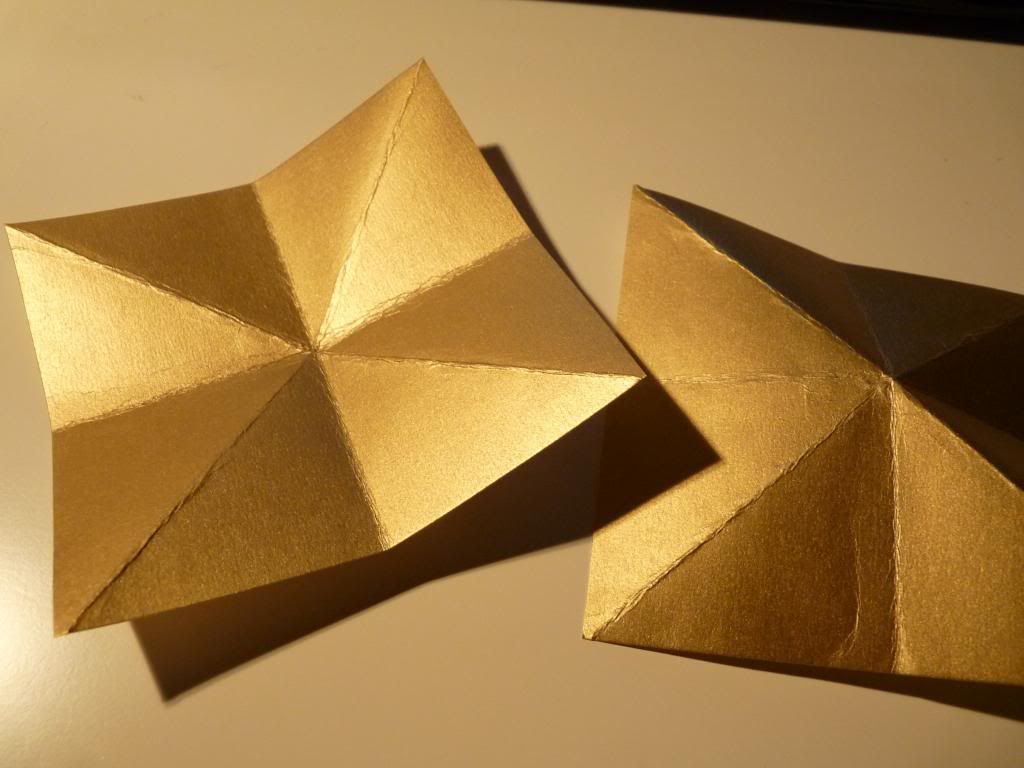
Turn your paper over (right side down) and fold your paper in half diagonally. With the decorated side of the paper facing up, fold in half length-wise and width-wise.
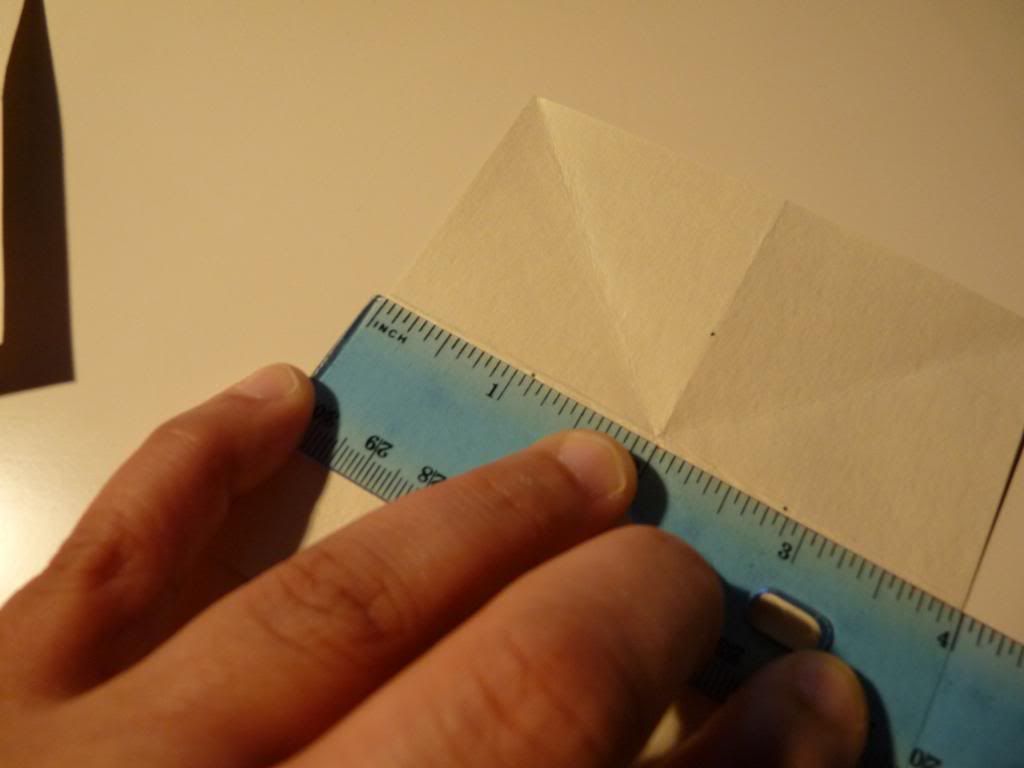
Turn the paper over again (right-side down) and mark just over an inch on the non diagonal seams that you folded.

Mark the same distance from the edge, all around your paper.
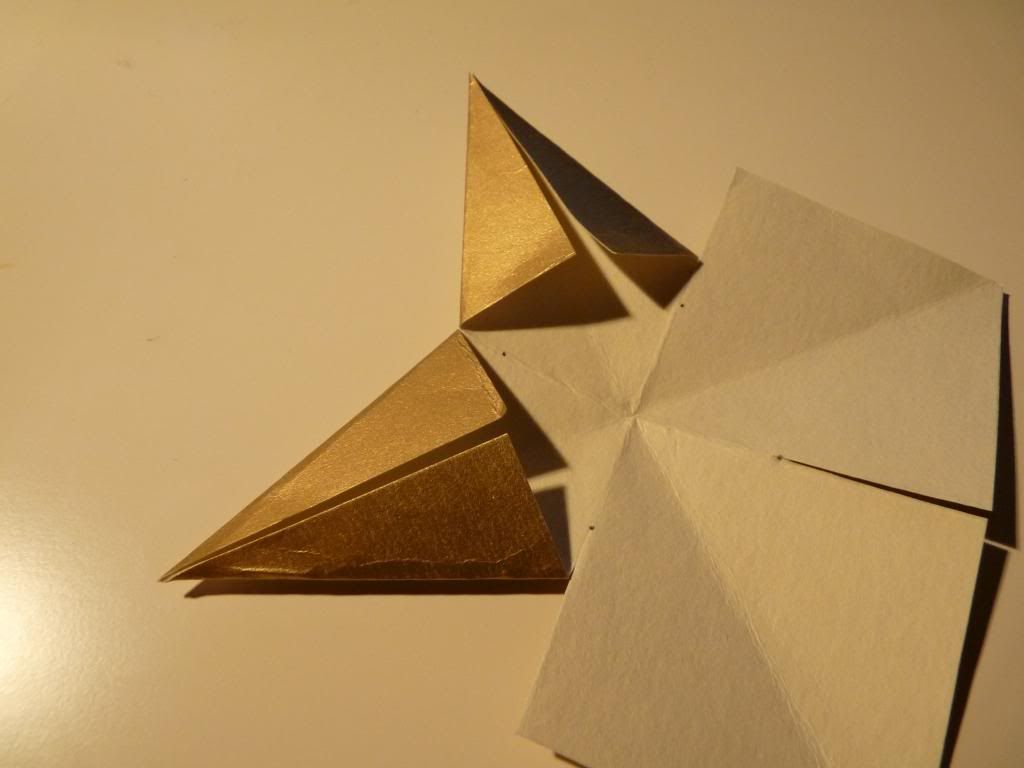
Cut along the seams to the point you marked. You should have four cuts in your paper. Fold the corners in towards the diagonal folds. Do this for all four corners. On ever other triangle, put some glue on, and over lap the triangles to create the points. While you are waiting for it to dry, repeat these steps again to make the other half.
To hang the stars, I used a needle and some invisible thread and poked a hole in one of the points. Ready to hang, and perfectly matched for my tree.
I also made a bunch to hang off of gifts and stuff. I've made these before, but larger and hung them from a window. They are a pretty handy craft!
I'm thinking or crocheting some snowflakes or something... What kind of ornaments have you made for your tree?

No comments:
Post a Comment
Drop me a line, I love hearing from you!