Showing posts with label sewing. Show all posts

Sunday, 11 July 2021

A (Hopefully Anti-Poke) Needle Book


I was watching YouTube, you know, as you do during a pandemic, and I came across a tutorial for a Needle book.  Looking at my state of needle storage, I thought that was a brilliant idea to coral my pointy things.  The tutorial I watched was by Nik the Booksmith Needlebook for Sharp Pokey Things - Tutorial
and I wanted to try and make it my own.  Not being a professional book smith, or really good at sewing, I made one anyways!  It was not as difficult as I thought.  If you want to make on too, here are the details and the video tutorial below.

Here's what you need for the project: -Design paper or cardstock - Felt -Button -Elastic cord - Glue - Scissors -Paper trimmer (optional) 
- Sewing Machine (optional) or needle and thread 
- any decorations you want to use (that's the fun part!)

Preparation: 

  1. You will need to cut your felt into 3 pieces: 1 piece 6.5" x 4.25" for the booklet, and 2 pieces 1.25" x 2.25" for the needle storage parts.  
  2. Then you will need 2 pieces of cardstock for your covers that measure 4" x 3".  You can use fabric, but the cardstock makes the booklet "Anti-Poke." 
Once you have your pieces cut out, you're ready to put it together!  Follow the instructions in the video for step-by-step instructions.


Tuesday, 5 August 2014

Made: Kimono Cardigan


Whoa! Two posts in the same week?  This is a record for me.  Yay me!

ANYWAYS, I finally fell in love with this "kimono" cardigan trend.  (I do hate that its called a "Kimono" cardigan, seems a little appropriative to me, but I digress...)  I like the flowy, comfortable feeling of them.  But by the time I wanted to buy one, they were no where to be found!  This made me really sad.  But then I remembered that I was sort of crafty, so I thought I would make one myself!


It was pretty easy to make this jacket.  And the fabric I bought was only 3 bucks a metre!  So this cost me a total of 7 dollars to make.  And since these babies sell for almost 40 dollars, I got to make something and have a deal!  Which is awesome!  If you can sew a straight line, you can make on too.  For the easiest way to make one, choose a fabric that wont fray when you cut it for the easiest construction, then you won't have to hem any of the ends!  My fabric needed to be hemmed which was what took most of the time in making it.  Of course, I forgot to take pictures, so here is the basic run down of how I made this with my basic tutorial made in Skitch:


Not bad for 2 hours work.  It is a little warm though, so I will probably wear this more in the fall.  I'm thinking of making another one in silk/ cotton to wear now... But I'm not sure how much use I will get out of it.  Summer is almost over :-(


::Top to Bottom::
Kimono Cardigan- Made by me!
Necklace: Pyrrha from Pure Home Couture
T-shirt- Old Navy
Jeans- Torrid
Sandals- Birkenstocks

If you make one, I would like to see it!  Link it in the comments! 

Friday, 11 October 2013

Cross-stitch Sentiment Art- Sentitmenart? Sartiments? Help me think of something here...


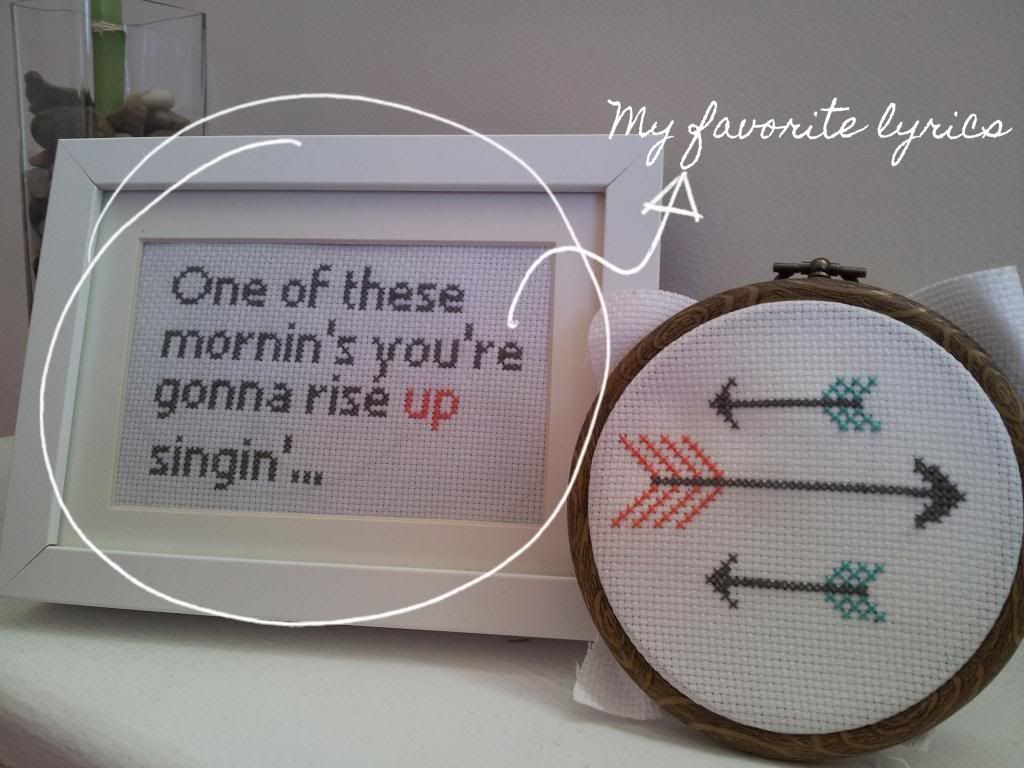
One this I've been doing a lot of lately is cross stitching.  I really like it.  Its relaxing; and its really versatile.  One thing I really love stitching is quotations.  I made these little things while watching TV.  It was really to put one of these together.  Pretty inexpensive too!  If you want to try and make your own, but have no idea how to cross stitch, I would have a look at this site. It even has pictures! 

To make my quotations, I used 16 count fabric (makes the letters a little bigger), a size 5 sharp needle, and 2 of the 6 strands in a length of embroidery floss.

The other super helpful site was this one, the Cross Stitch Writing Tool.  All you have to do is type in your words, and it will chart out the letters for you!  You can save the file as a PDF or print it out!  I typed in my words, and chose a font, and I was ready to start stitching!

The arrows I just made up.  But there are thousands of free cross stitch patterns of arrows out there.  Just use a little imagination, and sew it up!

But seriously.  I'm really into the trend of running two words together that have no business jammed up against each other.  Frenemy?  Love it.  So, in that tradition, what should this be called?  Sentitment-artity?  Cross- stitchitments?


Monday, 9 September 2013

Made: Runched Pillow


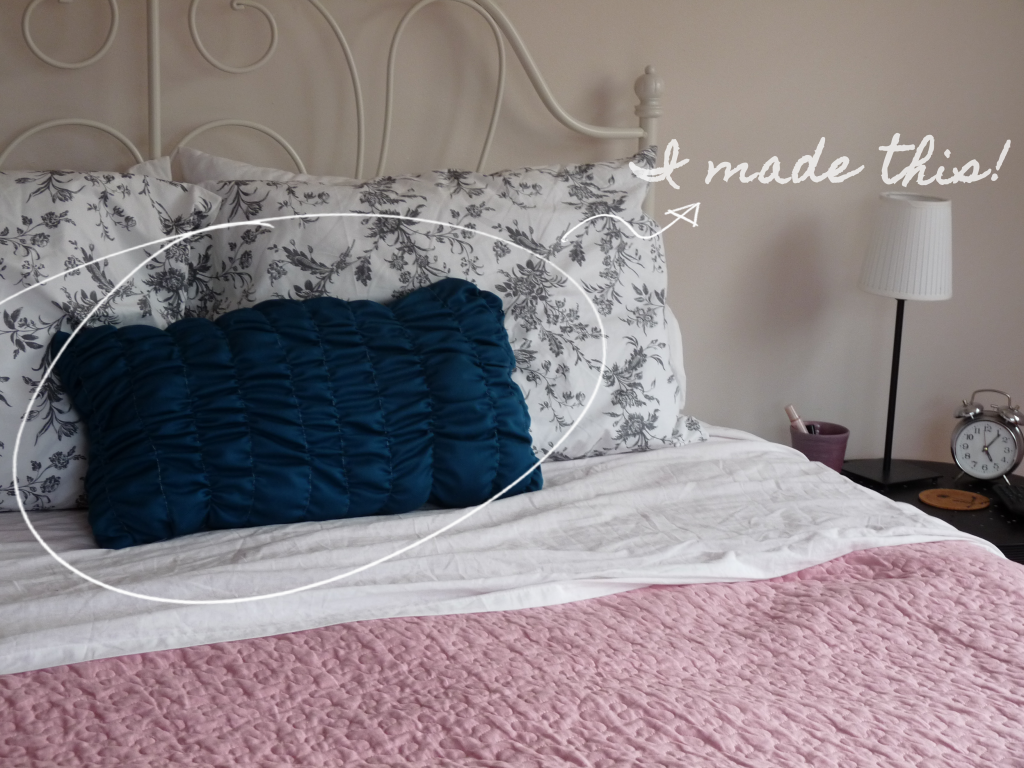
Are you sick of my new apartment posts yet?  This might be the last one for a while, I'm hoping to post some thoughtful pose up here soon.  I made some throw pillows for the living and bedroom lately.  I was having a really hard time finding pillows in the colors I wanted.  So, in true DIY fashion, I went to the fabric store, and found some great fabrics (on sale!) and set out to make them with my new sewing machine.  I thought I would show you a "Pinterest-almost-success-project" pillow.

I don't usually try the things that I see on Pinterest.  I usually look for my projects through books or other blogs-- there are some talented bloggers out there to learn from!  But I really liked the look of a runched pillow.  And I thought one would look so nice on my bed.  I saw a great tutorial (on Pinterest) and thought I would try it.  I'm not going to go through the steps; if you want to make one use the tutorial.  It is super-detailed.  I will however give you some tips based on making this pillow:
  • You need almost 2 times the width of fabric for your pillow.  If you want a 24" wide pillow,   your fabric needs to be at least 40".  The runching shrinks the size significantly.
  • Draw your lines on your pillow.  Otherwise you will have crooked seams like me.
  • Measure the distances between runchings.  Again, or it will look weird.  Like mine.
  • Even though the tutorial says to fold over your edge, I didn't.  It made the pillow hard to sew into, well a pillow.  Just gather the material 1/2" from the edge, and make your seam close to the first gathered seam.  
  • Use the same color fabric and thread.  You can really see the thread in this project, so its better if it blends.
  • Don't cut the backing piece of the pillow until you finished the front part.  Then measure for the back piece.  That way it will match perfectly.
  • Go slow when gathering, or you will break the thread.  Ask me how I know.
  • I found it easier to do 3 seams for each line.  I gather the top, the middle then the bottom.  This way I didn't break the thread.  

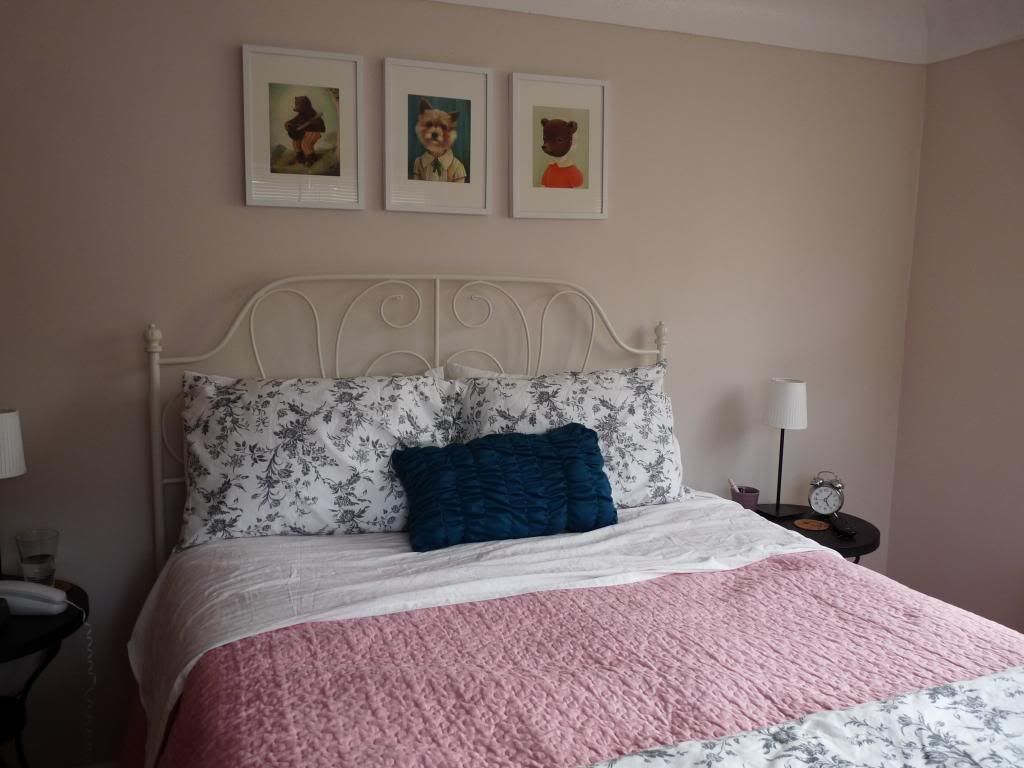
This is what the pillow looks like in my new bedroom:
 

I wanted the pillow to match the paintings hanging above our bed.  I think it does!  Our bedroom is calming, and bright-- pretty much my favorite room in the house!

Friday, 2 August 2013

Made: Bow Clutch (that I will probably use as a make-up case)


I used to be way into quilting.  But then I got the new career, and starting spending all my time on that.  I did use my sewing machine, but mostly for alterations for our clothing.  Not so much for fun.  When my old sewing machine broke, I didn't rush to replace it.  I missed sewing, but it was something I didn't have the time for.  Since I do all my sewing on our dining room table, it wasn't something I could start and leave for an undetermined amount of time.  I guess what I'm saying is I got lazy.  So once I finished my last quilt (for my gramma,) I didn't really do it so much.

For Christmas, D bought me a new sewing machine.  

And this summer, I finally found the time to learn how to use it.  There are a few differences with my machine.  I have come to know my old machine as a training machine.  Thats why it was so easy to use.  This new machine has a bobbin case and stuff, which I have to tread and such.  Its a little harder than the old one.  But, this one has great tension, and metal parts!  Like a grown-up machine should!

So to learn how to use my machine, I made a little pouch for my small knitting projects.  It turned out cute.  I was quite proud of it.  But it was not impressive.

So I tried something a little harder.

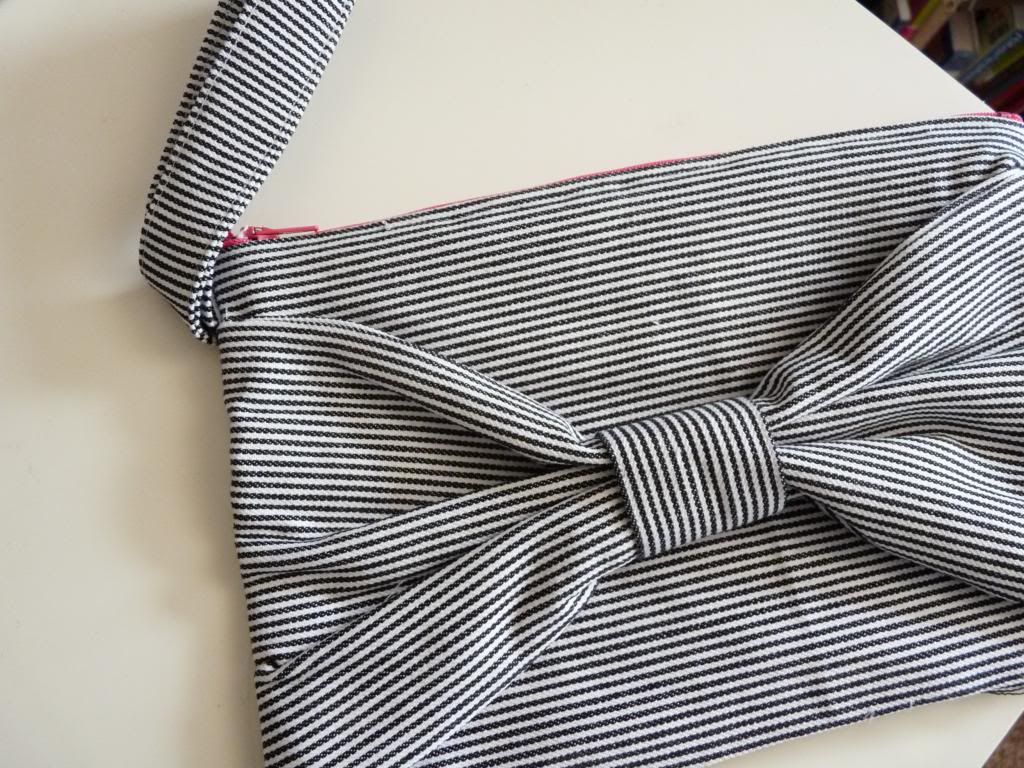
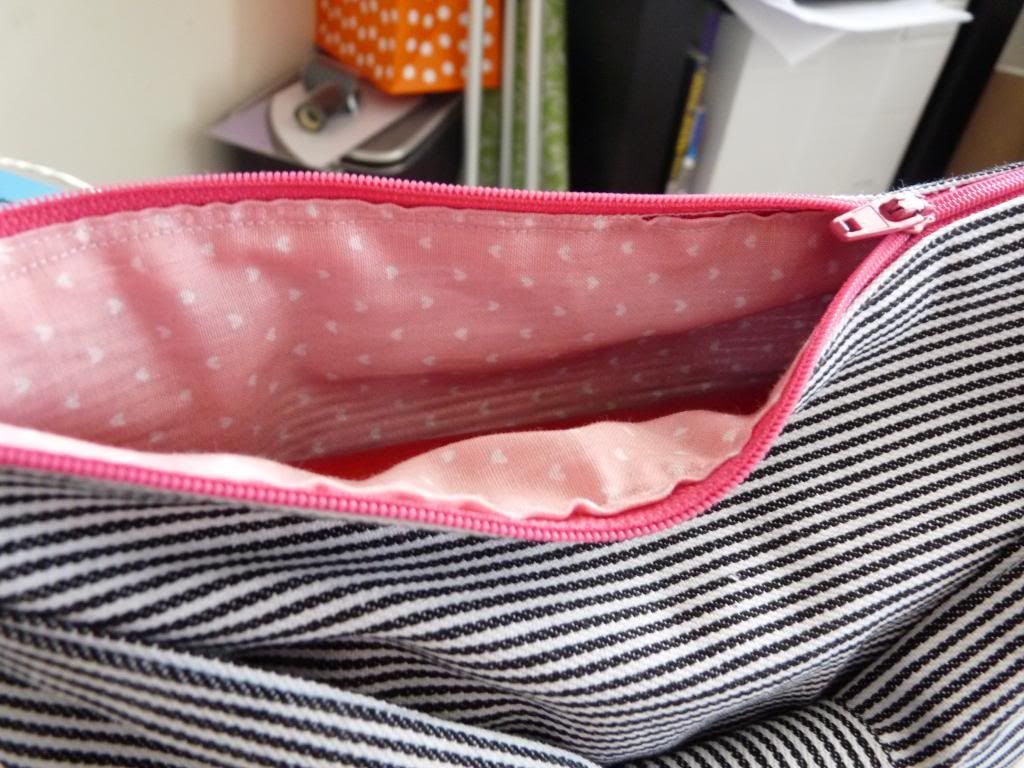
And I made this bow clutch:


I love how it turned out.  I just used some fabric that I had laying around from the last time I was really into sewing.  I think it turned out really cute!  

But, I am not a clutch kind of girl.  I need to have my wallet and stuff strapped to my body, or else I will probably lose it.  At the very least, misplace it for a while.  So this clutch will probably turn into some sort of make-up case.  One that I carry around everyday, but in a bigger purse that I can strap to my body.  You know how it is.


If you happen to be a crafty-type and want to make one for yourself,  I used this tutorial from Elm Street Life's blog.  It was so clear, and very helpful.  She outlines every step of making the clutch, with pictures!  Having written my own sewing tutorial, I know how time consuming it is to write one that is helpful.  So if you use it, make sure you tell her how awesome her tutorial is.  

Have you tried sewing anything lately?  Do you sew?