Tuesday 25 May 2021

DIY Flax Seed Hair Gel


A close up of my curls, and my hair clip.

Hey Curlies!  I assume that if you are reading this, you have curly hair and you are interested in hair gel!  If not, that's cool too- its always good to know more stuff.  And if it's your first time on this lil' blog WELCOME!  

I have very curly hair.  If you are hip to the lingo, I have Type 3C hair, with low porosity.  It's fine, but I have a lot of it.  And up until October last year, I chemically relaxed it religiously every 6 months for YEARS.  I was also losing my hair in the front of my scalp due to tension alopecia, from pulling it back so tight for so long.  So I cut it all off! And its definitely healthier now.

ANYWAYS, one of the products I use on my hair is really difficult to get in Canada right now.  So I went back to my old curly faithful Flax Seed Gel (FSG) now that I'm curly again.  

What I really like about using FSG is that it holds my curls well.  And there is no hard cast on my curls once it's dry, and it doesn't flake.  I use it will a watered down natural conditioner, and it doesn't flake with that added product.  It also washes out very easily, so there little build up on my hair.  And it makes my hair shine.  I love it so much.

The benefits of FSG are noted in a lot of natural hair websites.  The TL;DR is:

  • its a source of omega-3 fatty acids that improve elasticity and strength for your hair
  • its full of antioxidants that keep hair follicles healthy
  • Flax is a source of protein that helps repair hair
  • has lignans that can decrease inflammation on your scalp

You can buy FSG, but I prefer to make it myself because 1) its really cheap; 2) its pretty easy to do; 3) I can control what goes in it and on my head; 4) I can make it smell like anything I want.  

When I say cheap, I mean CHEAP.  I bought 1 kg of flax seeds for $3.59 CANADIAN.  So cheap.  And all you really need if flax seeds and water.  But, if you want to make your gel work a little more for you, I have a few add-ins that I use that keep my hair moisturized and soft.

The ingredients 

What you'll need:

  • 1/4 cup of Flax Seeds (raw, not roasted)
  • 2 cups water
  • 1 tsp Vegetable Glycerine (Available at drug stores and health food stores)
  • 1/2 tsp some kind of oil that is good for hair (Jojoba; coconut- if your hair likes it; sweet almond oil)
  • 1/2 of Vitamin E oil (or 2 capsules of Vitamin E oil that you can pierce and squeeze into your gel)
  • and 6-10 drops of essential oil (I use Sweet Orange oil because I like refreshing it is; but you can use jasmine, lavender or any other scent you like.)
  • a small pot
  • a mesh sieve, or you can use old pantyhose to strain the gel
  • a stick to stir the gel with
  • a jar to store your gel
I don't use any preservatives in my FSG, so I keep mine in the fridge.  I like to use it cold to help seal the cuticle of my hair.  Without preservatives, it will last about 2 weeks in the fridge, but I use it almost everyday, so I have to make it weekly.

Method: 

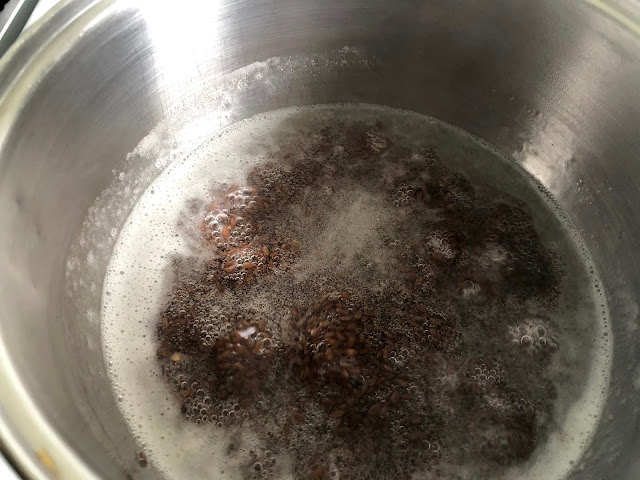
  1. In a small pot or saucepan, add the water, and the flax seeds and heat over medium-high and bring the mixture to a boil.

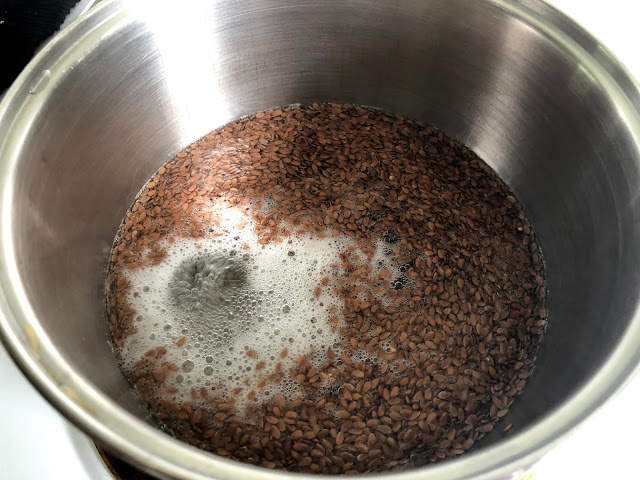
     2.  Once the mixture started to boil, turn down the heat to medium, and let it boil for about 10-12   
          minutes.  Boil it less if you want a more liquid gel.  I like it pretty thick, so I boil it for about 12  
          minutes.  Make sure that you stir the gel often so seeds don't stick to the bottom of the pot and 
          burn.


     3. Once the gel has boiled,  it will be thick and sticky.  I strain it by pouring it into a mesh sieve over a  
         bowl and let it cool.  The gel at this point is still food safe, so you can use any bowl.  Once you add   
         the add-ins, it will not longer be food safe.  This is why I add that stuff to the jar I'm storing it in.

     4.  While the gel is straining and cooling, take your jar and add the glycerine, oils and vitamin E to the 
          bottom and mix with your stick.  


    5.   After your gel has cooled and strained, you can put the seeds in a container in the fridge- you can 
          reuse these seeds to make another batch of gel!  

    6.  Mix your gel and the add-ins- the gel is very viscous-- so I like to put the lid on and shake it well to 
         incorporate all the oils an add-ins.


    7. This is where I like to smell my gel, and add more essential oil.  Without the oils, the smell is not   
        strong, and you can't smell it once it dry.  But I like having a little scent. 

If you've added oil, you will need to shake it before you use it.  But that's it!  That's how I make my gel!

Will you give it a try?  If you have questions, don't be afraid to ask below in the comments!


Monday 17 May 2021

Happy Organized Fun Time! (Cleaning the craft room)


Oh, I love when things are all lined up in rainbow order!  I recently had a week's vacay- and since I can't go anywhere, I decided to redo and reorganize my craft room!  Since I'm teaching from home, I spend most of my time in this room either crafting or teaching.  I wanted it to be comfortable, organized and bright- so that I can concentrate on working and playing.

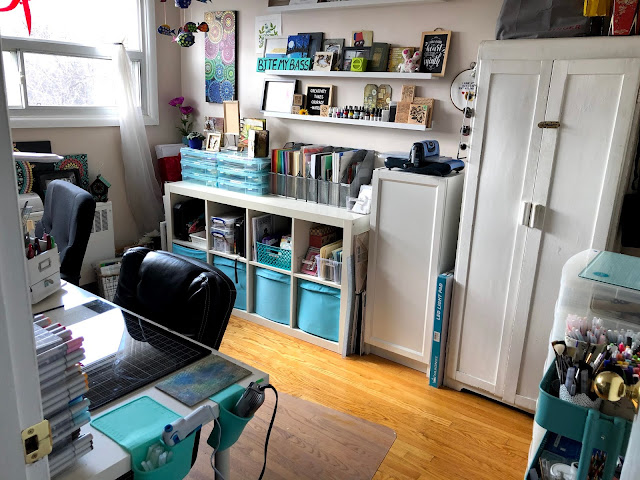
Before

It's not so bad I guess.  This is cleaned up, but it's still shabby.  And it's has things all crammed in spaces where things shouldn't be like in between my cupboards, I had too much furniture in there; it didn't match; and there was way too much plastic.  And junk.  Way too much junk.  And craft supplies that I didn't use.  And I am an art work hoarder.  I keep a lot of my artwork. 

It took a solid week of cleaning, and going through EVERY ITEM and purging junk.  I know that people use the Kondo question, "Does it spark joy?"  I don't do that.  The Bass method is, "Will I use this?  Will I need to buy it again?" And the main one, "What will I use this for?"  And got down to it. 

(I didn't thrown more than one grocery bag of trash away.  I donated craft supplies to a daycare, and gave some to my crafty friends.  The furniture and organizer went to the storage locker for my classroom)

After (from the door)

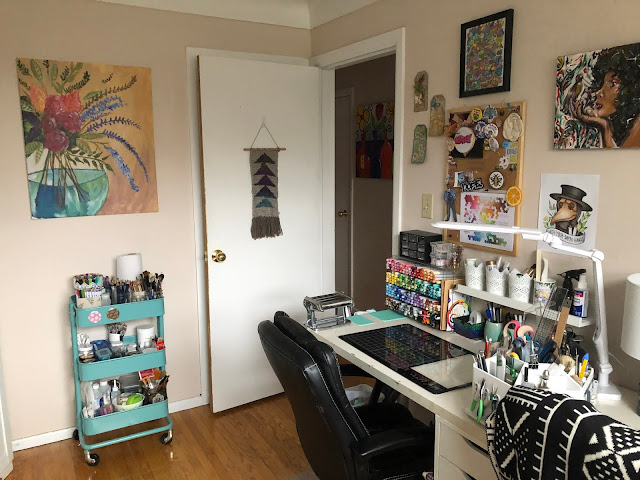
It's still busy.  But its more organized for sure.  the Drawers (from IKEA) better organize my supplies and oddly had a tone of room in them despite the size.  I was surprised.  I was able to make room for the inventory for my shop, and have a dedicated space for my paper and some stronger boxes to hold the this and that.  All my stuff is accessible while I'm working, which I love.  


After

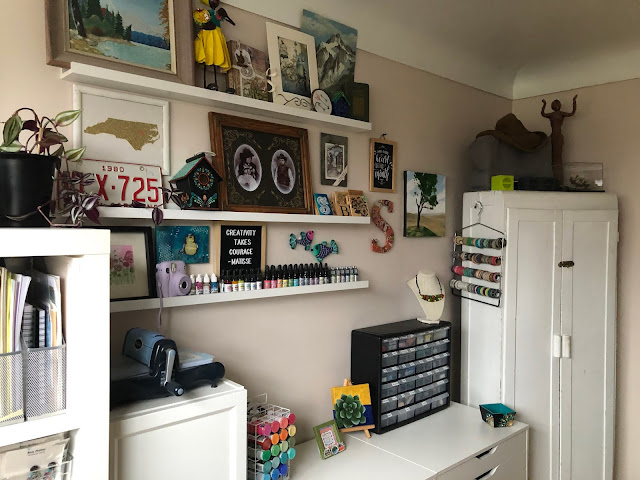
The best part is that there is nothing crammed into little spaces.  Its cleaner, and easier to clean.  I also have space to show my art work.  


I found a better way to add art to my shelves- any frames are attached to the wall in-between the shelves and the shelves actually hold things that I can't hang on the wall.  That way I get double use out of this wall.  


I also have space for my plants, which where living in the kitchen.  I was also able to organize the stuff for my online shop, where I can find each collection easily.  

Overall, I'm really happy with hoe this room turned out.  The rest of my house is not as crowded as my craft room was- I think that's a craft people thing:  everything has potential.  At least, I know that the stuff I gave away can have potential-- somewhere else.