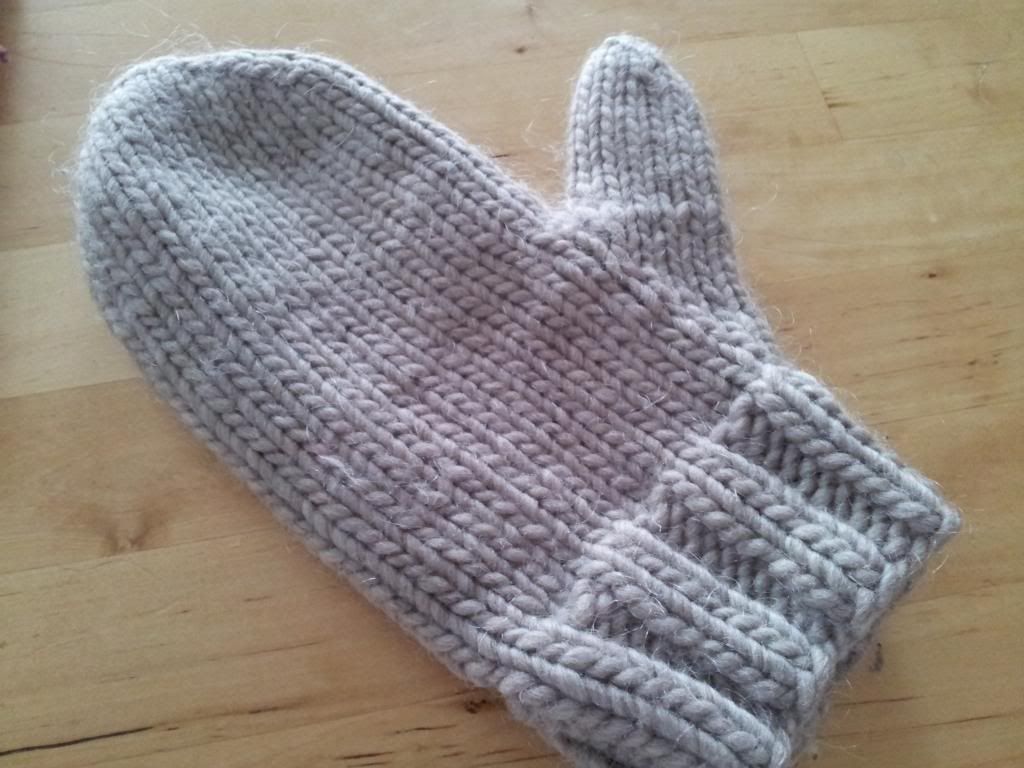
Today was a snow day. So I sat with some coffee, and knit. Mittens of course! There's nothing I love more in the winter than my hand knitted mittens. They are the only things I wear. I have even managed to get D on the knitted mitten train. I made him a pair a few years ago and he loved them. But this year, he managed to get a hole in the thumb. So he asked me to make him a new pair. I've been making these mitts for so long, I don't know where I got the pattern originally. I thought this time, I would write down the pattern I use so that I had it, and to share with you! (If you knit that is..)

This pattern uses a bulky yarn. I usually use Lamb's Pride Bulky for my mittens. Its soft and dense, and my mitts always turn out perfectly when I make them. The red and purple mittens above are made with a lighter weight of yarn (Manos de Uruguay Classica) held 2 strands together.
This pattern makes a nice thick mitten. Like the kind you would need in Canada (which is where I live.) Here's what you need:
Materials:
1 skein Lamb's Pride Bulky, or other bulky weight yarn
1 set of 5 Double Point needles US size 9
2 stitch markers in different colors
yarn needle for weaving in the ends
Gauge:
4 sts/ 1 inch
Instructions:
Cast on 32 stitches onto 4 double-pointed needles. Join to work in the round. Mark the beginning of the round with one of the stitch markers. Begin knitting in 2x2 rib. Continue 2x2 rib for 10 rounds or 2 inches.
Decrease round: begin stockinette stitch and K2tog, K to end of needle, on next needle K to last 2 stitches, SSK, on third needle, K2tog, K to end of needle, on fourth needle, K to last 2 stitches, SSK. You should have 28 sts on your needles.
Increase for thumb gusset: K14, M1, place marker (NOTE: not really necessary, I put one here because it helps me remember the number of increases,) K1, M1, K to end of round. Increase one stitch before the first increased stitch and after the last increased stitch every 3rd row, 4 more times. By the end of this round, you should have 38 sts.
Next row: K14, place next 12 stitches on scrap piece of yarn or a stitch holder. Cast on two new stitches over gap (I use backward loop method) and continue to knit to end of round.You should have 30 sts in the round.
Continue knitting hand portion of mitten until it reaches tip of little finger.
Start decreasing for the top of the mitten:
First round: K2tog, knit to the end of the needle, on the next needle K to the last 2 stitches and SSK, on the thirds needle K2tog, k to the end of the needle, on the last needle, K to the last 2 stitches, SSK.
Knit one round even. Repeat the last 2 rounds until there are 2 stitches on each needle. Take the yarn needle and pull yarn through the remaining stitches. Weave in ends.
Thumb:
Pick up the 12 stitches for the thumb and put them on 3 needles, 4 stitches on each needle. K one round and at the end of the round pick up 1 or 2 stitches over the gap. Close the gap to complete the round. K in the round until long enough for your thumb to just poke out the top. K2tog, K1 to the end of the round. K one round even. K2tog to the end of the round. Pull yarn through the remaining stitches. Weave in ends.

These mitts are really quick to make up. I finished the first one in about 2 hours. I like them because they are quick and really warm. If you make a pair, will you let me know? I would love to see your mittens.